- 1Step 1 of 7

Begin by applying Formula A at the base, painting down about three inches from the scalp. Once the roots are saturated, angle your color brush to paint on a slight diagonal. This creates a dimensional base to blend the other formulas into!
- 2Step 2 of 7
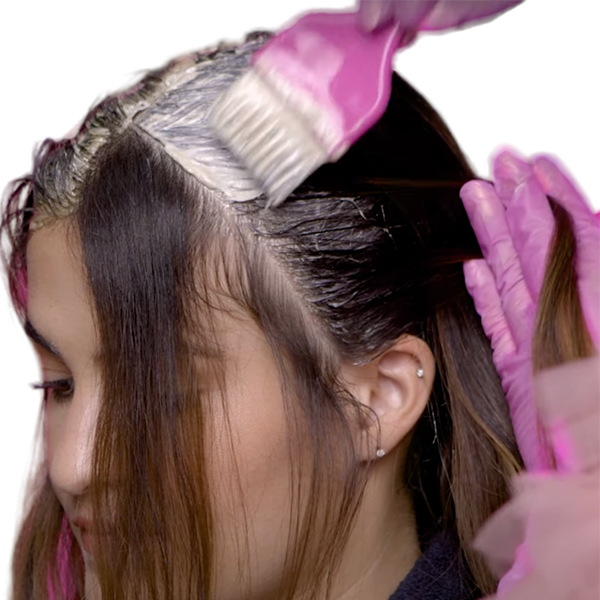
Pro Tip: To maintain brightness through the face-frame sections, only apply Formula A one inch from the scalp. This will not only create a natural-looking gradient through the rest of the hair but make the front most pieces pop against the other shades.
- 3Step 3 of 7
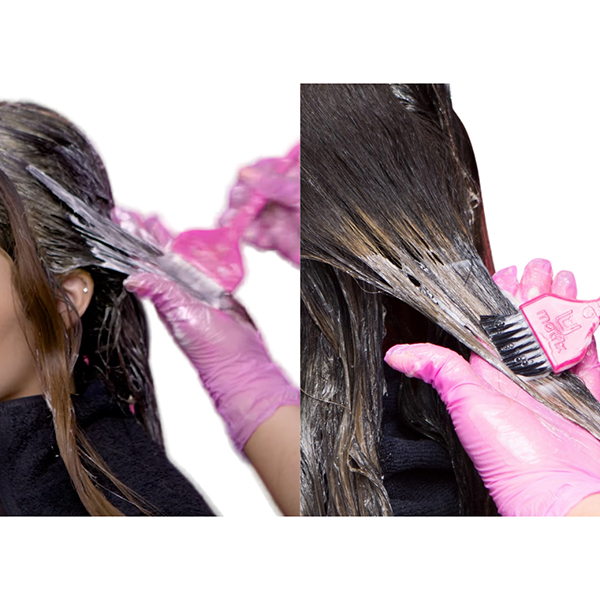
Next, apply Formula B down the hair shaft and all the way through the ends. Be sure to saturate each strand to avoid any splotches.
- 4Step 4 of 7
Here's where the magic happens! Moving back toward the root, apply Formula C one inch from where Formula A was first applied. Using your fingers, blend Formula C into Formula A and B, creating a seamless color gradient.
- 5Step 5 of 7
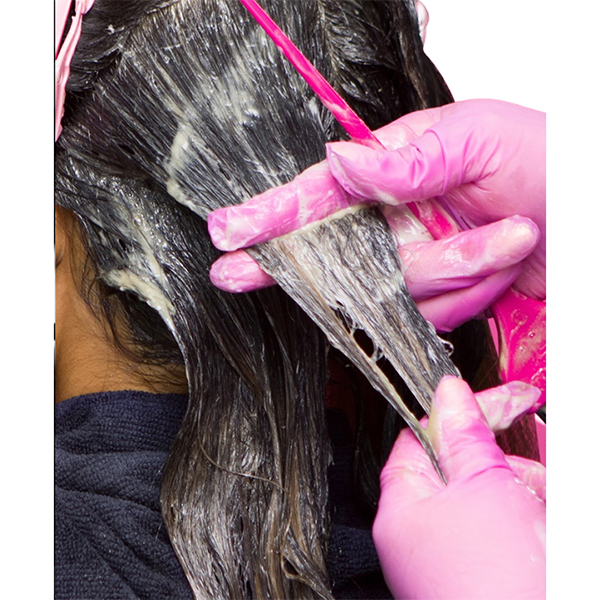
For the finishing touch, pick strands throughout the head to create lowlights. Using a color board, paint Formula A through the mids and ends on these strands for extra pops of dimension. Process for 30 minutes at room temperature.
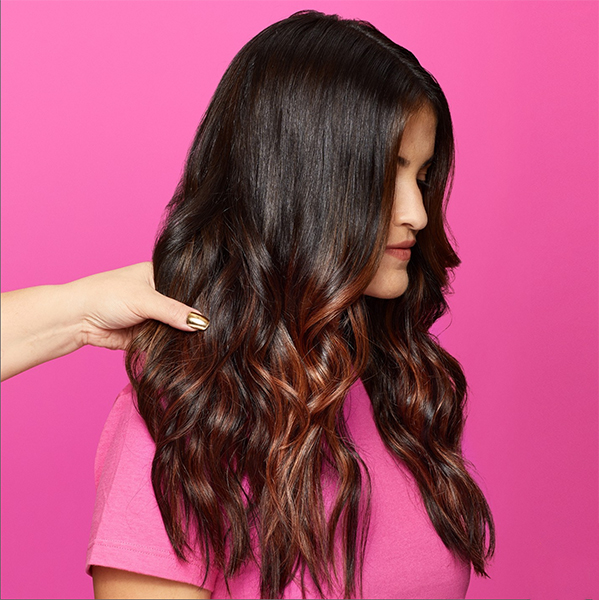
- 6Step 6 of 7
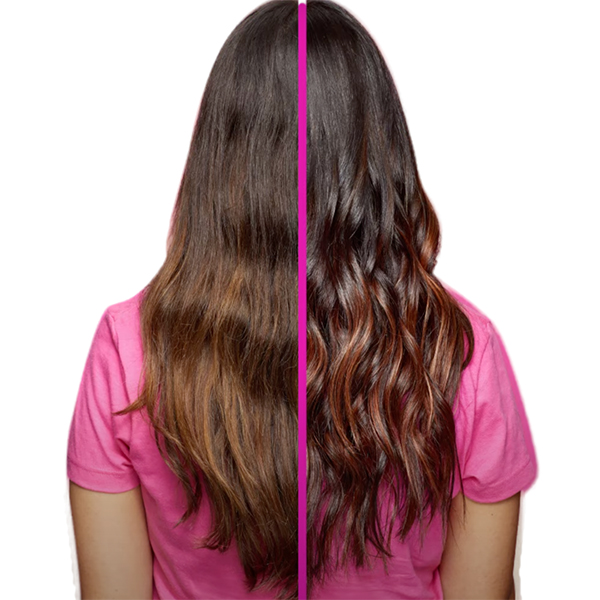
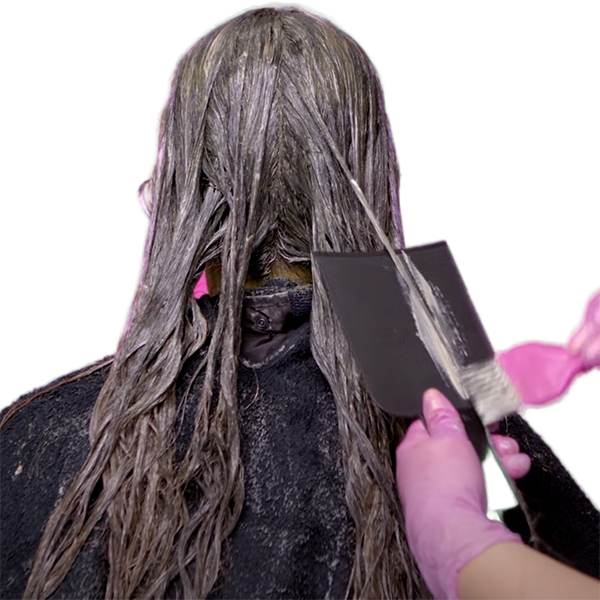
Finished melt.
- 7Step 7 of 7Watch the video ↗
Brunette
Level 3 High-Contrast Brunette Color Melt
May 4, 2022·1 min read
Struggle with high-contrast and high-shine melts on dark hair? Learn how to achieve a perfect blend with three formulas on Level 3 hair WITHOUT warm splotches! Matrix global educator Pati Rodriguez (@pati.rodrigz) takes us through her quick technique to transform her dark-haired clients lighter and brighter. Find the PERFECT shades for your dark-haired clients! Mix and match Matrix’s SoColor Pre-Bonded Permanent Color Line for custom melting tones. (more…)
More to Read


