- 1Step 1 of 16

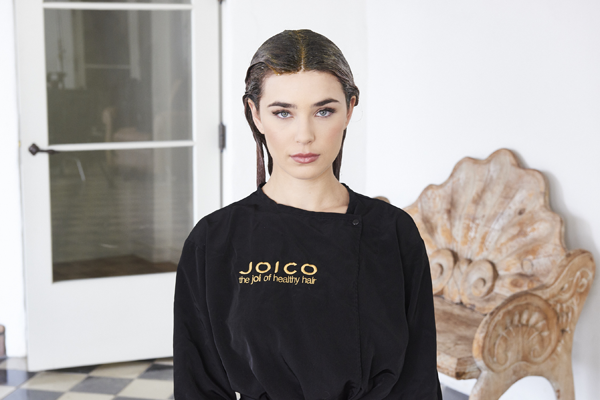
Before
- 2Step 2 of 16

Start by parting the hair from the center crown to the front hairline and from the top of the crown to the top corners of each ear. Braid each section for control.
- 3Step 3 of 16
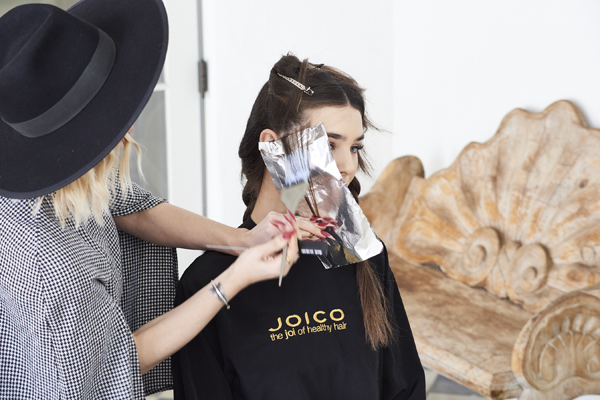
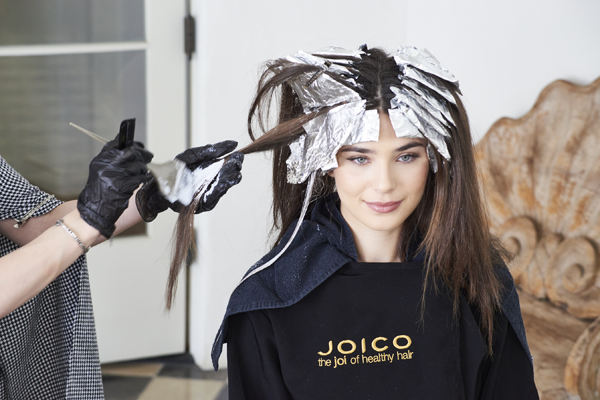
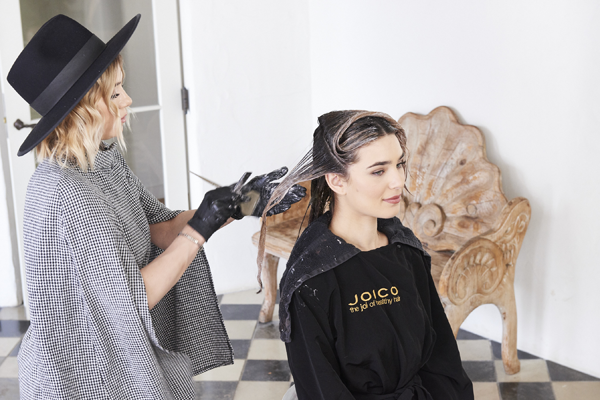
Take a weave parting right at the hairline, against the skin, and apply Formula A from roots to ends.
- 4Step 4 of 16
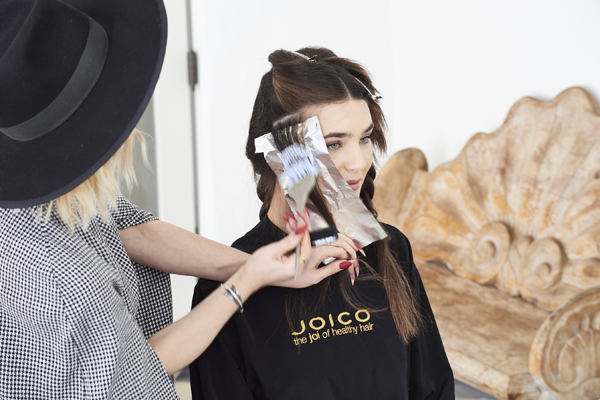
Take a diagonal back slice, weave out highlights and apply Formula A.
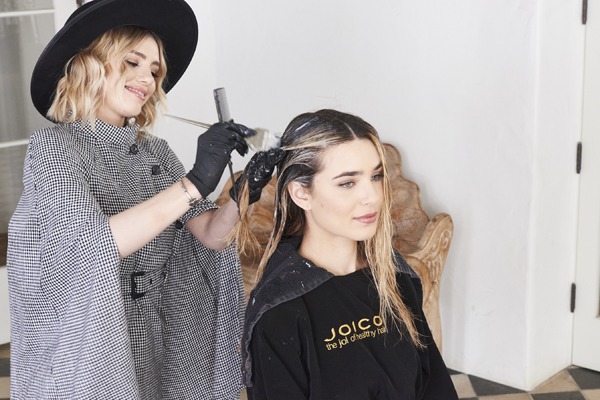
- 5Step 5 of 16
Towards the center top of the hairline, take a diagonal vertical weave parting and apply Formula A.
Pro Tip: Parting the hair at the hairline helps you customize the color and bring light to the face.
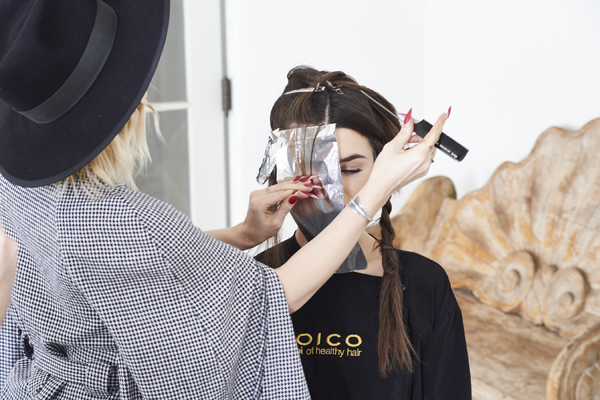
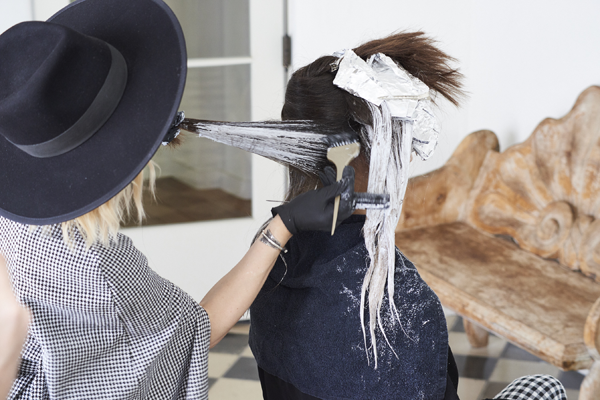
- 6Step 6 of 16

Continue working up diagonally towards the center part with Formula A. Midway through the section, or five weave partings in, switch to Formula B.
Note: As you work your towards the back, take larger weave partings and don’t bring the lightener as far up. This will help concentrate the brightness around the face.
- 7Step 7 of 16
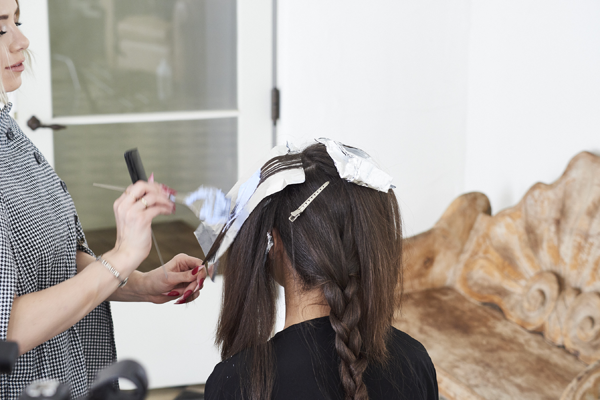
Repeat the steps 2-4 on the opposite side. Start with Formula C around the face before shifting to Formula D midway up or approximately five foils in.
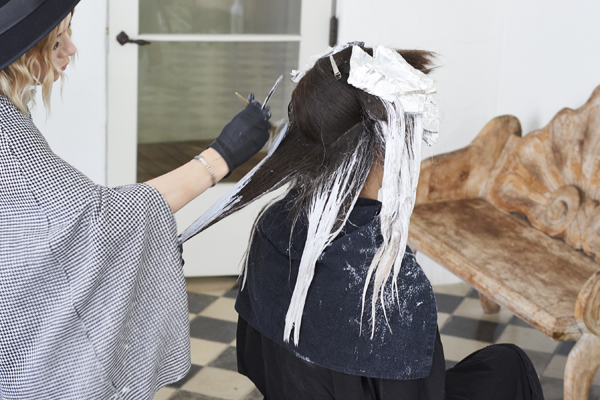
- 8Step 8 of 16
After the front sections are foiled, start balayaging the ends around the face using Formula E. Makes sure to bring the Formula higher up the section around the face, but not near the scalp. Continue this step until all the hair between the foils has been lightened.
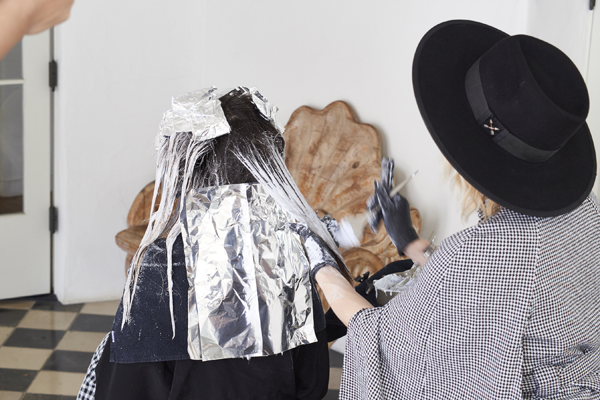
- 9Step 9 of 16
Take a v-shaped parting just above the ear to the center back. Apply Formula E with the grain of the hair underneath each parting to pick up all the baby hairs at the hairline, and then against the grain down the shaft for a better blend. Repeat this process on both sides.
Note: When using Joico FreePlay Clay Lightener, it is important to saturate each section to achieve desired lift.
- 10Step 10 of 16
Continue working up the head in diagonal back sections. Freehand paint from the center down, then from the center up toward the scalp.
- 11Step 11 of 16
For the last section, take an inverted triangle section and apply Formula E. Let process until you reach your desired level of lightness, then rinse and shampoo with Joico K-PAK Color Therapy Shampoo.
- 12Step 12 of 16
Apply Formula F in a tear drop application, shorter in the front and deeper in the back, to tone.
- 13Step 13 of 16
Apply Formula G to the mid-lengths and ends from the tear drop section down. Where the two formulas meet, "scissor" them together to create a seamless color blend.
- 14Step 14 of 16
Let process for 20 minutes and rinse hair thoroughly. Condition the hair using Joico K-PAK Color Therapy Luster Lock Instant Shine & Repair Treatment for 5 minutes and then apply K-PAK Color Therapy Luster Lock Multi-Perfector for added gloss, instant smoothness and long-lasting color protection.
- 15Step 15 of 16
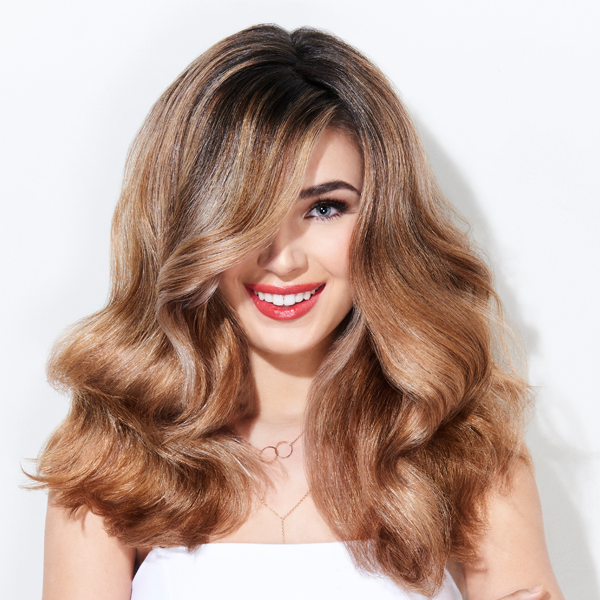
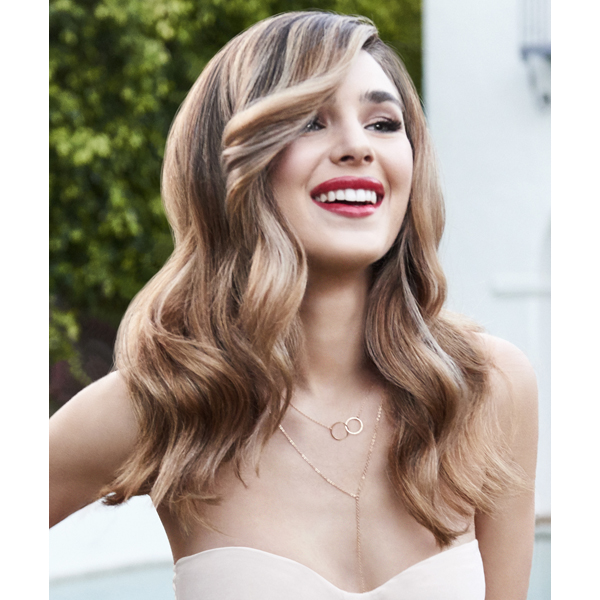
Finished Look
- 16Step 16 of 16Watch the video ↗
Balayage
Larisa Love's 30-Minute Balayage Refresh
July 12, 2019·1 min read
Looking to get your clients in and out of your chair in no time? Joico Brand Ambassador Larisa Love (@larisadoll) made it easy for you with her 30-minute balayage refresh technique! Intrigued? Keep scrolling to get the step by step below! (more…)
More to Read


