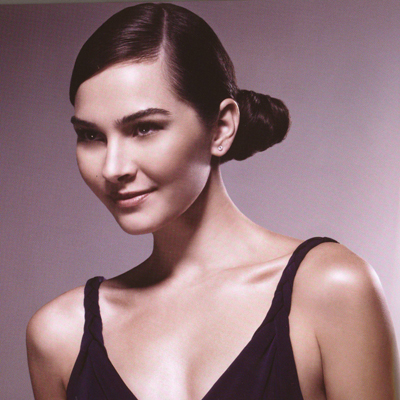
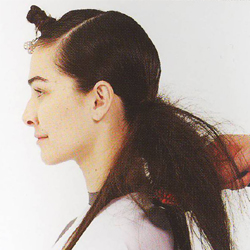
Here’s a clean, modern updo from the KMS® Long Hair Foundations collection, taught by Edwin Johnston and Amanda Brooke. This classic asymmetrical chignon is the perfect ‘do for a bride–or her favorite maid of honor. It’s a style that’s all about balance, control and technique. Here’s the how-to. For more information, visit www.kmscalifornia.com (more…)
- 1Step 1 of 25
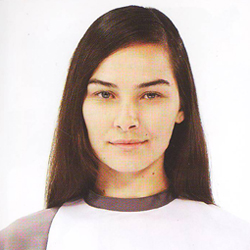
This looks will be a classic, asymmetrical chignon that works with balance, control and technique.
- 2Step 2 of 25
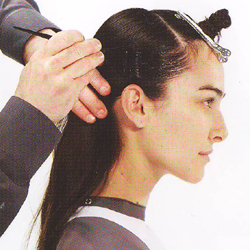
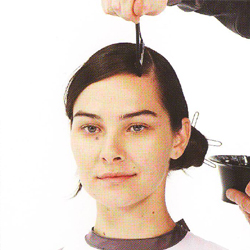
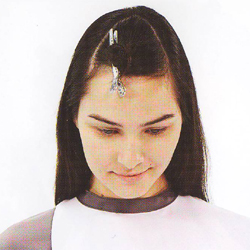 Take a diagonal back parting from the high recession on both sides to the top of the head to separate the fringe area.
 - 3Step 3 of 25
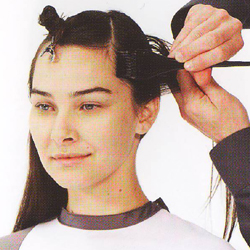 Create a mixture of hairstay Styling Gel and flatout Straightening Creme by mixing 3 parts styling gel to 1 part straightening creme in a tint bowl. This will be the gel mixture used to help control the hair.
 - 4Step 4 of 25
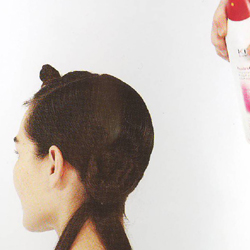
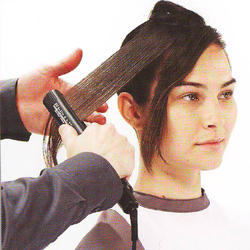
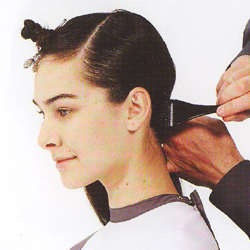 Start on the left side and apply the gel mixture using a tint brush to the roots and mid-shaft. Continue to apply the gel mixture until the side is completed.
 - 5Step 5 of 25
 Complete the opposite side in the same manner.
 - 6Step 6 of 25
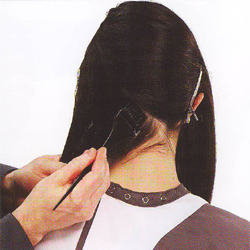 In the back, take diagonal back partings and apply the gel mixture from scalp to the mid-shaft starting on the left side, working to the right.
 - 7Step 7 of 25
 Continue to apply the gel mixture in this manner until the back is completed.
 - 8Step 8 of 25
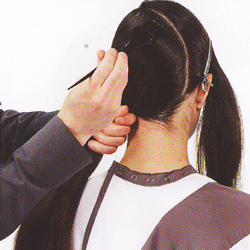
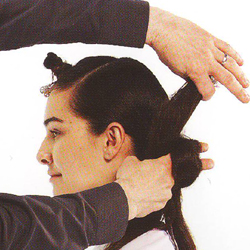
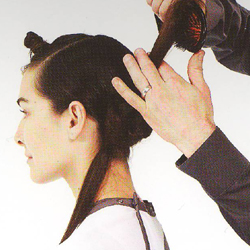
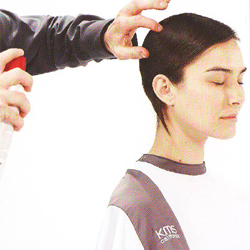
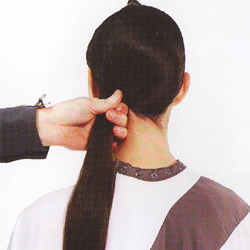 Use a Mason Pearson brush to smooth hair back into an off-centered ponytail on the left side.
 - 9Step 9 of 25
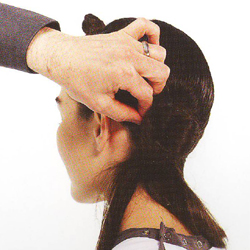
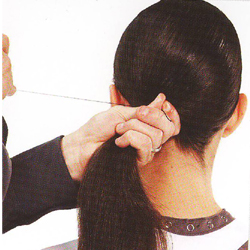 Hold the hair with tight tension and begin to wrap an elastic thread counter clockwise around the hair multiple times.
 - 10Step 10 of 25
 Once the hair feels secure in the elastic thread, tie the thread into a knot and cut off the excess.
 - 11Step 11 of 25
 Divide the ponytail into three sections.
 - 12Step 12 of 25
 Start wtih the center section. Hold the section with tight tension and back-brush the section with uniform strokes from roots to ends for volume and texture.
 - 13Step 13 of 25
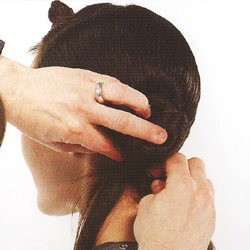
 When back-brushing is complete, gently smooth the surface of the section. Wrap the center section clockwise around two fingers. Use your fingers to pull the ends through the hole where your fingers were to create a knot.
 - 14Step 14 of 25
 After you create the knot, wrap the loose ends of the section around the knot.
 - 15Step 15 of 25
 Use grips to secure the ends. This will be the base of the chignon for the remaining sections.
 - 16Step 16 of 25
 Lightly mist section when complete with hairstay Dry Xtreme Hairspray/Maximum Hold Spray to secure hair in place.
 - 17Step 17 of 25
 Back-brush the right section in the same manner as the center section.
 - 18Step 18 of 25
 Brush the section smooth without brushing out the cushion effect from the back brushing. Wrap section counter clockwise around the base and secure with a grip.
 - 19Step 19 of 25
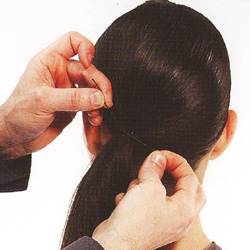
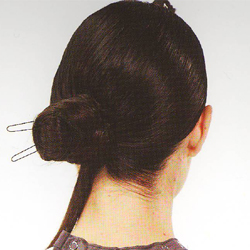 Place large hairpins around the base to hold the shape while continuing to work on the other sections. They will be removed once the style is completed.
 - 20Step 20 of 25
 Complete the last section in the same manner as the previous two sections. Secure section with a hairpin.
 - 21Step 21 of 25
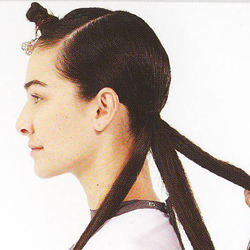
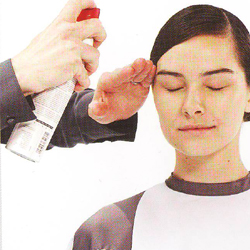
 After the chignon is complete, release the fringe section. Lightly mist with flatout Anti-Humidity Seal. Flat iron the fringe area for a smooth finish.
 - 22Step 22 of 25
 Smooth the fringe down on the opposite side of the chignon. Spray the fringe with hairstay Dry Xtreme Hairspray/Maximum Hold Spray for lasting hold.
 - 23Step 23 of 25
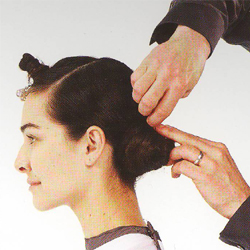
 Apply a small amount of the gel mixture starting at the side part following the direction of the hair placement to eliminate flyaways. After the gel mixture has been applied lightly, smooth hair back with a Mason Pearson brush.
 - 24Step 24 of 25
 Finish the look with hairstay Dry Xtreme/Maximum Hold Spray for maximum hold and a long lasting style.
 - 25Step 25 of 25