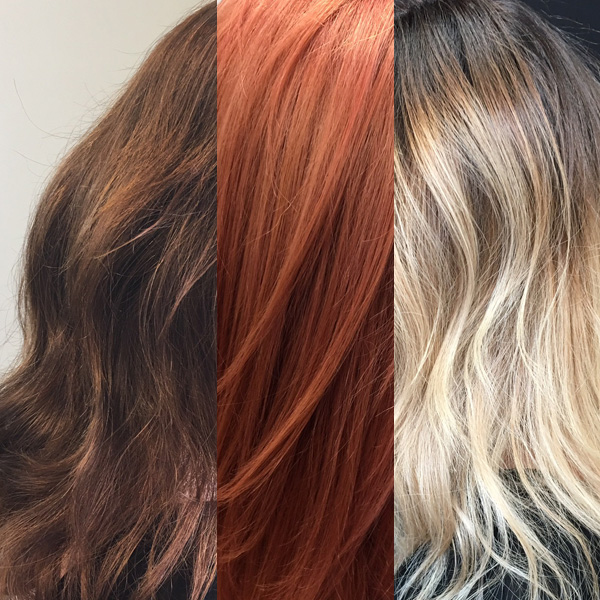
We love a good transformation and this one from Ivan Hernandez (@justhairobsession), a Stamford, Conn.-based colorist, is nothing short of stunning. Check out the steps below to find out how Ivan took his client from a lackluster brunette to a temporary rose blush to an on-trend rooty blonde balayage. Want to be featured? Tag your pics to #behindthechair! (more…)
- 1Step 1 of 10
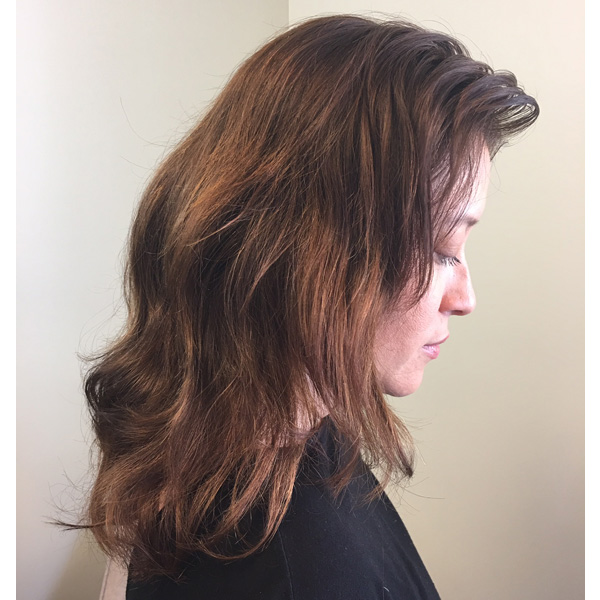
Before
- 2Step 2 of 10
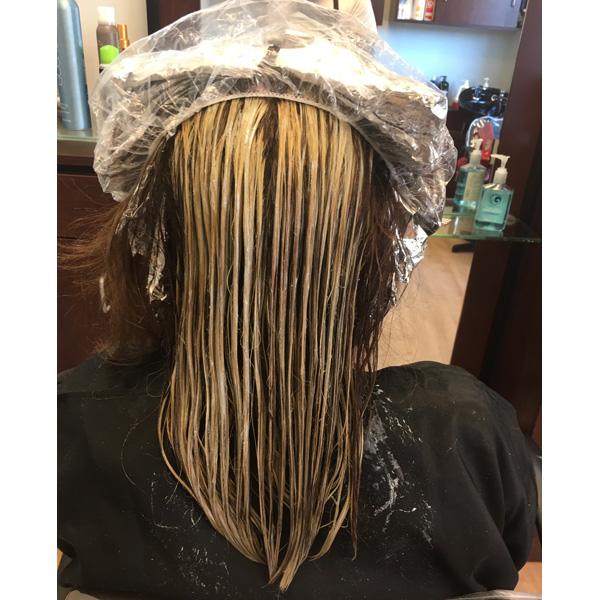
Start by creating a full head of highlights using Formula A. Process under a cap for even heat distribution.
- 3Step 3 of 10
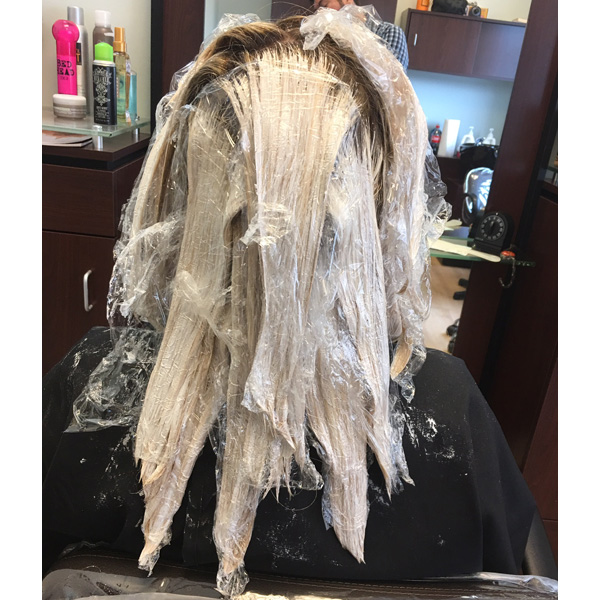
Then, balayage with Formula B. Let process.
- 4Step 4 of 10
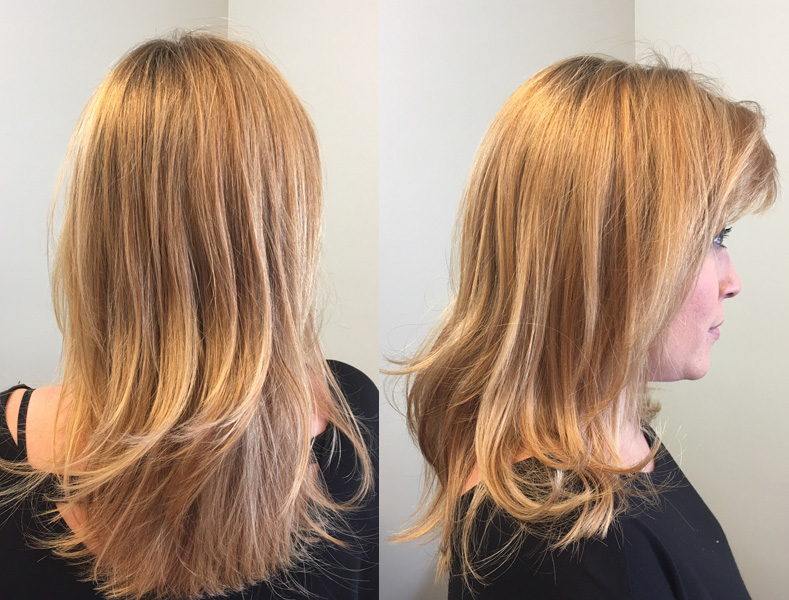
How the hair should look with the highlights and balayage.
- 5Step 5 of 10
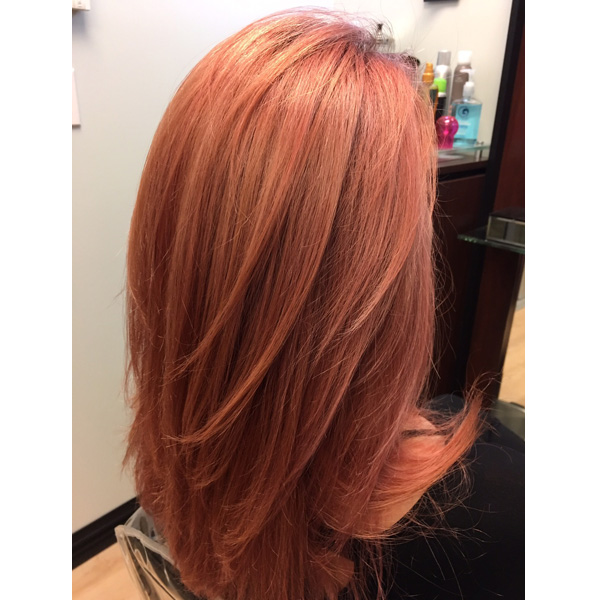
For a temporary rosé color, apply Wella Instamatic by Color Touch Pink Dream. Ivan says this color lasted about a month for his client.
- 6Step 6 of 10
The rosé hue eventually faded to this shade of blonde. From here, create babylights around her face using Formula C. Then, apply Formula D to the roots only and pull the formula down about 4 inches.
- 7Step 7 of 10
Balayage with Formula E, then tone with Formula F. Let process, then rinse and style as desired.
- 8Step 8 of 10
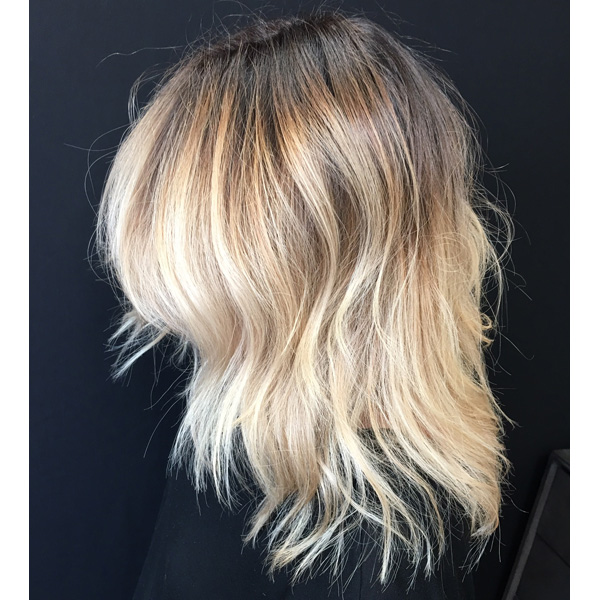
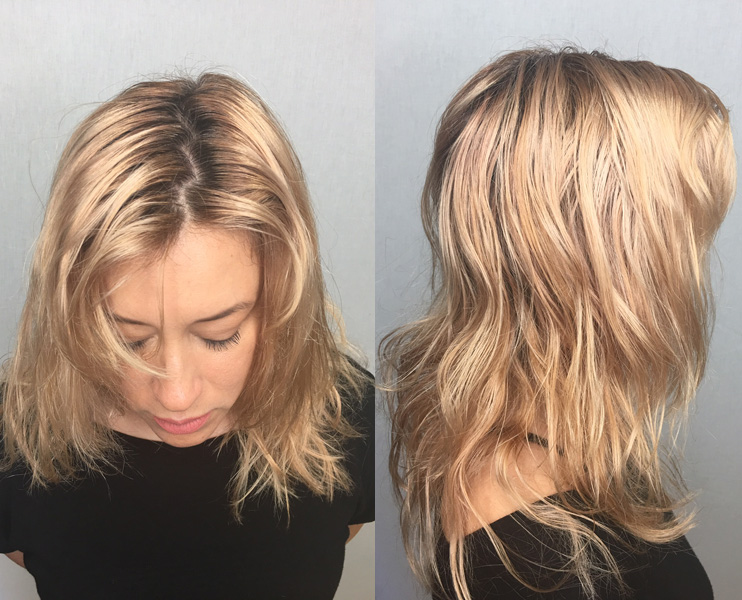
Finished look
- 9Step 9 of 10

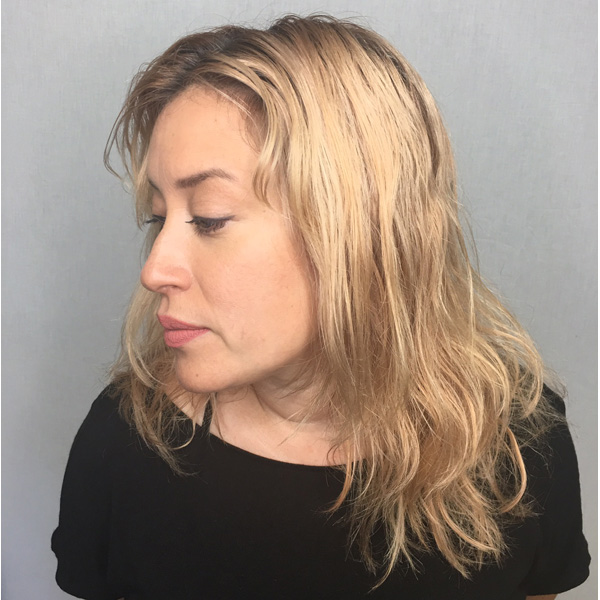
Finished look—alternate view
- 10Step 10 of 10Watch the video ↗


