- 1Step 1 of 25

Prelighten client with Formulas A and B, then tone with Formula C to achieve a silver-blonde.
- 2Step 2 of 25

Take a cat-eye section on the top of the head that extends from the front hairline to the back of the crown. The width is determined by the shape of the head and widens in the top middle of the head to just above parietal ridge.
Pro Tip: Use chopsticks for multiple purposes: it’s easier, allows for cleaner sectioning, holds hair without leaving creases and adds a little style to your work.
- 3Step 3 of 25
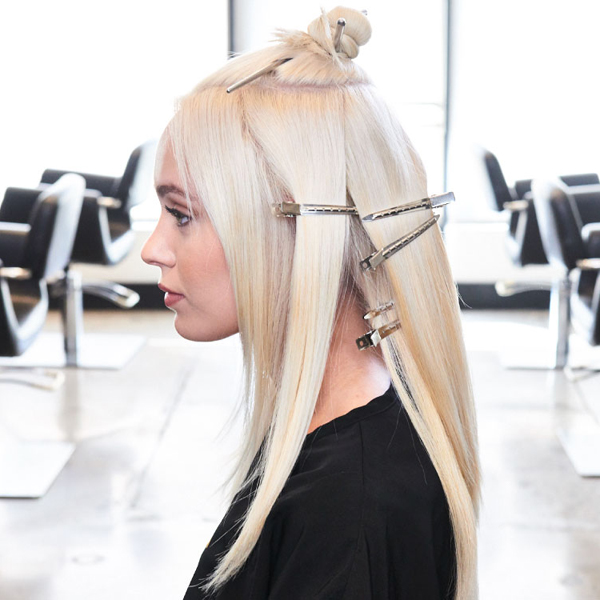
Take four pie-shaped triangular sections, two in the front angling off the center sectioning and two subsectioned behind those.
- 4Step 4 of 25

- 5Step 5 of 25
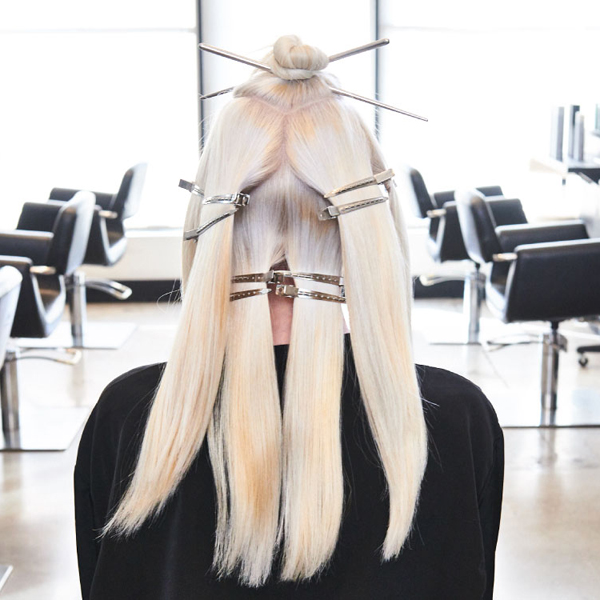
Section off two top square sections at the back of the crown. Divide the hair down the center nape to section off the remaining two subsections.
- 6Step 6 of 25

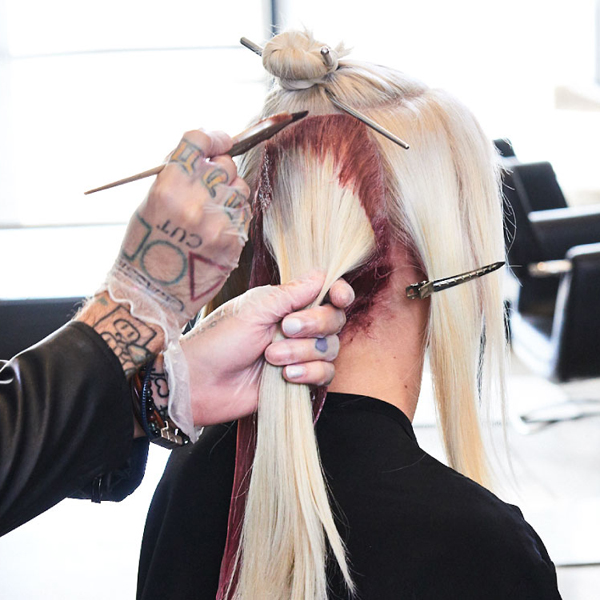
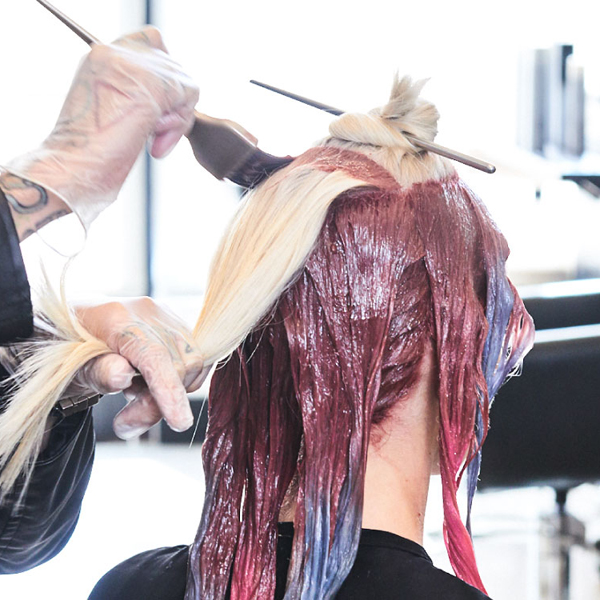
Starting in the right nape section, take a ½-inch parting, and apply Formula D from the scalp to three-quarters of the way down.
- 7Step 7 of 25
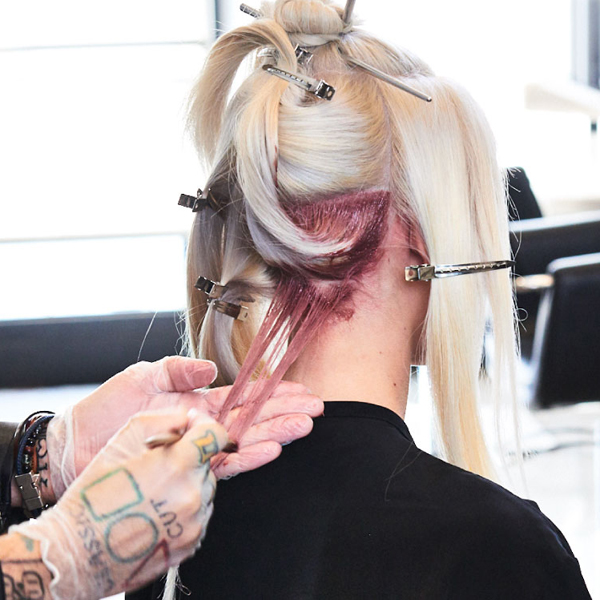
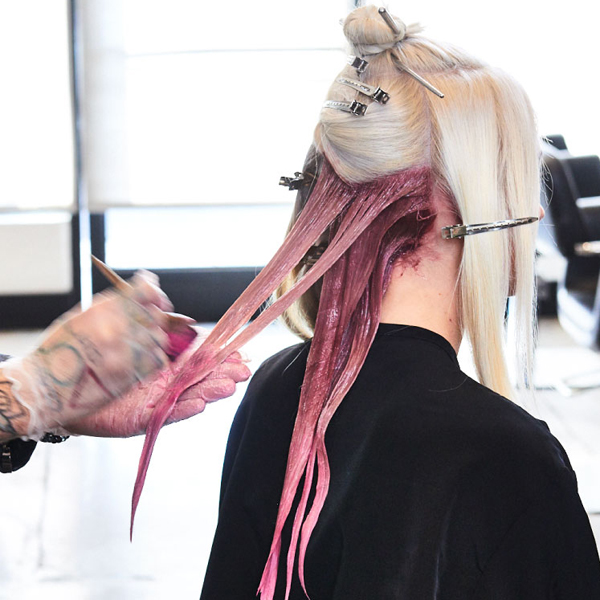
Apply Formula E through the midlengths and ends. Use your fingers to “scissor” the point where the two shades meet for a seamless color melt.
- 8Step 8 of 25
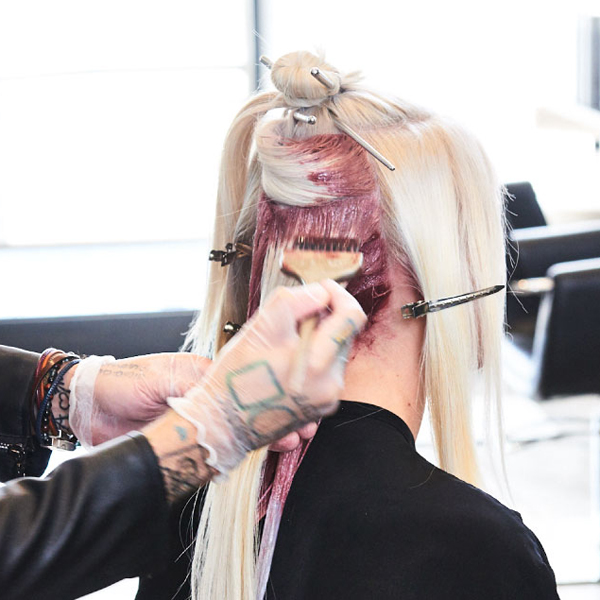
Repeat the process until you reach the occipital bone with Formulas D and E.
- 9Step 9 of 25
Keep your work organized and clean by outlining each large section with Formula D before applying color to the smaller ½-inch partings.
- 10Step 10 of 25
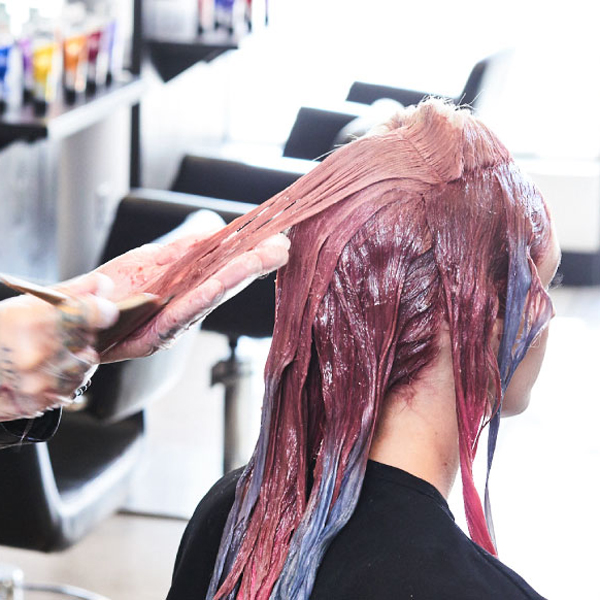
Brush the color on against the grain to really push the color into the hair and get even saturation.
- 11Step 11 of 25
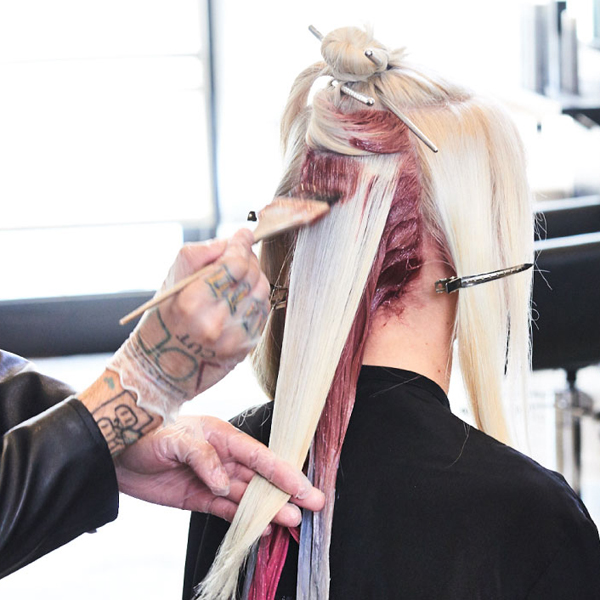
As you reach the occipital bone, shift the color application from three-quarters and one-quarter to two-thirds and one-third.
- 12Step 12 of 25
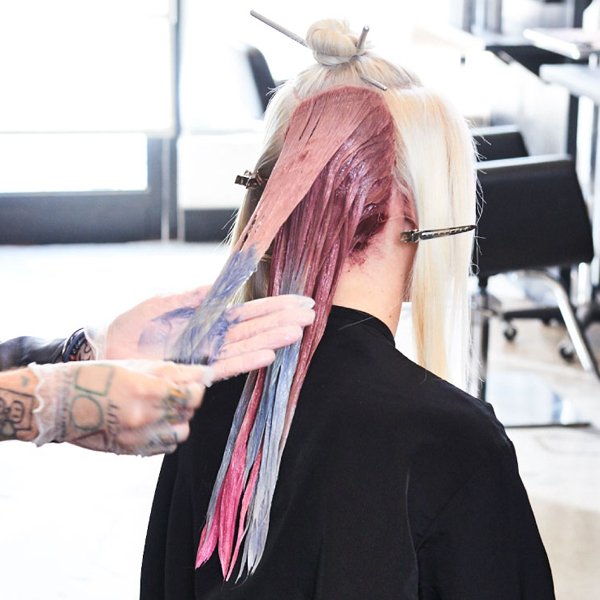
Continue to work your way up, in ½-inch partings, applying Formula D from the scalp to three-quarters down the hair. When you reach the occipital bone, start to apply Formula F to the midlengths and ends.
- 13Step 13 of 25

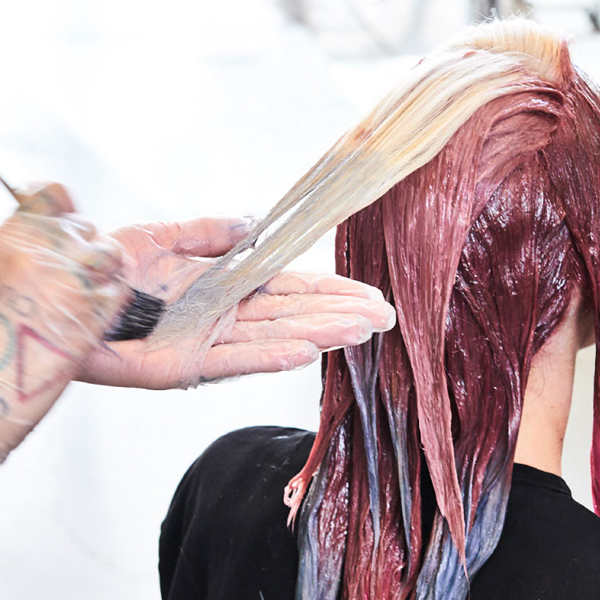
Move to the right side section above the ear. Outline the section, like before, with Formula D and bring the color down halfway through the hair.
- 14Step 14 of 25

Melt Formula E through the midlengths and ends.
Pro Tip: Melt the shades together at an angle, instead of straight across, to create a veil that really opens up the face and creates a seamless color blend.
- 15Step 15 of 25

Move to the face-framing sections, apply Formula D to the scalp and bring it down about an inch.
- 16Step 16 of 25

Then, apply Formula F to the ends. The icy silver shade on the ends will give the face a pearly pretty glow! Repeat the process on the other side.
- 17Step 17 of 25
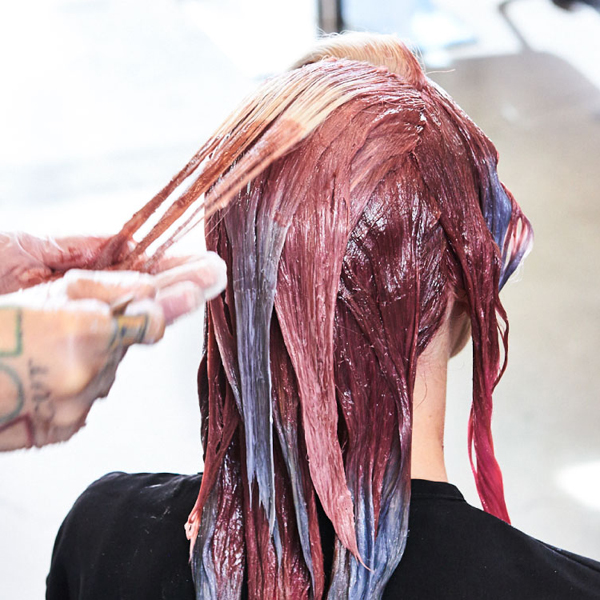
From the back of the cat eye section working forward, take ¼-inch horizontal partings and apply Formula D from the scalp all the way through to the ends.
- 18Step 18 of 25
Continue working until you reach the back point of the cat eye, right behind the ear. Saturate the sections from scalp to ends using Formula D.
- 19Step 19 of 25
When you reach the mid back-point of the cat eye, right behind the ear, color melt Formula F into the midlengths and ends for more of the pearlescent lighting effect around the face.
Pro Tip: In these sections, apply Formula F (Silver Ice) FIRST to serve as a visual guide that will help you figure out how far up the parting the melting point should be. As you work forward, you should increase the amount of Silver Ice in your ombré.
- 20Step 20 of 25
As you continue working toward the front hairline alternate the Formula D and the ombré Formula F sections. Your partings should also start to get finer as you work closer to the face.
- 21Step 21 of 25

Keep alternating the application process until you reach the front of the cat eye section. You should finish with Formula D.
- 22Step 22 of 25

Allow the color to process for 20 minutes, rinse the hair thoroughly, then treat it with Joico K-PAK Cuticle Sealer and Joico K-PAK Color Therapy Luster Lock Instant Shine & Repair Treatment.
- 23Step 23 of 25
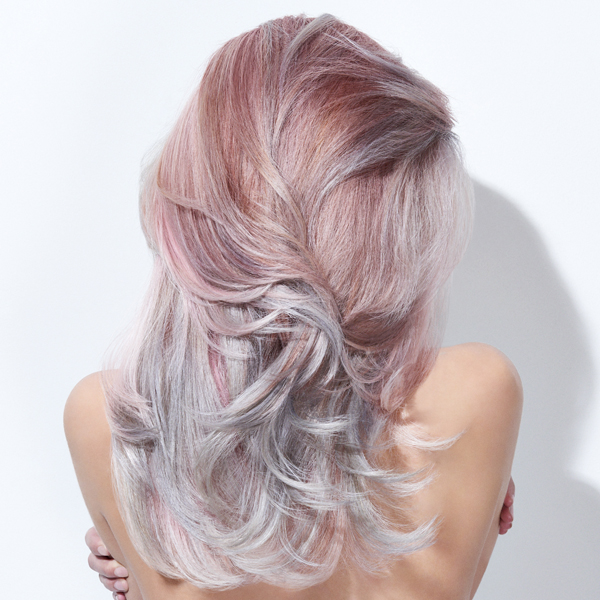
Finished back view
- 24Step 24 of 25

Finished front view
- 25Step 25 of 25Watch the video ↗
Color Melt
Iced Rose Melt
November 5, 2018·1 min read
Juxtapose warm and cool tones in the same palette for a sweet-yet-still-cool finish. This Iced Rose Melt is a perfect example—the shades sparkle and shine with dimension from the Joico Intensity Pearl Pastels. Get the steps below! (more…)
More to Read


