- 1Step 1 of 12
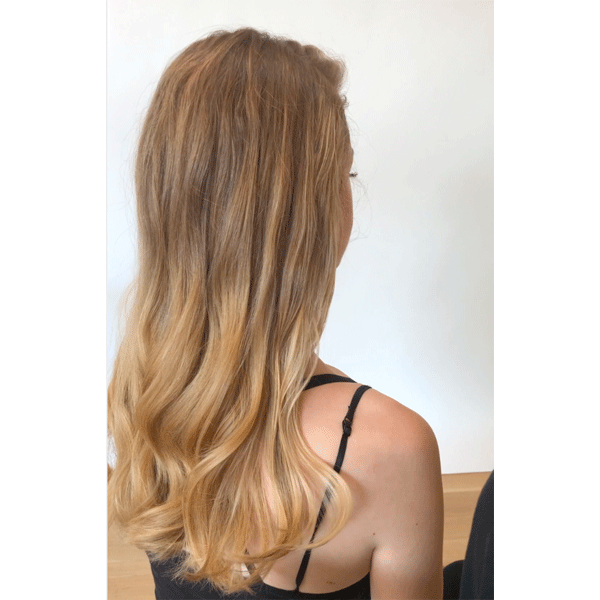
Curl the hair using the amika chameleon curling iron with the 25mm attachment to create loose curls. Apply amika heist molding blend to hands and run hands through the hair to loosen the curls.
- 2Step 2 of 12
Start by taking a 1 -1 ½ inch vertical section near the client’s temple and run your fingers through the section to smooth it out. Then, take your index and middle finger and place them behind the section of hair and rotate your hand to create a loop.
- 3Step 3 of 12
Holding the loop nice and secure, slide your thumb through the loop and remove your middle finger, grab the tail with your thumb and index finger.
- 4Step 4 of 12
Grab a new 1-inch vertical section and add it to the existing tail. Stay as close to the scalp as possible to keep the braid secure. Hold the tail and pull it through the loop just large enough to get your thumb back in. Rotate your hand and grab the tail again, gently push back on the braid for security and grab another vertical section.
- 5Step 5 of 12
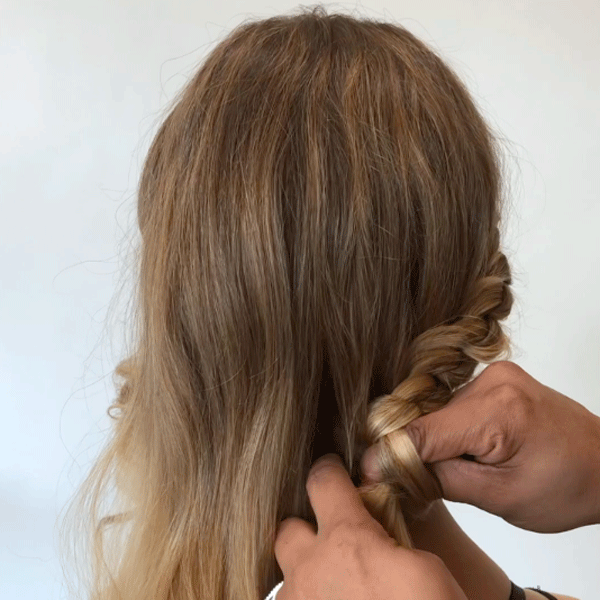
Continue the braid by staying low on the client’s head to create a full braid along the base.
- 6Step 6 of 12
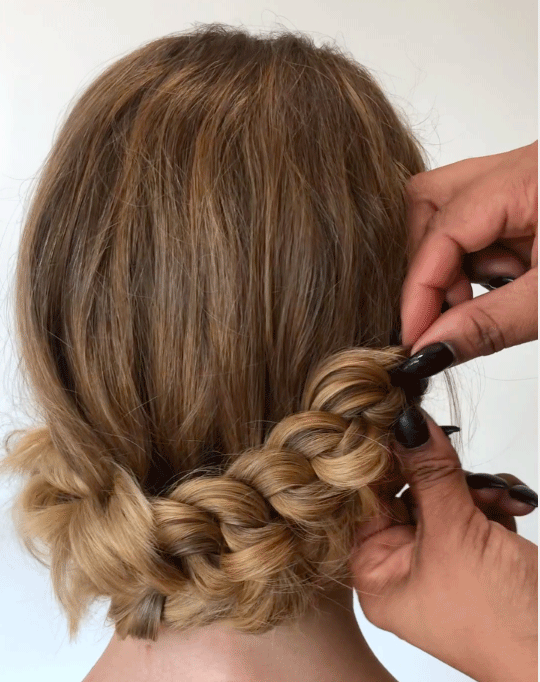
- 7Step 7 of 12
When adding the last section, do not pull the remaining hair all of the way through your loop. Instead, pull the remaining tail halfway through and secure the loop to the head with a large bobby pin.
- 8Step 8 of 12
Use hair pins to secure any remaining hair and hide any pins that are showing.
- 9Step 9 of 12
Use two fingers to gently pull braid apart.
- 10Step 10 of 12
Finish by spraying with amika un.done volume and matte texture spray to further texturize the braid.
- 11Step 11 of 12
Click to see the beautiful, finished look.
[btc-insert-slideshow ids="696394 696393 696392 696391"]
- 12Step 12 of 12Watch the video ↗
Styling
Loop-Braid Chignon Updo
December 3, 2018·1 min read
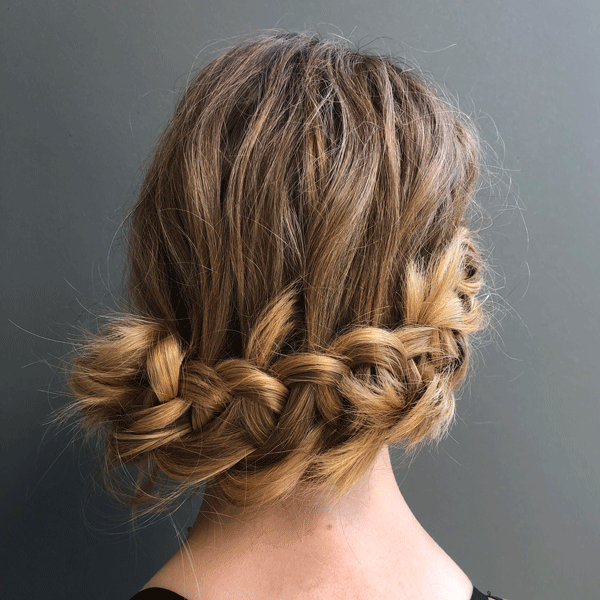
‘Tis the season to get clients glammed up for holiday parties and events. And to be honest, the basic braid just won’t do. So, we had amika Global Artistic Director Naeemah LaFond (@naeemahlafond) stop by the BTC house in Los Angeles to breakdown a loop-braid chignon that is the perfect upgrade from a traditional three-strand braid. Get the step-by-step breakdown below, products used and the perfect pin placement to hide all of your secrets! (more…)
More to Read


