- 1Step 1 of 18
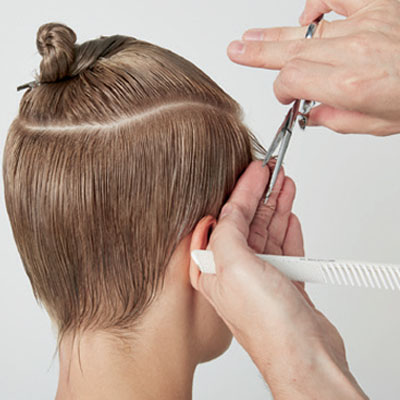
Create a horseshoe section. Note that the shorter area underneath will not connect to the longer top area. Create a slight diagonal section at the front hairline and cut to desired length. The hair will be slightly longer through the temple area and shorter in the hairline area.
- 2Step 2 of 18

Work to the center back in this manner, working with static, vertical sections. Repeat on the opposite side.
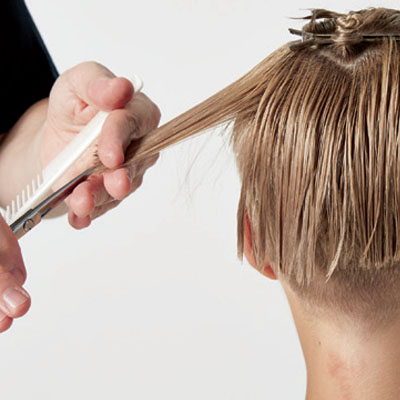
- 3Step 3 of 18
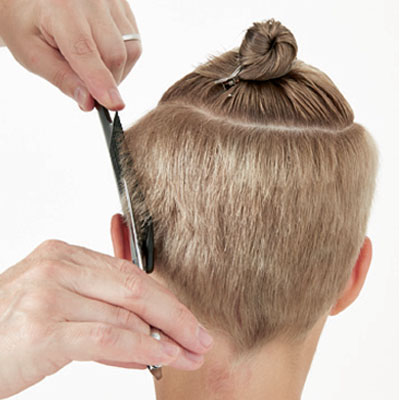
Use a scissor-over-comb technique throughout the hairline and perimeter to refine the hairline and create a close-fitted head shape. Always work with the natural hairline growth pattern.
- 4Step 4 of 18
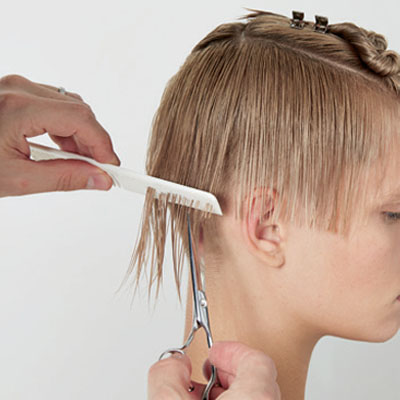
Proceed to the side and back overhang. Create horizontal sections, and cut to desired length. Point-cut for softness, and cut through the comb for control. These sections will not connect to the underneath area.
- 5Step 5 of 18
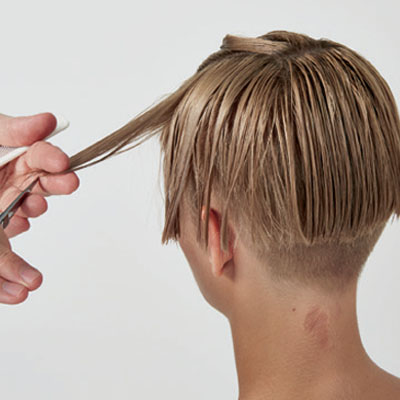
Work up to the top of the head in this manner. Repeat the process on the opposite side. Elevate each parting slightly to soften the line.
- 6Step 6 of 18
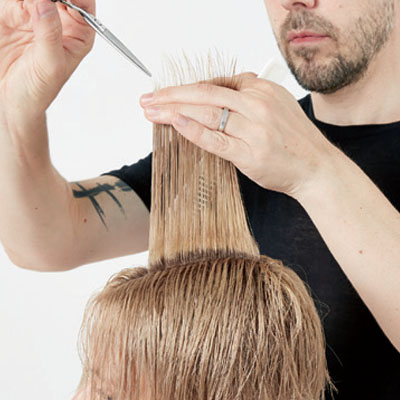
Create a section from the crown to the front hairline and point-cut to create softness and texture. Continue working in parallel sections in this manner.
- 7Step 7 of 18
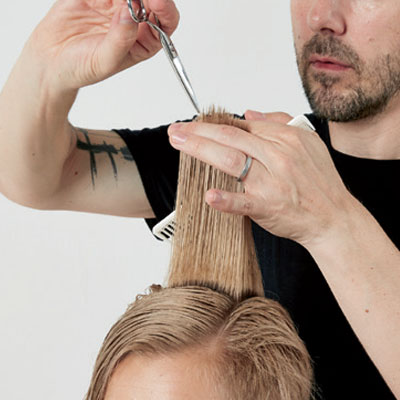
Cross-check and refine the top section.
- 8Step 8 of 18
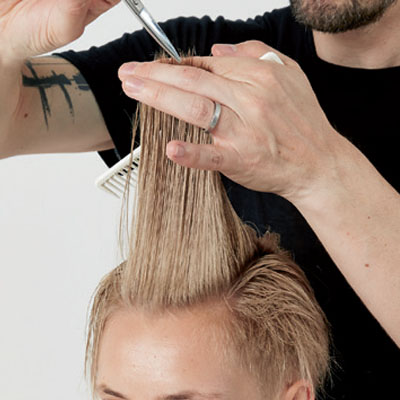
Continue cross-checking and point-cutting the top section, then blow-dry with a flat wrap method.
- 9Step 9 of 18
Comb the hair to natural fall, and create the desired fringe length. Elevate and point-cut to create a soft line.
- 10Step 10 of 18
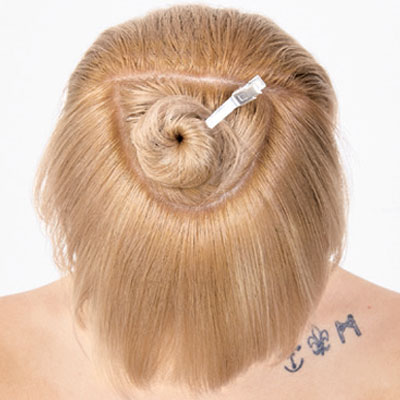
Create a straight parting at the top of the crown and form a half circle to the apex.
- 11Step 11 of 18
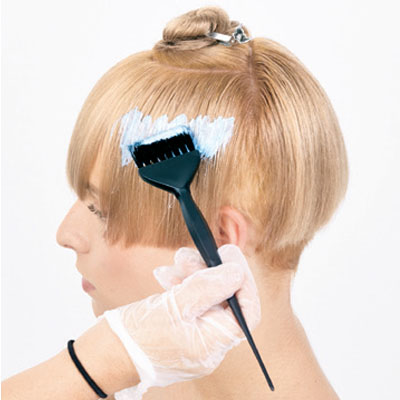
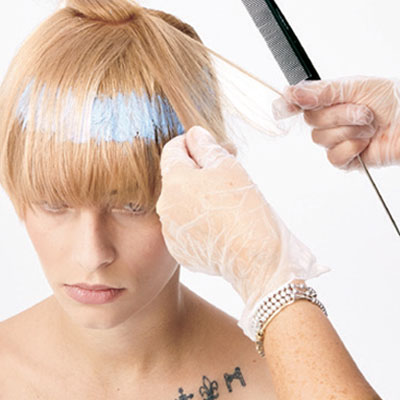
Place the lightener 2 inches below the parietal ridge in a 2-inch section over the left ear.
- 12Step 12 of 18
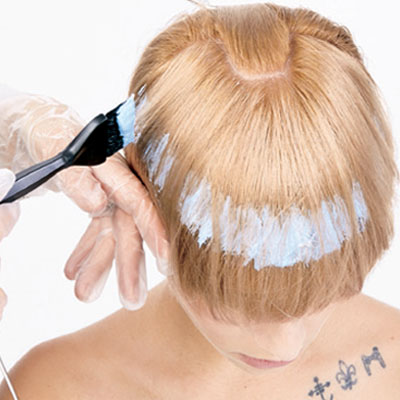
Move toward the center, continuing the 2-inch application technique.
- 13Step 13 of 18
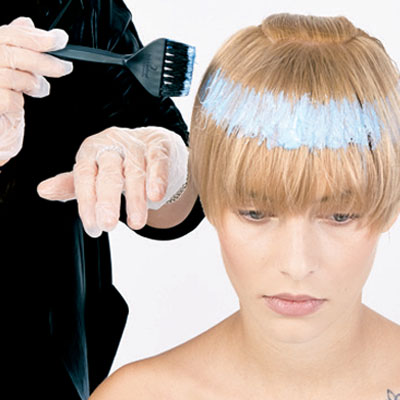
Continue working to the right side above the ear, connecting the 2-inch application. Do not go beyond the right ear.
- 14Step 14 of 18
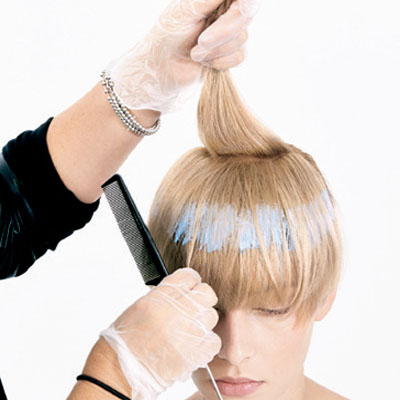
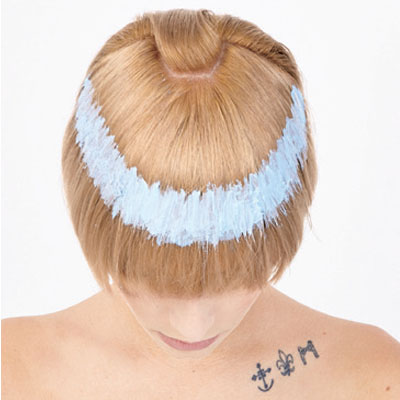
Drop a veil section over the previous application. The amount of hair will be based on how bright you want the finished shine line to be.
- 15Step 15 of 18
Repeat steps 2 through 4.
- 16Step 16 of 18
Process until the desired level of lift is achieved.
- 17Step 17 of 18

Rinse, shampoo and condition with BC Color Freeze Shampoo and Conditioner. Blow-dry the hair, smooth the lengths with a flat iron and work in Osis+ Dust It for lift and separation.
- 18Step 18 of 18
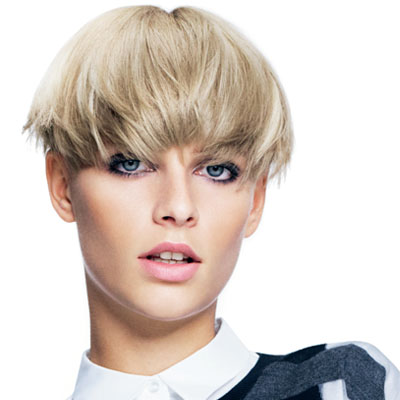
Finished Look
Haircuts
Short Take, Shine Line
December 28, 2016·1 min read
This disconnected undercut with a heavy top portion gets special treatment with a shine line that highlights its curves. The look is one of the standouts in Schwarzkopf Professional’s latest Essential Looks Collection. “When creating a disconnected undercut with a heavy overhanging top shape, always check the balance throughout the haircut,” advises Schwarzkopf’s Richard Ashforth. And here’s a color tip from Julie Alvarez: “When creating a shine line with color, always look at and follow the haircut shape even if you have to realign your sections. (more…)
More to Read


