- 1Step 1 of 10
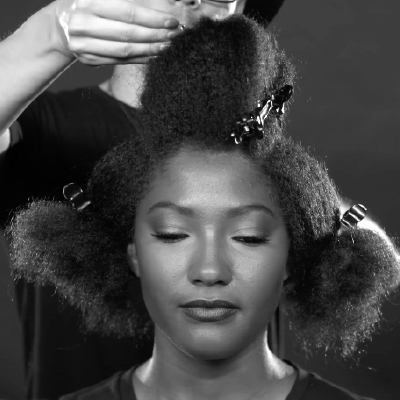
Section out a Mohawk segment along the parietal ridge. Start at both recession points of the hairline, widen at the top of the head, then narrow at the nape (slightly off-center).
- 2Step 2 of 10
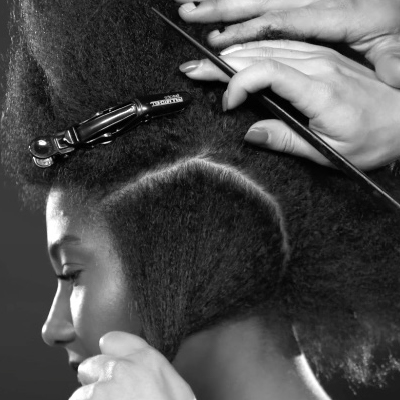
Split the sides in half, following the curvature of the Mohawk.
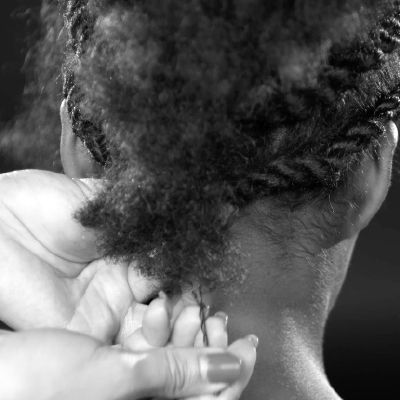
- 3Step 3 of 10
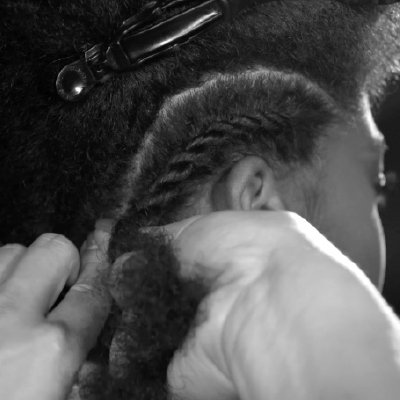
Apply Paul Mitchell Neon Sugar Cream for control and start a two-strand rope braid at the base on the bottom right side. Continue to braid 1 inch past the base in the back. Make sure to keep a few loose ends before securing the braid with an elastic band.
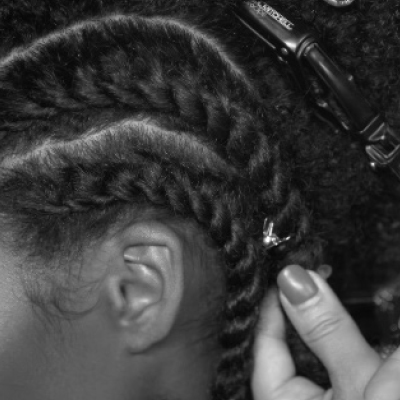
- 4Step 4 of 10
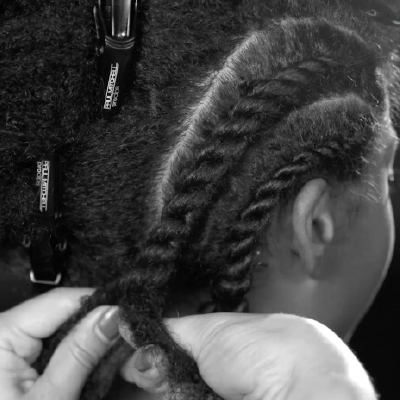
On the same side, start a new two-strand rope braid in the section above. Make sure to follow the curvature of the previous braid and apply Paul Mitchell Neon Sugar Cream as you go along for added control. Leave a few loose ends for texture and secure the braid with an elastic band.
- 5Step 5 of 10
Continue to the opposite side and start with the bottom braid, then the top, replicating the previous side.
- 6Step 6 of 10
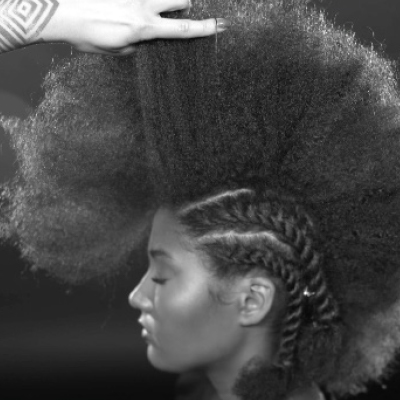
Move to the Mohawk segment and start to stretch the hair vertically. Mist Paul Mitchell Neon Sugar Confection as you go to create elasticity and control loose strands.
- 7Step 7 of 10
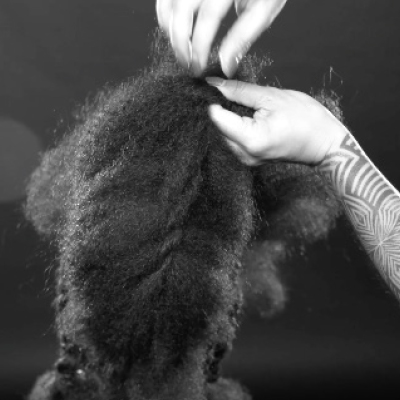
Starting in the back, create a large two-strand rope braid with the last 1 to 2 inches of the ends. Continue this until you reach the front, leaving the ends loose at the very front. Apply Paul Mitchell Neon Sugar Cream to your fingers as your maneuver through the braid.
- 8Step 8 of 10

Secure the ends at the front with an elastic band and pin them to the left temple. Expand these for an airy look and feel.
- 9Step 9 of 10
Lift the back of the Mohawk to secure the two top side braids together with a bobby pin. Secure the bottom two side braids together, expanding the ends that were left out to create seamless texture in the Mohawk.
- 10Step 10 of 10
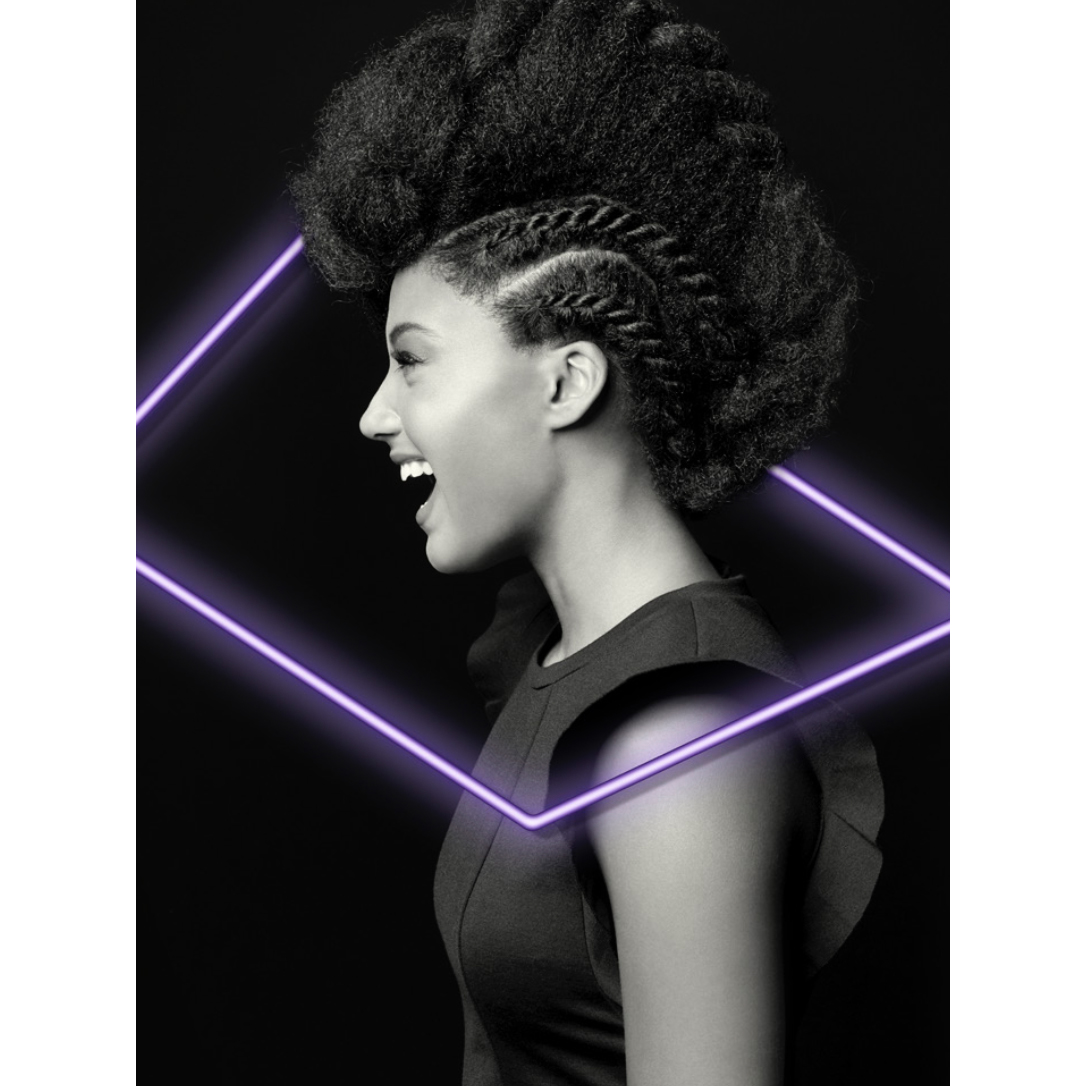
Finished look.
Braids
Rope-Braided Mohawk
February 22, 2017·1 min read
This prom-worthy updo is definitely for your sassy gals who want to add a little edge to their party look. We got this step-by-step straight from Noogie Thai, session stylist and Paul Mitchell International Trainer. Check it out! (more…)
More to Read


