- 1Step 1 of 11
This model had a black band through the midshafts as a result of using box dye on her hair for a year. Apply Formula A to even out the canvas.
- 2Step 2 of 11
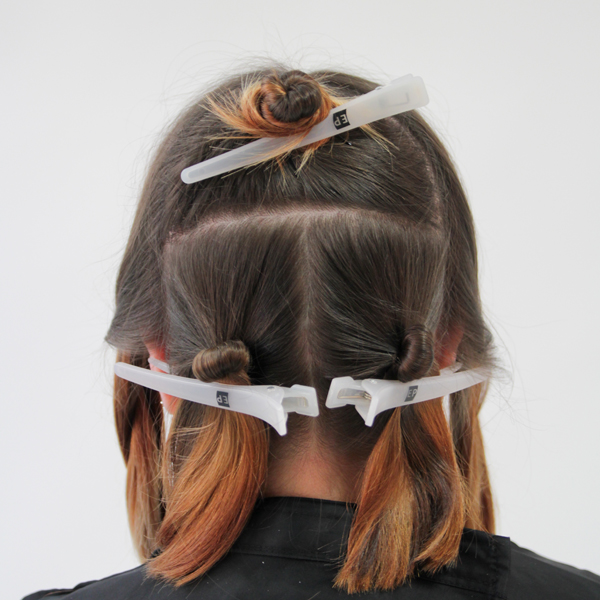
Divide the back of the head into three sections, then create two front sections. The fringe will not be prelightened. Use the fringe as a guide for the beginning of the lightener application.
- 3Step 3 of 11

- 4Step 4 of 11
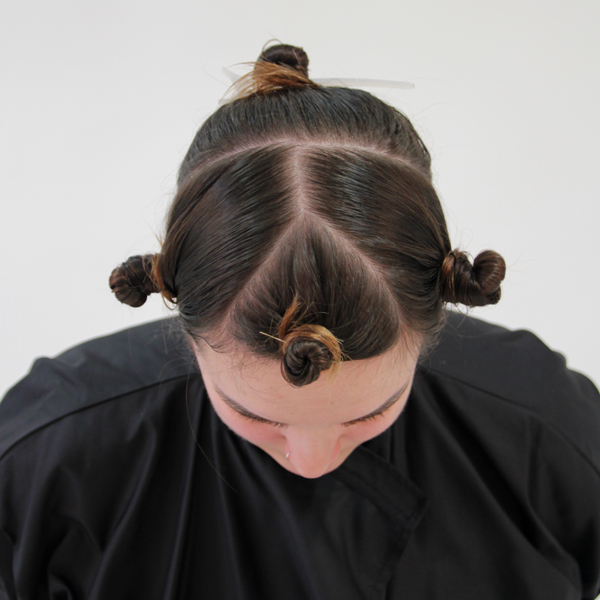
Sectioning continued.
- 5Step 5 of 11
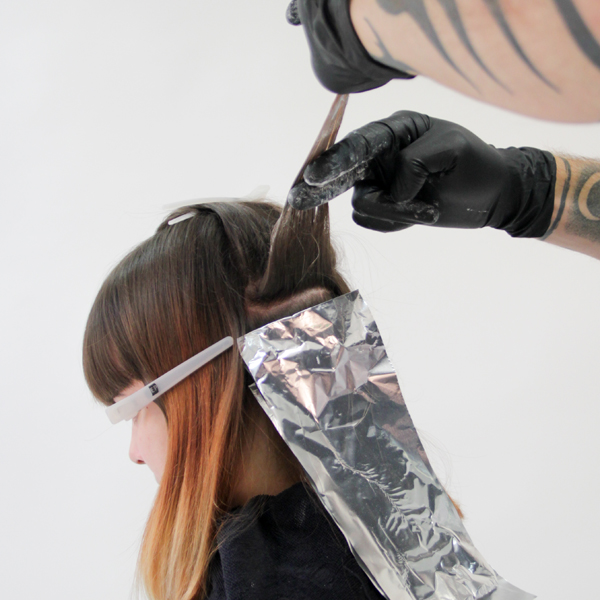
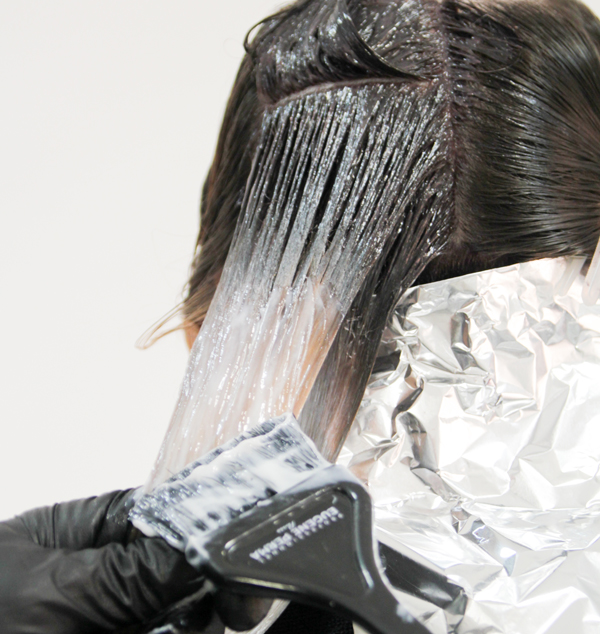
Starting in the back sections, use a balayage technique to apply Formula B. As you work, apply the product lightly on the midlengths, then saturate the ends for more contrast. Do not apply lightener to the root area—this section remains dark.
- 6Step 6 of 11
After Formula B is applied, use your fingers to work the lightener into the top and bottom of each section.
- 7Step 7 of 11
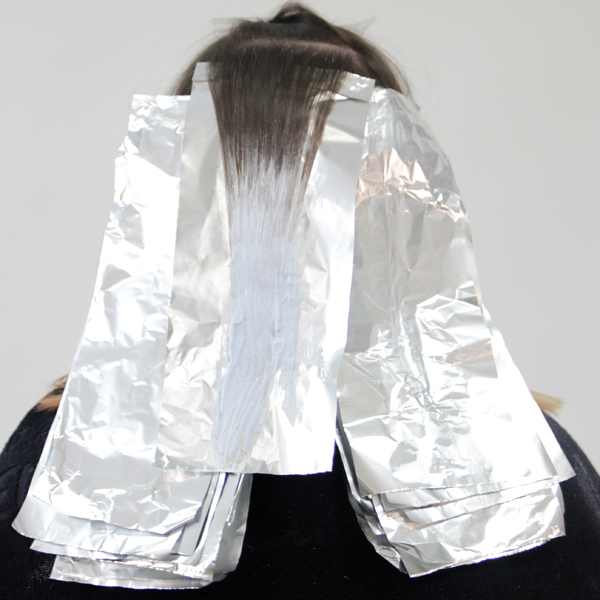
Work up to the top of the head in this manner, and continue until all of the back sections are complete.
- 8Step 8 of 11
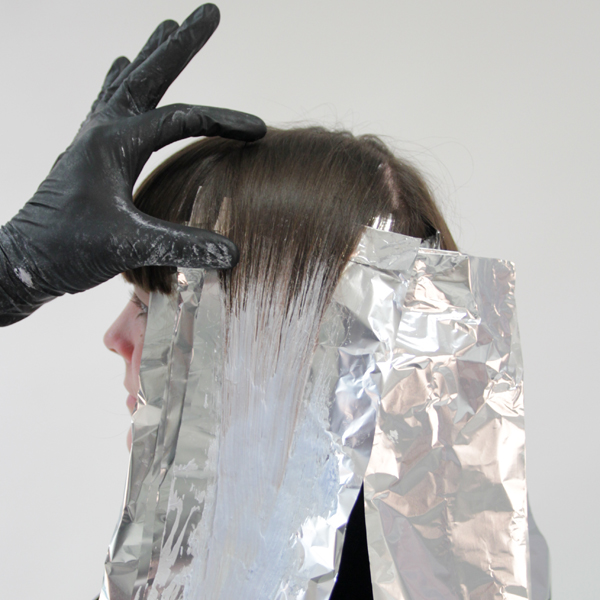
Continue applying the lightener in this manner on the side sections. Apply the formula closer to the root on the lower sections, and further from the root on the higher sections. Use the fringe as a guide for the point on each section on which to begin the lightener application.
- 9Step 9 of 11
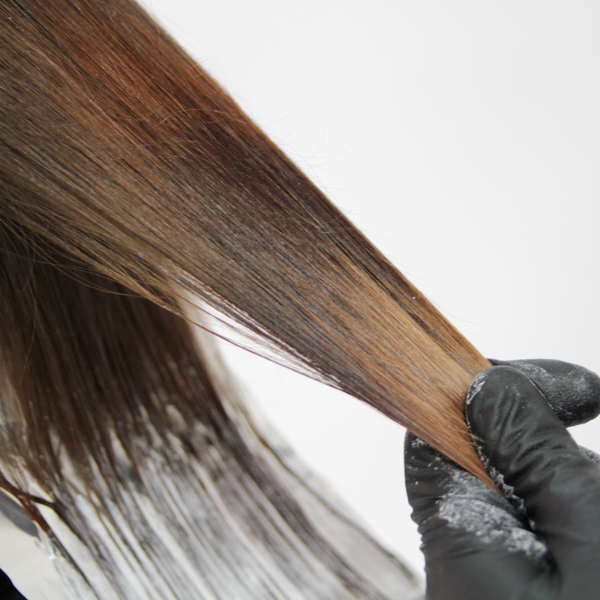
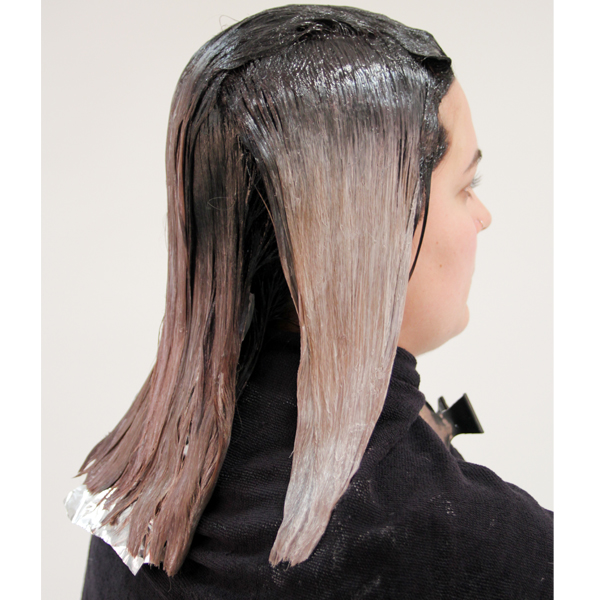
Once the lightener is processed and removed, go back through each section and apply Formula C to the roots, Formula D to the midlengths and Formula E to the ends. Blend the three formulas together with your fingers.
- 10Step 10 of 11
Step 7 continued.
- 11Step 11 of 11
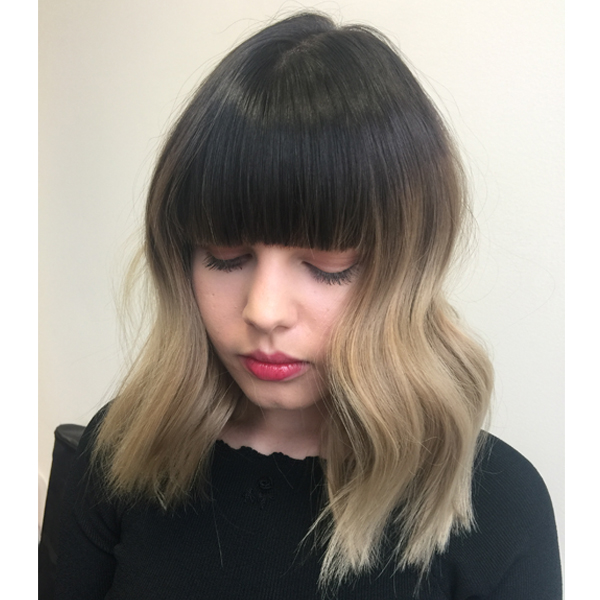
Process, rinse and style.
Balayage
Parisian Ombré
June 28, 2017·1 min read
Sophisticated and strong, this brunette-to-blonde blend by Ludovic Gehaniaux (@ludovicgehniaux_paris) of utilizes hand-painting and precision placement for a bold color melt effect. Here’s how you can recreate it at the salon. (more…)
More to Read


