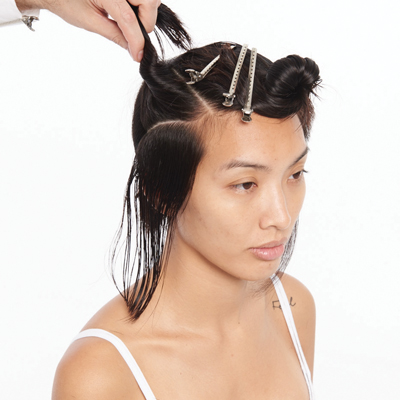
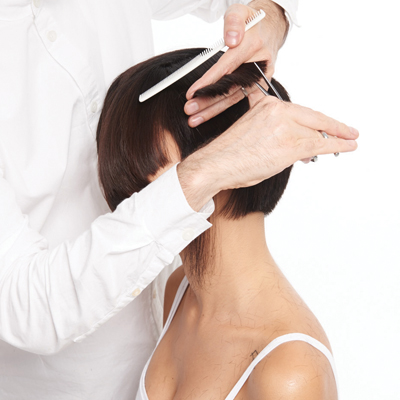
- 1Step 1 of 32
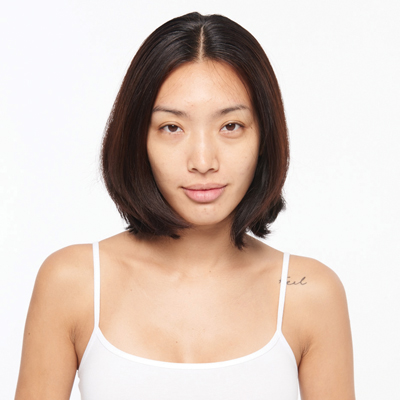
Before
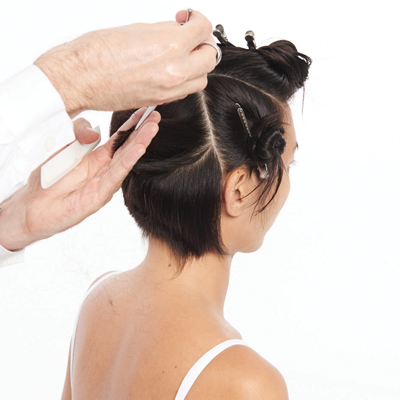
- 2Step 2 of 32
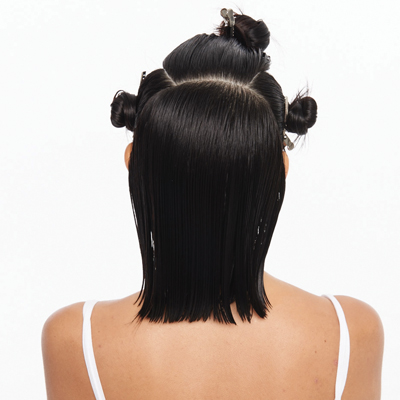
Part the hair on both sides from the crown to the back of the ears. Next, create a rectangular disconnected section on the top area by taking a parting on both sides (from the recession area) running into the previous partings. Sections may vary depending on the individual hair type and texture.
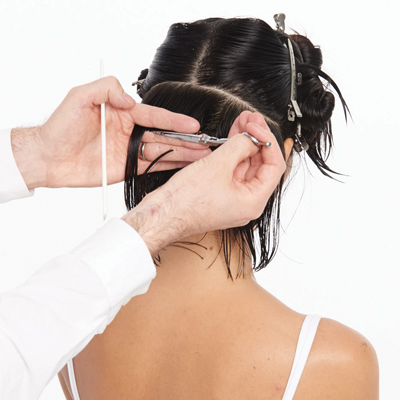
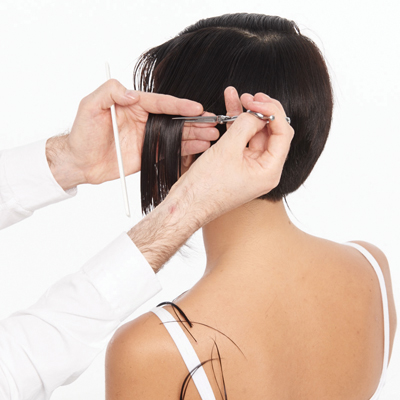
- 3Step 3 of 32
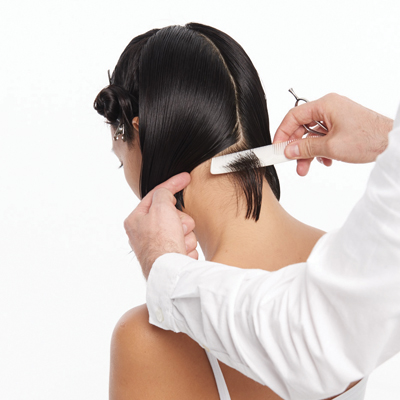
Part the hair from crown to nape, then take out a fine, horizontal square section from the parting.
- 4Step 4 of 32
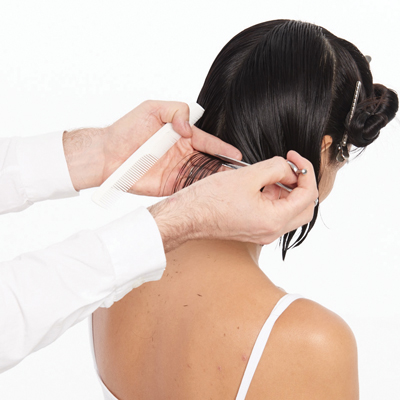
Elevate the hair directly out from the head and cut a horizontal guideline tight to the nape. Note: The first section will determine eventual height of the graduation in the back area. These lengths may vary depending on individual hair type and texture.
- 5Step 5 of 32

Repeat the same process on the opposite side. Tip: Cut both the left and right side simultaneously as you work up the head to ensure a good balance.
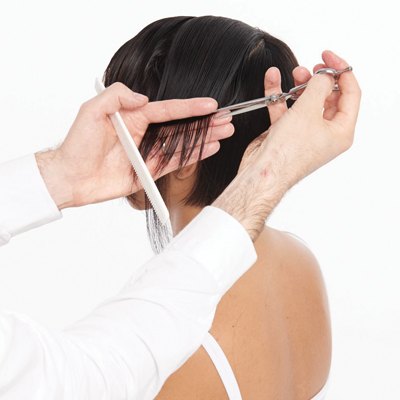
- 6Step 6 of 32
Keeping even tension, continue taking subsequent sections as you graduate and work up the back of the head toward the crown. Focus particularly on the square shape being created, plus retaining the weight behind the ears. Note: The individual head shape determines the amount of elevation used in the graduation to create the amount of required weight.
- 7Step 7 of 32
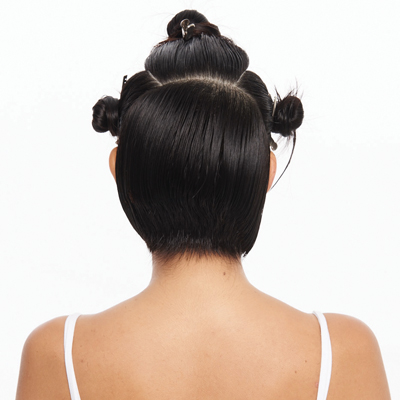
View of the finished back section before refining.
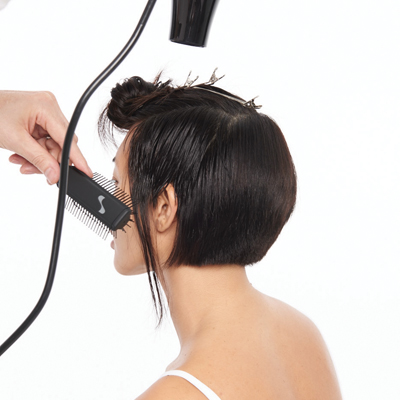
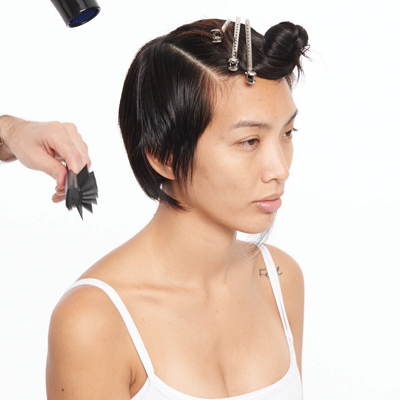
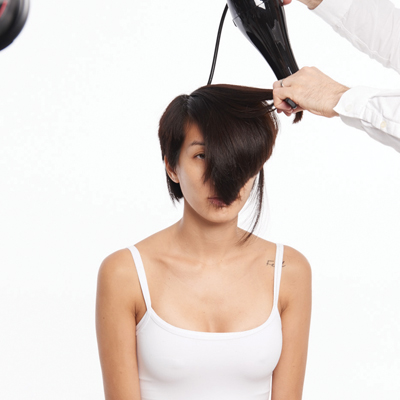
- 8Step 8 of 32
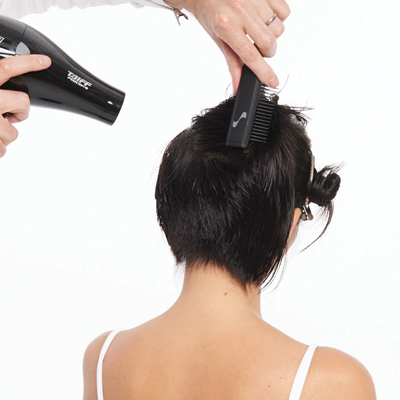
Blow-dry the back section.
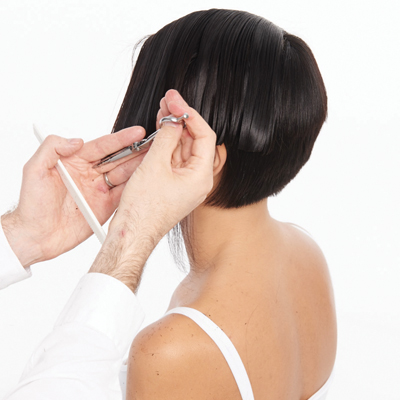
- 9Step 9 of 32
Refine the shape by working across the back section using a round graduated technique to remove the corner at the top of the previously graduated back area. Note: Remain focused on retaining the weight behind the ear.
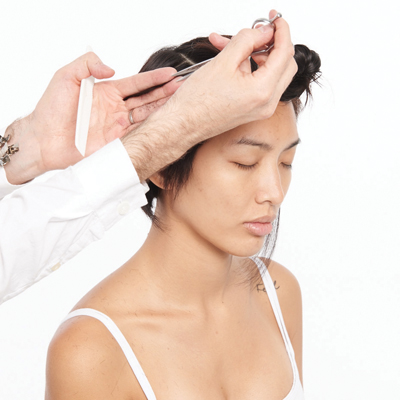
- 10Step 10 of 32
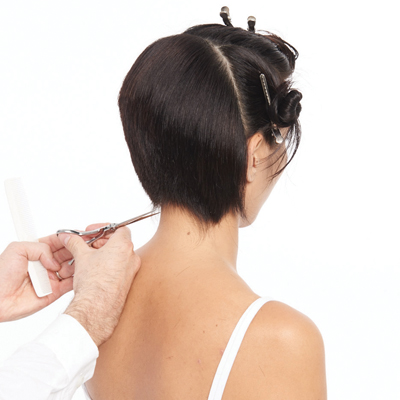
Using the point of the scissors, cut an arched line from the center back outward and repeat on the second side. Note: Cut the outline freehand using no tension, following the natural hairline where possible.
- 11Step 11 of 32
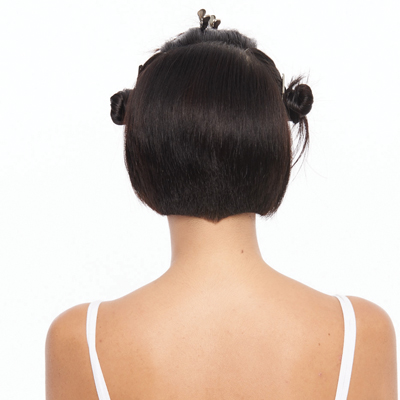
View of the completed back section.
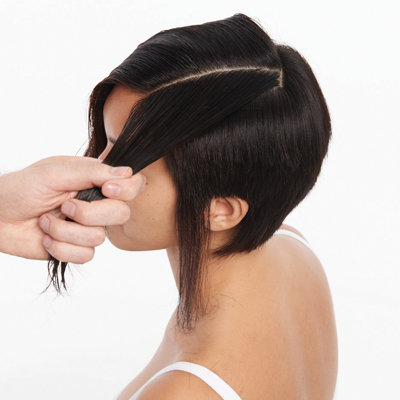
- 12Step 12 of 32
Take a small diagonal section at the bottom of the left side and section out the lock of hair; this is a key feature of the look.
- 13Step 13 of 32
Taking horizontal-diagonal sections from right to left toward the hairline, cut a graduated section and work up toward the top overdirecting each section to the previous. Note: Keep the cutting line parallel to the section.
- 14Step 14 of 32
Blow-dry the side section.
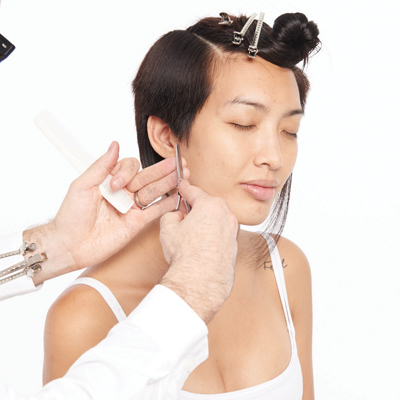
- 15Step 15 of 32
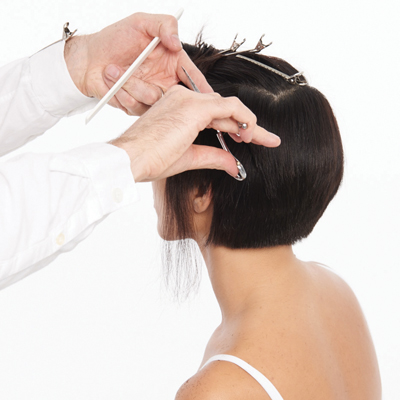
Refine the section by removing the corner at the top of the graduated area. Using the point of the scissors, refine the hairline and the area around the ear.
- 16Step 16 of 32
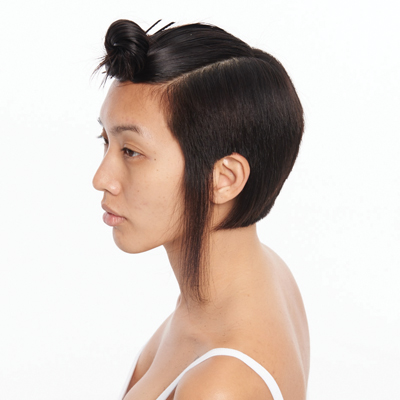
View of the completed first side.
- 17Step 17 of 32
On the opposite side, take diagonal sections and cut a round graduated shape from the front toward the back, angling your fingers tighter toward the back of the ear to retain length in the front hairline. Note: Do not connect with the back section of weight behind the ear.
- 18Step 18 of 32
Continue with subsequent sections working toward the top of the side, bringing each section to the previous.
- 19Step 19 of 32
Blow-dry the side section.
- 20Step 20 of 32
Refine the section by removing the corner of the graduation.
- 21Step 21 of 32
Use the point of the scissors, refine the area around the ear.
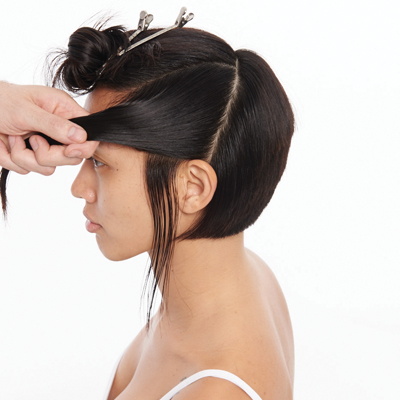
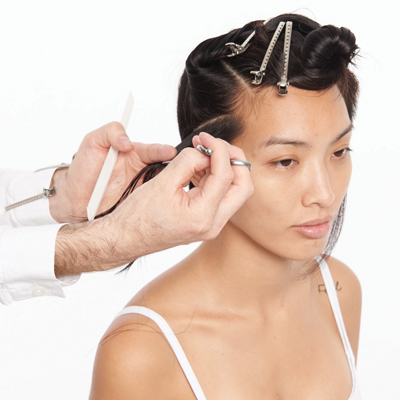
- 22Step 22 of 32
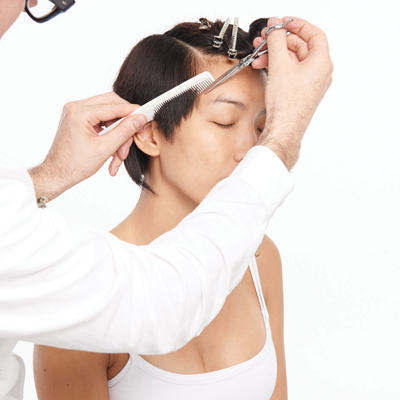
Combing hair slightly forward, carefully refine the hairline with the point of the scissors.
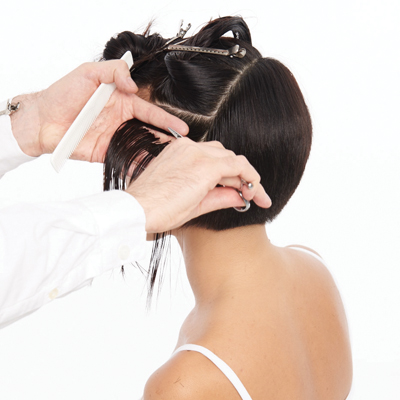
- 23Step 23 of 32
Visually review the completed underside; using a slicing technique (where required), remove fine pieces of weight. Note: The suitability of this technique will depend on the individual hair type and texture. At the top of the back and side sections, lift up using a layering technique and connect if necessary; this will also depend on the individual hair type and texture.
- 24Step 24 of 32
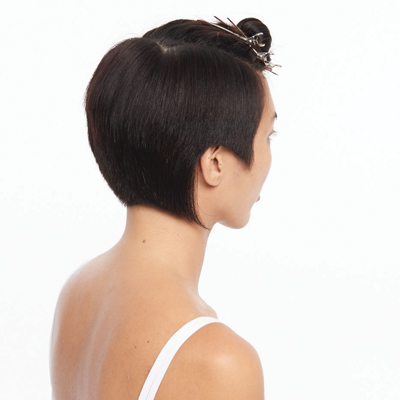
View of the completed underside.
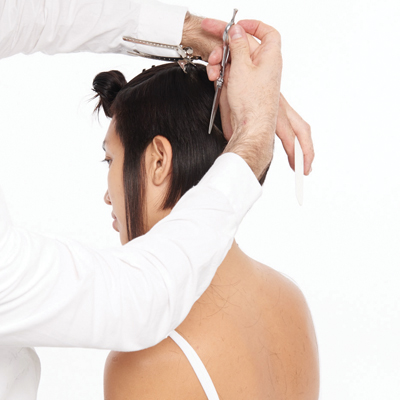
- 25Step 25 of 32
Take a horizontal section toward the hairline.
- 26Step 26 of 32
Slightly overdirect the section back and cut a line angling toward the cheekbone. Hold hair in your fingers using medium tension. Note: The cheekbone is your visual guide.
- 27Step 27 of 32
Continue taking subsequent sections, elevating very slightly each time.
- 28Step 28 of 32
When moving closer to the front area, use less elevation and keep the line closer to the face.
- 29Step 29 of 32
Blow-dry the top section.
- 30Step 30 of 32
Gently refine the top section with a pointing technique.
- 31Step 31 of 32
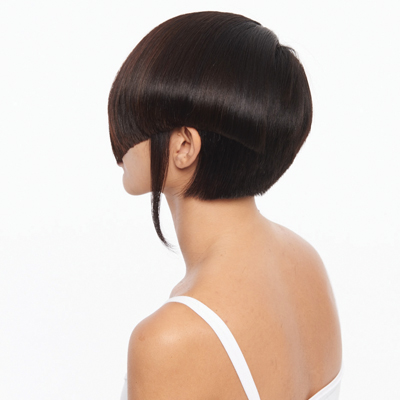
View of the completed cut prior to the color application.
- 32Step 32 of 32
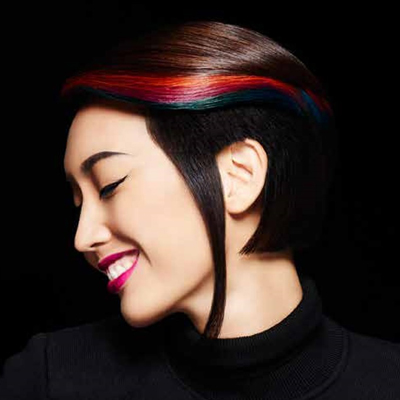
Finished Look
Hair Color
Multi-Graduation
December 20, 2015·1 min read
Joico’s newest trend collection, Unison, celebrates the fundamentals of hairdressing, while paying homage to a few masters of modern design who illustrated that fine details can make a dramatic difference. This modern, versatile shape celebrates the diversity of graduation. Different techniques of internal graduation are used, creating the seamless “unison of cut and color.” A fine attention to detail and close control of the internal and external shapes pull together to create an exciting look that inspires confidence. (more…)
More to Read


