- 1Step 1 of 19
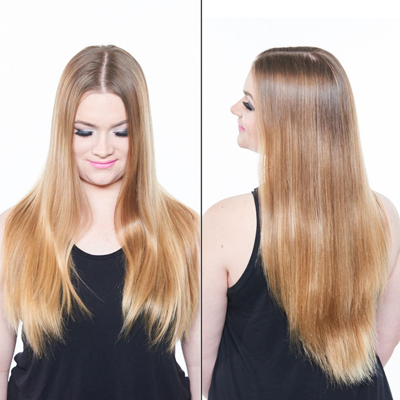
Before
- 2Step 2 of 19

Lighten hair to a Level 10 by applying Formula A from the midshafts to ends and Formula B to the scalp area.
- 3Step 3 of 19

Tone the hair with Formula C to achieve a silver finish.
- 4Step 4 of 19

- 5Step 5 of 19
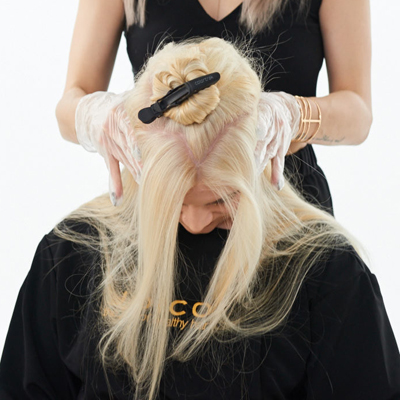
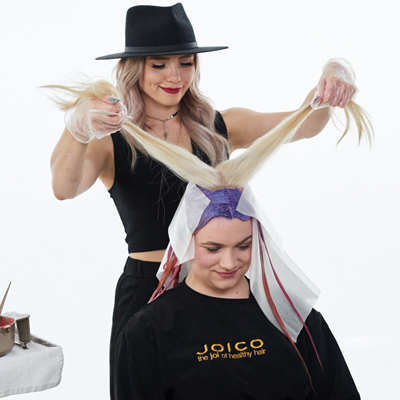
Create a star-shaped section at the crown. Leave out a half inch of the fringe, then start the star-shaped section from here. Clip this section out of the way.
- 6Step 6 of 19

Section the hair left out of the star into seven sections. The star section at the top will help you create even sections at the bottom.
- 7Step 7 of 19
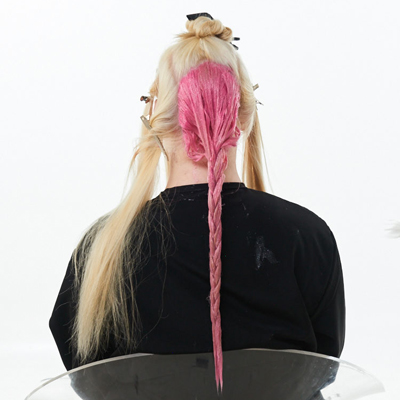
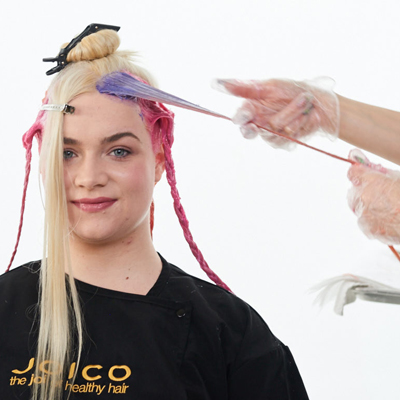
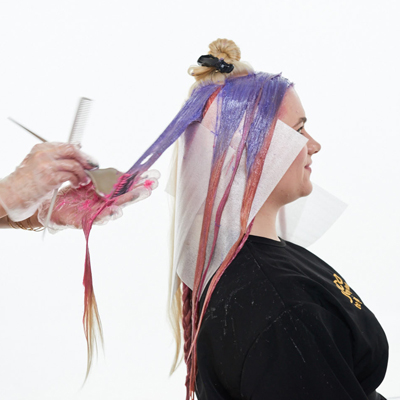
Begin with the largest section in the back. Paint on Formula D starting at the roots and working your way to the ends. Completely saturate the hair. When you finish saturating the section, braid it to keep the hair out of the way.
- 8Step 8 of 19
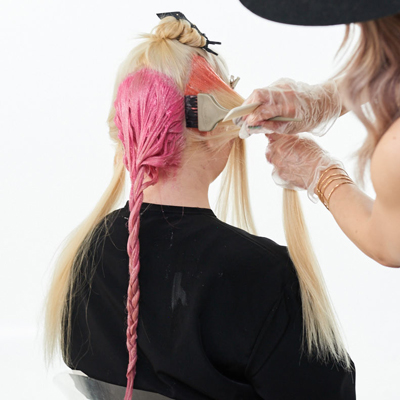
Apply Formula E to either side of the first section. Alternate between Formulas D and E until you reach the front.
Pro Tip: It’s really important to move other sections completely out of the way so that the sections don’t bleed. Hold the hair up as you braid to keep the color from touching the skin.
- 9Step 9 of 19
When you reach the two sections at the front, switch to a color melting technique to blend two colors together. Apply Formula F at the roots, then switch to Formula E down toward the ends.
- 10Step 10 of 19
Use a finger-scissor blending technique to blur the line where the two colors meet.
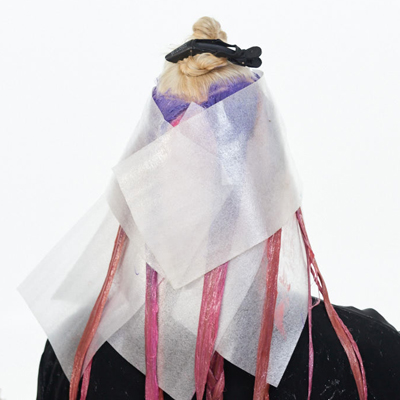
- 11Step 11 of 19
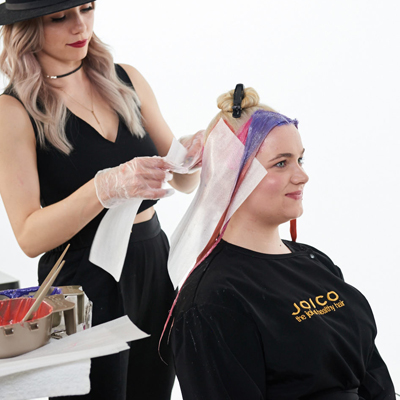
After the bottom sections are done, apply meche along the section line to prevent the colors from bleeding together.
- 12Step 12 of 19
Next, it’s time for the star. Section out each triangle point of the star until you’re left with a center hexagon.
- 13Step 13 of 19

For each point of the star, continue to use the color melting technique to blend two different colors together on one section. For this look, all the roots will be Formula F, with the ends alternating between Formulas D and E.
- 14Step 14 of 19
As you work toward the back of the head, paint Formula F farther down the hair.
- 15Step 15 of 19
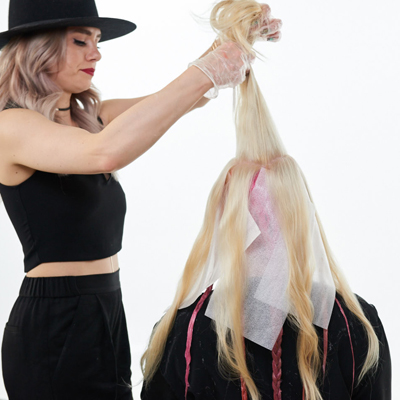
Continue until all the points are completely saturated, then cover with the meche.
- 16Step 16 of 19
Take the top hexagon and split it in half. Continue with the color melting technique on each side, shifting from Formula F in the teardrop shape to either Formulas D and E.
Pro Tip: Double-check to make sure application is even on both sides.
- 17Step 17 of 19
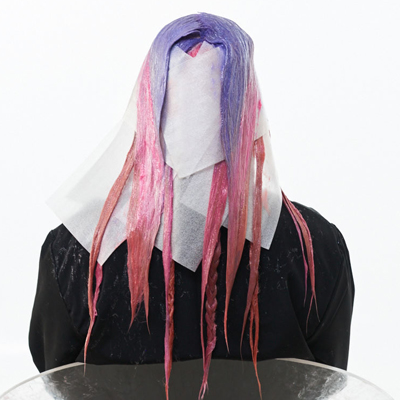
When you’re done, the section with Formula F should resemble a teardrop shape. The result is multidimensional, yet will still melt and flow together. Process for 20 minutes without heat. Shampoo and condition with K-PAK Color Therapy, then style hair as desired. For color that lasts up to three times longer, send your client home with Color CO+Wash Whipped Cleansing Conditioner.
- 18Step 18 of 19
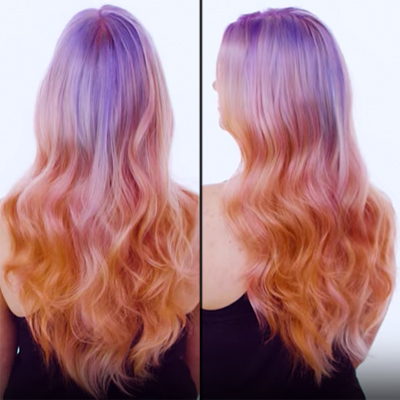
Finished Look
- 19Step 19 of 19Watch the video ↗
Color Melt
Larisa Love's Star Color Melt
October 24, 2016·1 min read
The key to this multidimensional melt? The sectioning! A star-shaped section at the top helps you create even sections throughout, explains Larisa Love, aka @larisadoll. Check it out! (more…)
More to Read


