- 1Step 1 of 15
Section off the top at the parietal ridge, down the center back and at the occipital bone.
- 2Step 2 of 15
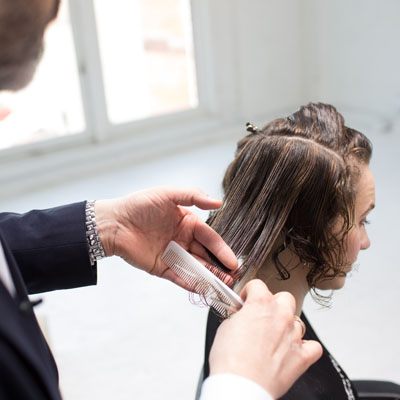
Lift the hair by combing the hairline up toward the occipital bone but keep the elevation below 90 degrees, creating a square shape.
- 3Step 3 of 15
Cut a strong outline, working with little to no tension.
- 4Step 4 of 15
Work vertically, overdirecting the hair back toward the center to refine the graduation, then cross-check horizontally.
- 5Step 5 of 15
Work in horizontal sections bringing everything to the stable guideline originally created.
- 6Step 6 of 15
Go back through with vertical sections and lift slightly higher with each section to continue graduation, then cross-check horizontally.
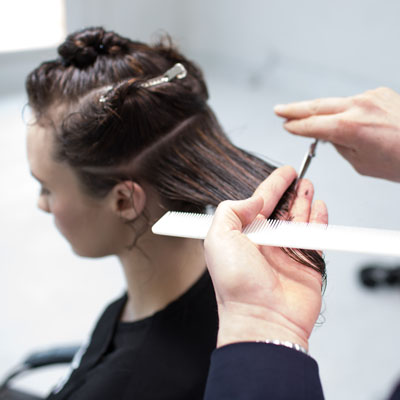
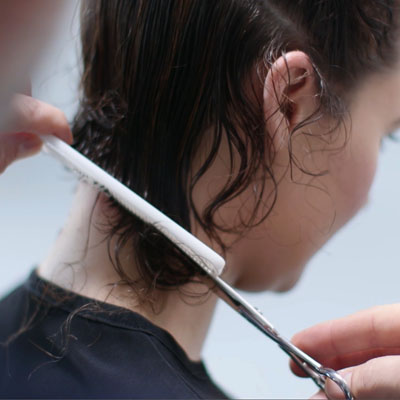
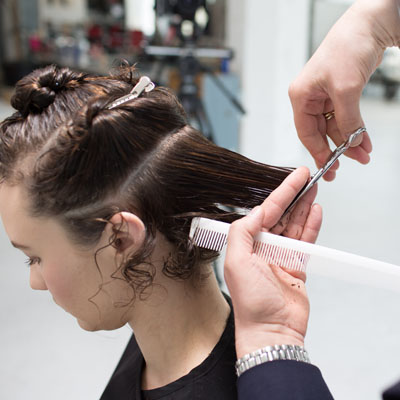
- 7Step 7 of 15
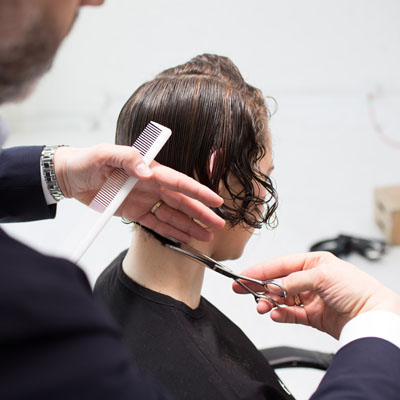
Refine your outline using a bit of tension.
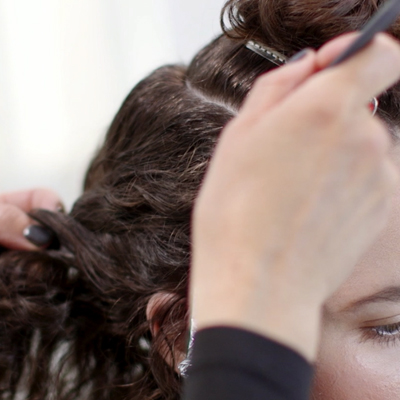
- 8Step 8 of 15
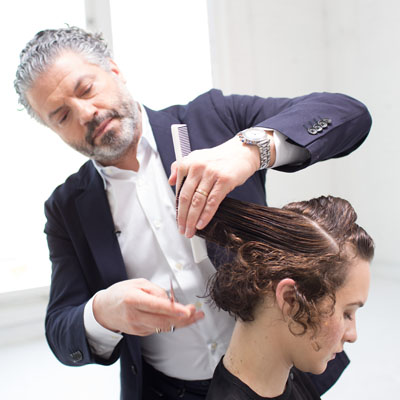
Comb the top section to the natural part, then take vertical sections, twisting each one and carve* through the hair to create a soft disconnection with a freehand technique.
(*when carving be sure to close the scissors and don't slide-cut the hair)
- 9Step 9 of 15
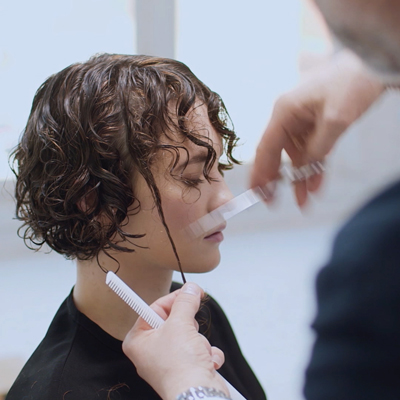
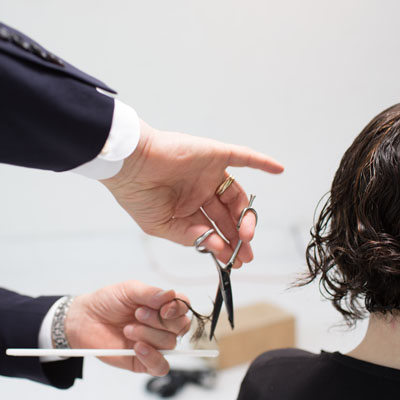
Cut the fringe following her cheekbones to create a rounded shape.
- 10Step 10 of 15
Re-dampen the hair, apply Phytokératine Extrême Exceptional Cream and allow the hair to dry naturally.
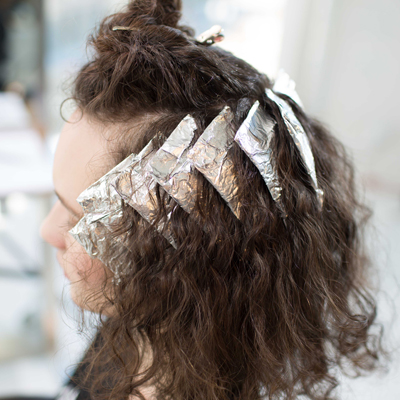
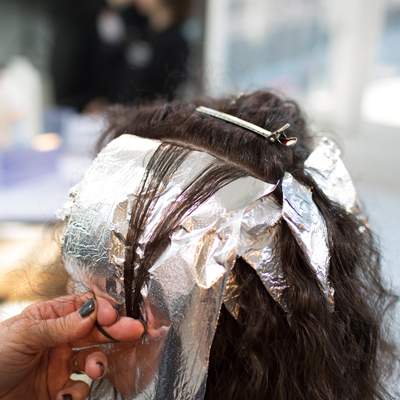
- 11Step 11 of 15
Begin with a horseshoe section that runs below the parietal ridge and above the occipital bone. Leave the area below the occipital bone untouched as to not affect the haircut. Starting above the ear, working in 1-inch diagonal sections, use a slicing technique at the hairline to apply Formula A in foils.
- 12Step 12 of 15
Continue from the center and work toward the back of the head. Alternate between two and three ribbons and apply color at an angle to minimize the line of demarcation at the scalp. Then repeat on the other side.
- 13Step 13 of 15
Moving to the top and splitting the hair into two equal parts, take diagonal sections using a herringbone technique. Then use 1-inch wide ribbons to create depth.
- 14Step 14 of 15
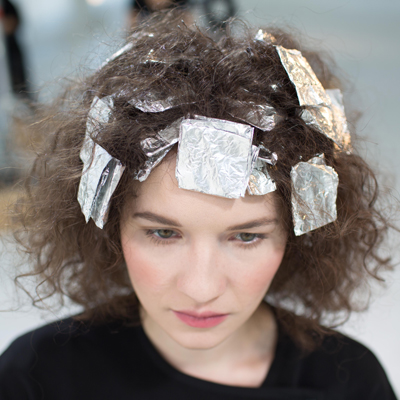
Focusing on the hair that frames the face, apply Fomula B and backcomb random curls to create a seamless application with maximum concentration of color on the ends.
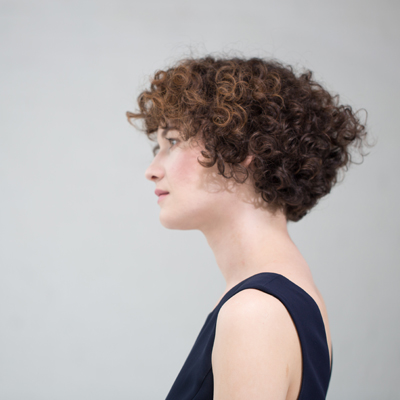
- 15Step 15 of 15

Finished Look
Cutting Curls/Texture
Curly Cut and Contoured Color
November 10, 2016·1 min read
Just because your client likes to keep things effortless and natural doesn’t mean she can’t rock a fierce, feminine look at the same time. Empower your client with this curly, versatile cut and contouring color from PHYTO Global Artistic Director Anthony Cristiano and Becky Janopoulous, Color Director for Anthony Cristiano Salon. Perfect for every client who wants a little detail added to her natural look, this chop and color is crucial to add to your arsenal. (more…)
More to Read


