- 1Step 1 of 7
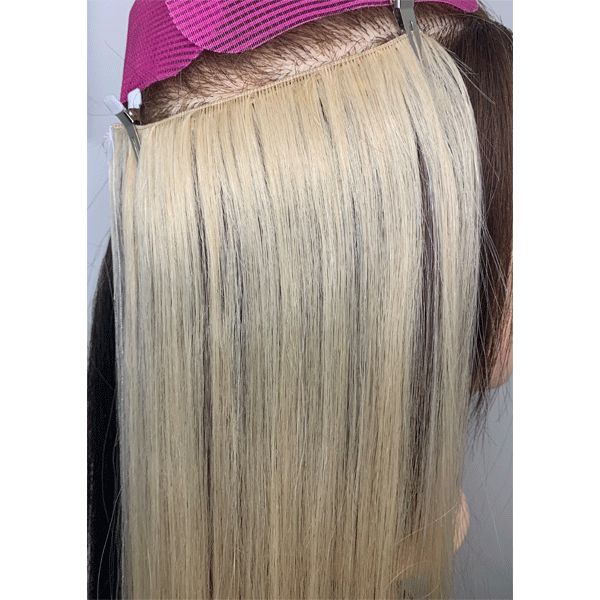
Before
- 2Step 2 of 7
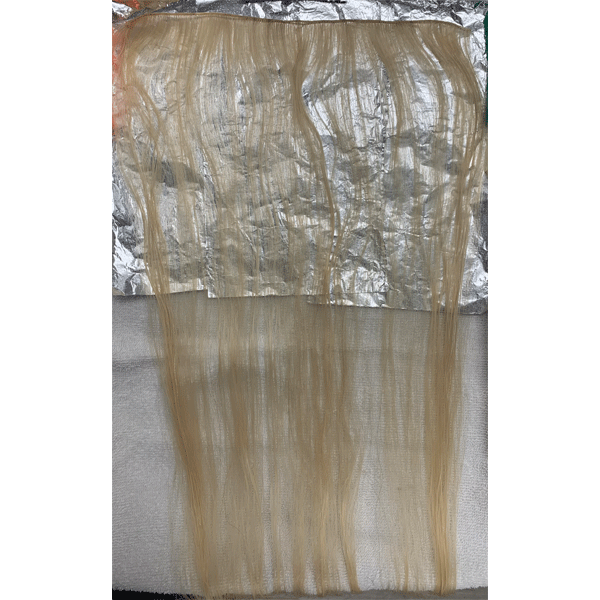
Pre-wash the Hand Tied Weft Extensions before applying color for better color absorption. Dry thoroughly and lay flat on foil or wax paper for application.
- 3Step 3 of 7
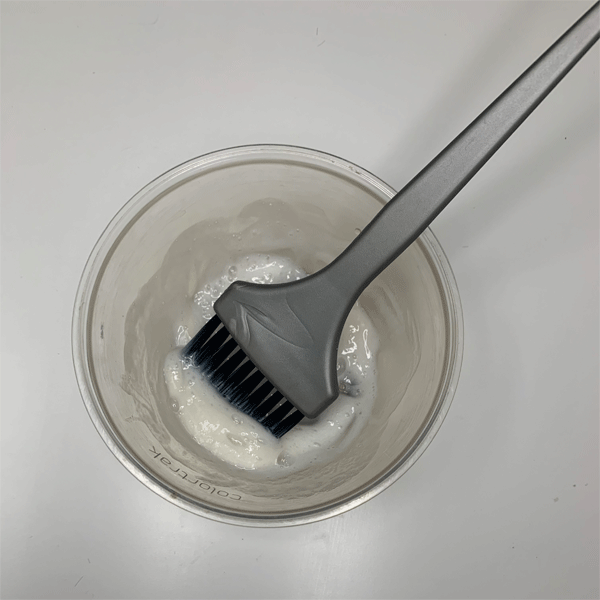
Formulate the root shade. When coloring Hand Tied Weft Extensions, it is recommended to only use semi or demi-permanent color and avoid applying any lightener or permanent shades.
Pro Tip: Extensions tend to process faster, darker and have more of an ashy result. So, when you're formulating for a warm ginger result, add extra gold to the formula and keep a close eye on the weft as it processes.
- 4Step 4 of 7
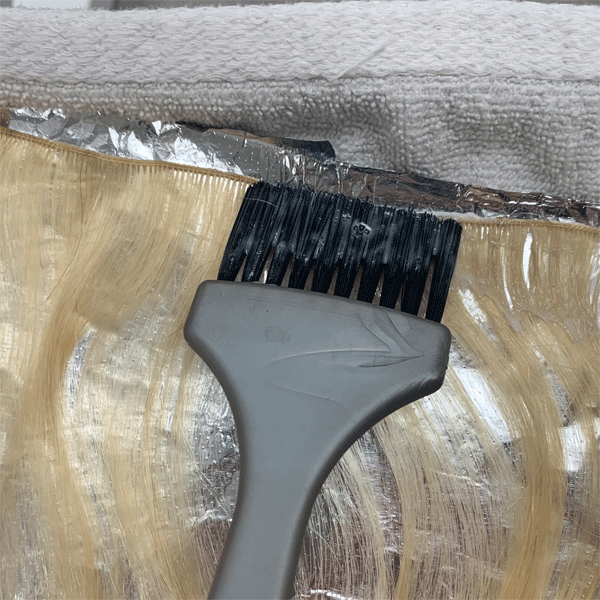
Apply the base color to the roots and heavily saturate both sides of the weft to avoid spotty results.
- 5Step 5 of 7
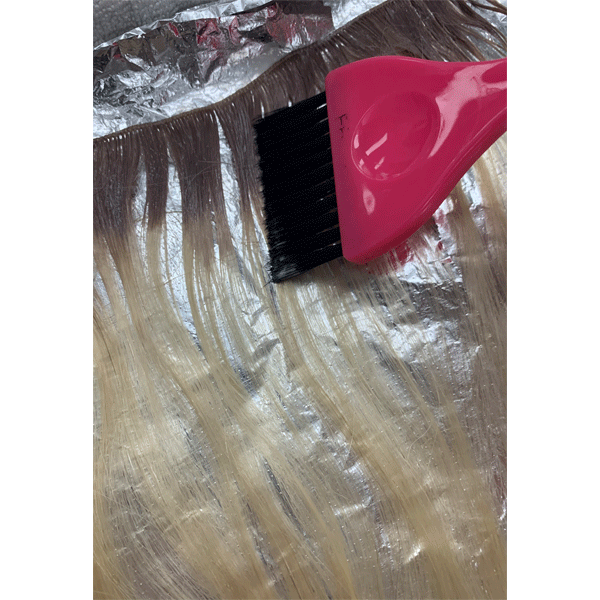
Begin blending the base color down toward the mids with the side of a clean color brush. Use long, soft strokes to create a seamless blend.
- 6Step 6 of 7

Use a comb to blend the color further down to ensure even saturation. Apply any other desired shades and allow color to process. After processing, wash and dry the weft before installing.
Pro Tip: To create a more transitional blend, apply a second color to the mids and blend down into the lighter ends.
- 7Step 7 of 7
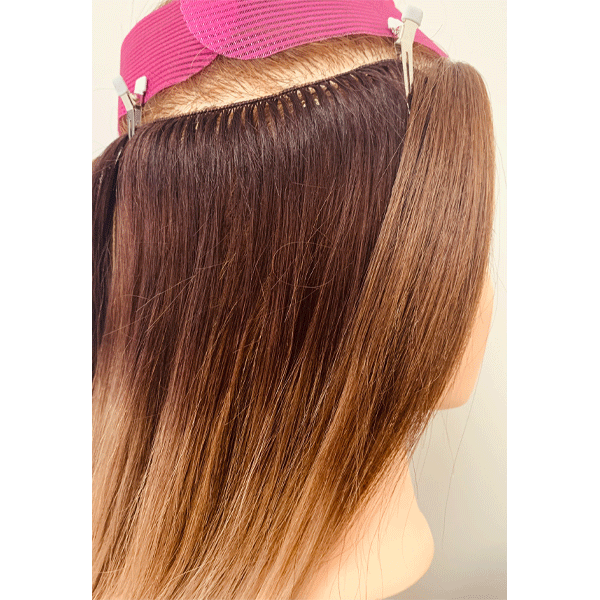
Finished look
Color Melt
How-To: Color Extensions
January 4, 2021·1 min read
Offering extensions not only expands your service menu but also allows clients to switch up their look without the commitment (or color correction!). But if the thought of coloring extensions makes you think twice, we’re here to help. Babe Hair Extensions Director of Education Kari Fuller (@karifuller) shared her color technique for creating a rooted, blended look on weft extensions below, plus pro tips for even saturation and avoiding spotty results! Keep scrolling for all of the steps! (more…)
More to Read


