Most of your clients want to keep their look fresh and natural when it comes to their makeup. OK, she probably also wants to look airbrushed like the cover of Cosomopolitan. One simple way to give her face definition and a flawless finish is through contouring and highlighting. Contouring a client’s face can often lead to caked on makeup that won’t give your client the natural feel they desire. To help make things extremely easy, Lori Leib, Bodyography™ Cosmetics Creative Director and professional makeup artist, has put together a step-by-step guide on how to achieve flawless contouring and highlighting that (more…)
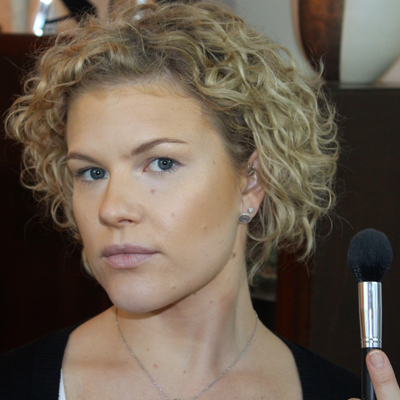
- 1Step 1 of 9
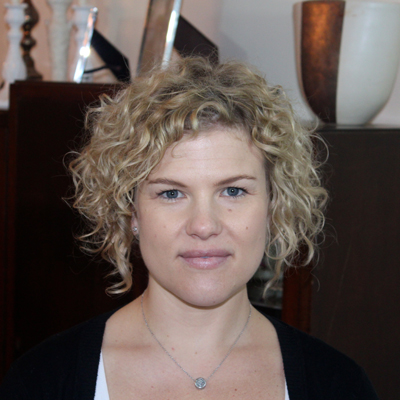
Start with clean/primed skin.
- 2Step 2 of 9
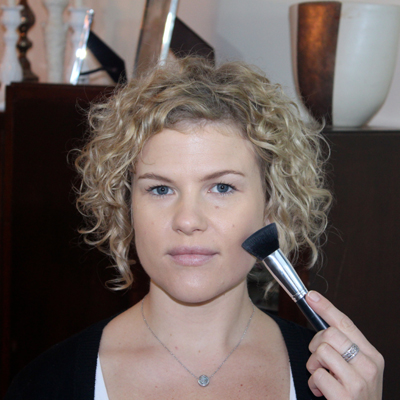
Apply Bodyography™ Silk Cream Compact Foundation in your client's shade with the Bodyography™ Buffing Brush.
- 3Step 3 of 9
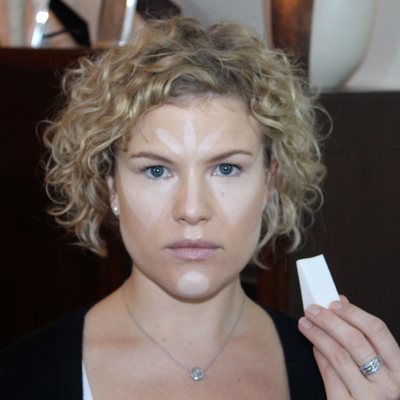
Apply Bodyography™ Silk Cream Compact Foundation 1 to 2 shades lighter than the client's skin and use as a highlight.
- 4Step 4 of 9
Apply Bodyography™ Silk Cream Compact Foundation 2 to 3 shades darker than the client's skin to contour and shade.
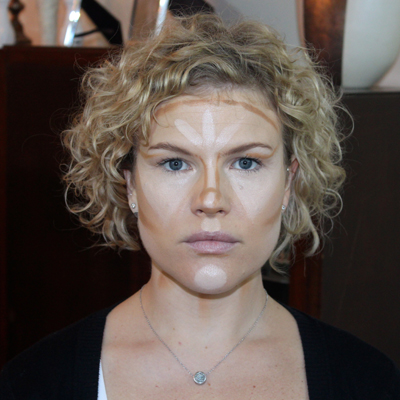
- 5Step 5 of 9

Blend in with the Buffing Brush, leaving no harsh lines.
- 6Step 6 of 9
Apply Bodyography™ Everyfinish Powder in light and dark to set the highlight and contour.
- 7Step 7 of 9

Apply a light blush to the upper cheekbones and a lip gloss.
- 8Step 8 of 9
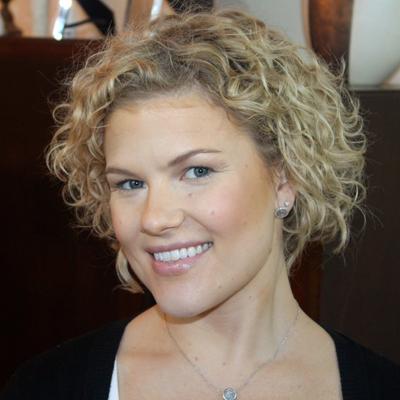
Voila! A beautiful, glowing and natural complexion!
- 9Step 9 of 9