- 1Step 1 of 12
Find the guest’s natural part, and part to just below the occipital bone and to the tip of the ear on both sides. This should create two front sections.
- 2Step 2 of 12
Within these sections, separate out ¼-inch of the hairline. Babylight using micro-fine weaves, following the hairline as your guide for placement.
- 3Step 3 of 12
Neatly pack each foil with Formula A.
- 4Step 4 of 12
- 5Step 5 of 12
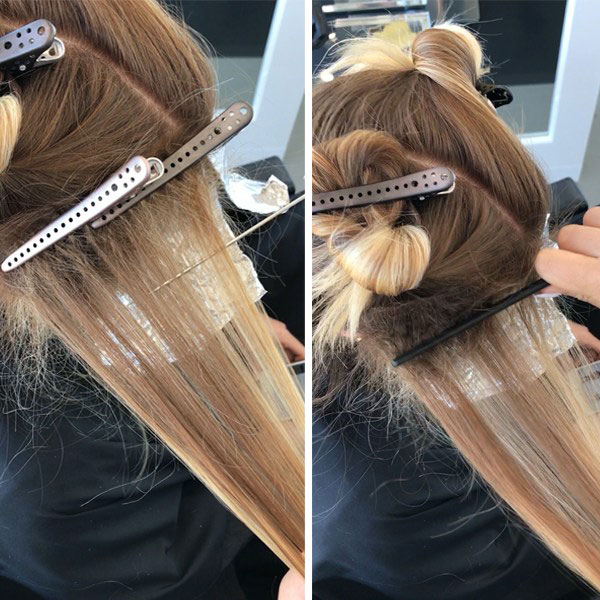
Starting right behind the previously-placed babylights, take 1-inch diagonal back sections. Neatly and tightly backcomb the entire section (the neater you construct the backcombing, the easier it is to de-construct), then weave the section and balayage using Formula A.
- 6Step 6 of 12
“Place blended vertical lines where you want to see light, and have the discipline to leave the pigment alone where you want to see the shadow,” says Liz. “You’re essentially contouring your guest’s color to complement her bone structure and skin tone. I personally like the depth to hit right below the cheekbone, and the light to be brought up around the hairline. Lightness around the hairline makes their skin glow and when the depth hits just below the cheekbone, it naturally makes it pop.”
- 7Step 7 of 12
Place each hand-painted, balayaged section in a foil to process. This will incubate the section and keep the lightener from drying out. Continue balayaging until you reach the end of the section, just below the occipital bone. Then, repeat on the other side. Process for about 45 minutes. Then rinse and towel-dry.
- 8Step 8 of 12

Organically weave sections and tone using Formula B, leaving some strands “raw” for dimension. Process for about 15 minutes, or until desired tone is reached.
- 9Step 9 of 12

- 10Step 10 of 12
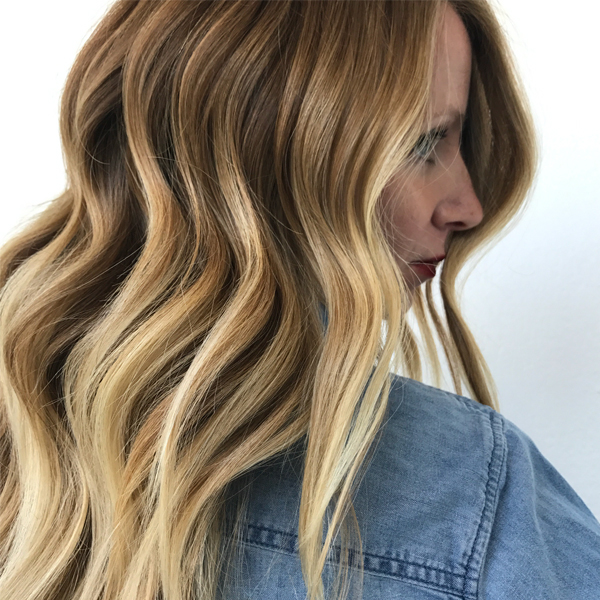
To finish, apply Kenra Professional Platinum Blow-Dry Spray, round-brush with the Paul Mitchell XL Round Brush, then curl with a 1.5-inch curling iron.
- 11Step 11 of 12
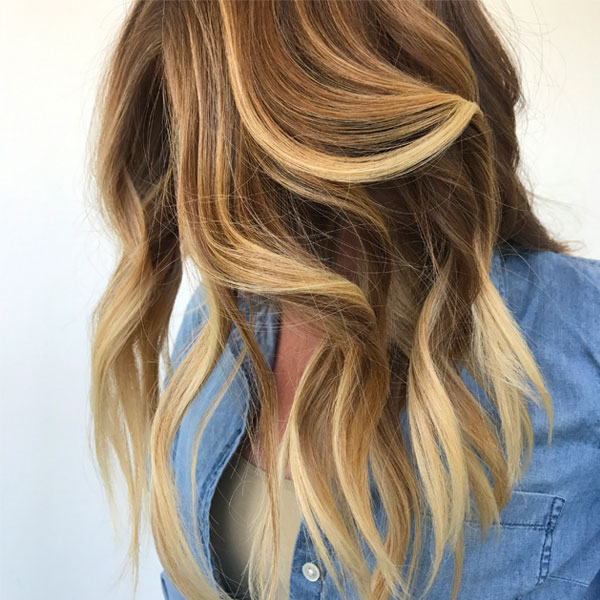
Finished look.
- 12Step 12 of 12
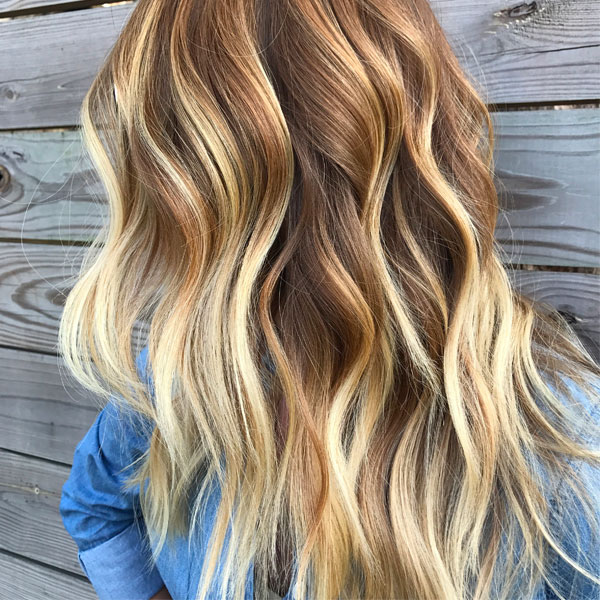
Finished look.
Balayage
Babylights Balayage | How To Create a High-Contrast Blend
October 19, 2017·1 min read
Want to know the secret behind Liz Haven O’Neill’s (@lizhaven) gorgeous, dimensional, babylights balayage creations? This. Is. IT. Below, Liz, owner of Kaleido Hair Artistry in Houston, Tex., breaks down the techniques she uses to achieve a high-contrast blend, including babylights, teasy highlights and color contouring. Babylights Balayage Pricing Partial balayage + babylights: $175+ Toner: $40+ Haircut: $90+ Total: $305+ “For each extra bowl of lightener or color that I mix, a charge $10,” shares Liz. “This is an easy way for me to customize the price per guest. For example, if a guest only requires one bowl, (more…)
More to Read


