- 1Step 1 of 15

- 2Step 2 of 15
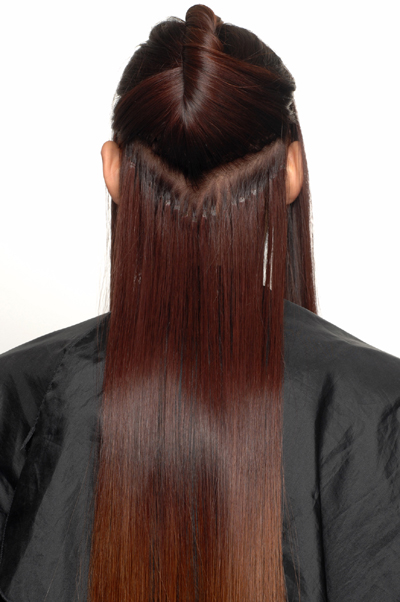
On the back of the head, create a “V” shaped section. Apply Great Lengths strands using “alternating” rows.
- 3Step 3 of 15
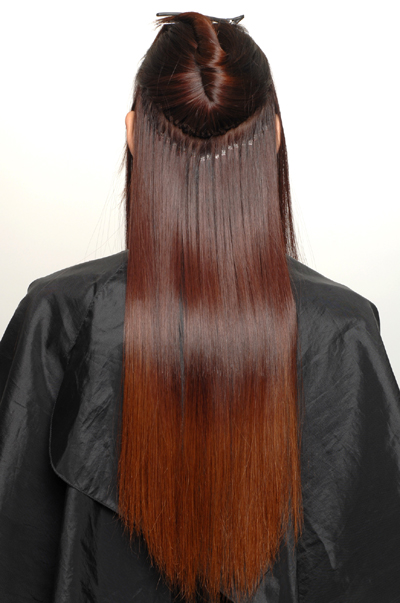
The second section is parallel to the first, again using “continuous” row placement.
- 4Step 4 of 15
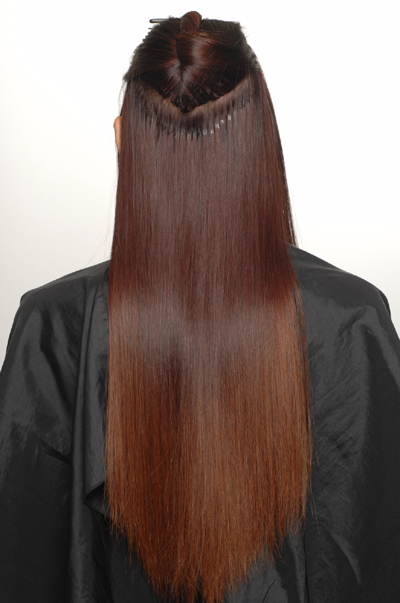
The third row is also parallel using “continuous” rows to build density.
- 5Step 5 of 15
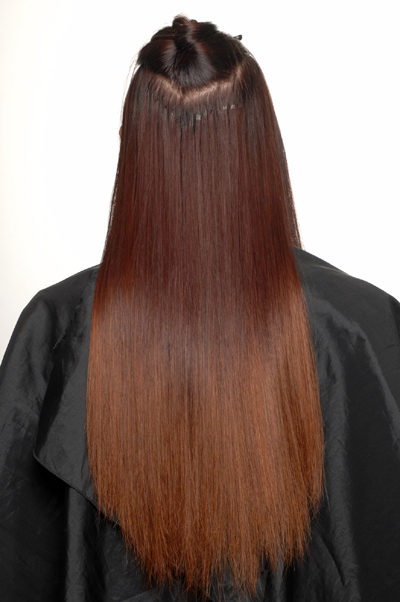
The fourth row, like the first, uses “alternating” rows.
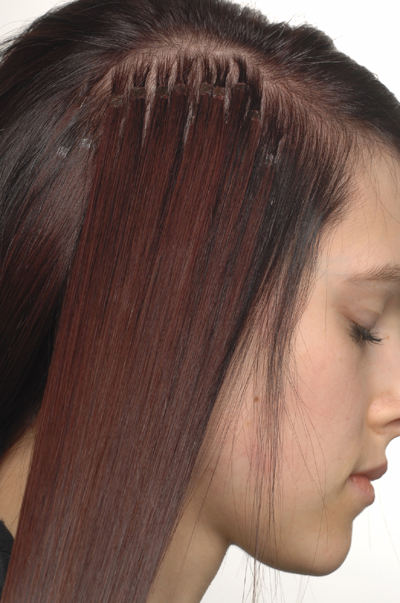
- 6Step 6 of 15
On the right side of the head, create a horizontal parting and apply extensions using “continuous” rows.
- 7Step 7 of 15
Another row using “continuous” rows.
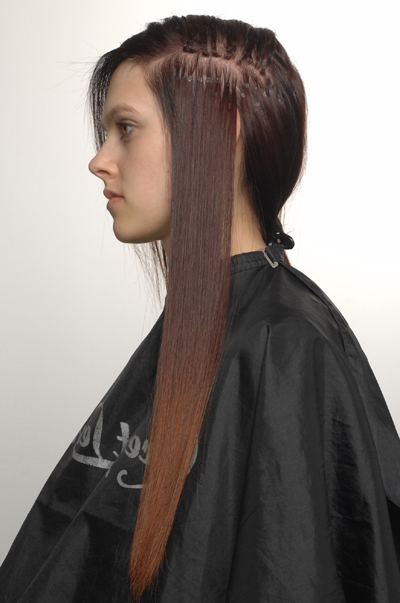
- 8Step 8 of 15
A third row on the right side using “continuous” row pattern.
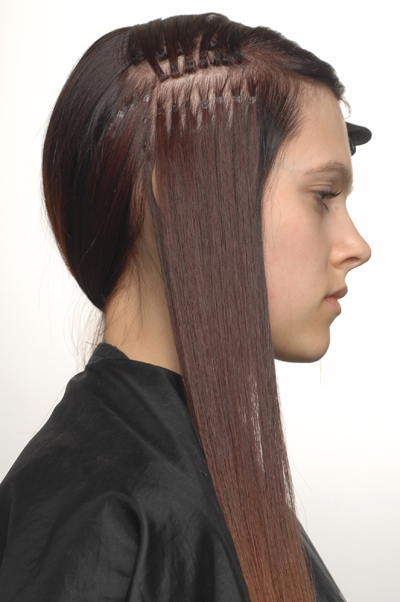
- 9Step 9 of 15
On the left side, create a diagonal parting using “continuous” rows.
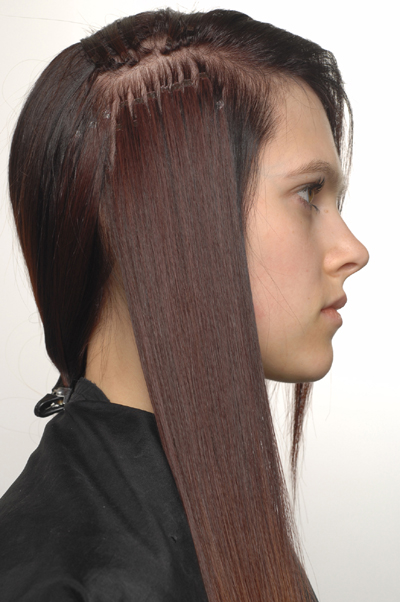
- 10Step 10 of 15
Above that, create another row slightly shorter to the form of the head using “continuous” rows.
- 11Step 11 of 15

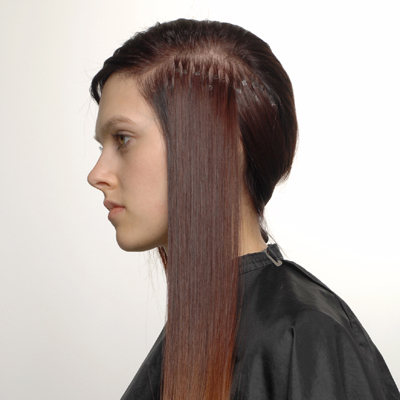
The natural hair in the halo area is cut in graduated layers at a 90-degree angle.
- 12Step 12 of 15
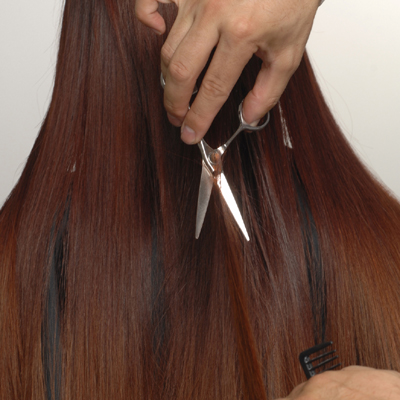
In the transition area between the natural hair and Great Lengths strands, blend the layers using a slicing motion. Make sure to blend softly between colors.
- 13Step 13 of 15
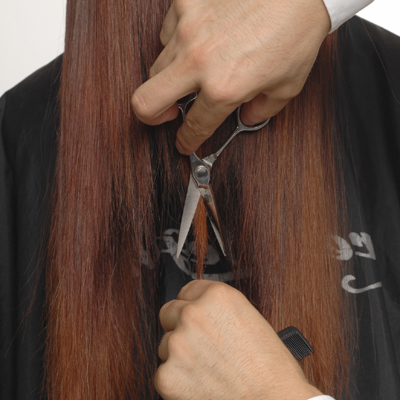
Front view: Bring front and sides straight forward. Cut in a high and narrow arch.
- 14Step 14 of 15
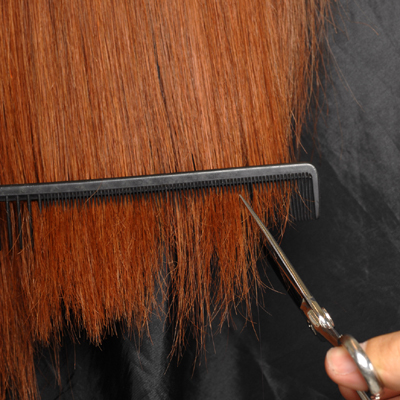
Establish the final length making sure to keep soft edges.
- 15Step 15 of 15
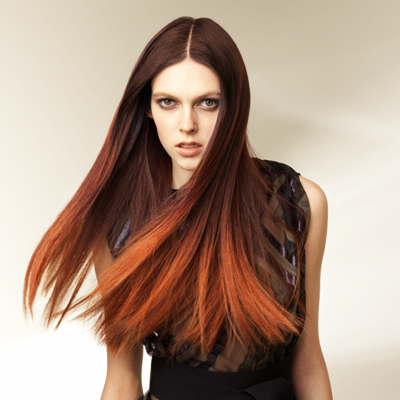
Hair Color
Great Lengths "Ombre Coloration" Extension
April 11, 2010·1 min read
Want to get creative with your color clients? It’s time to think outside the box. This “Ombre” style from Great Lengths is the perfect option. It’s bold without being overboard. It’s feminine without being too girly. And it’s beautiful and unique for any season. (more…)
More to Read


