- 1Step 1 of 20

Fine, limp hair gets a jolt of volume and color.
- 2Step 2 of 20
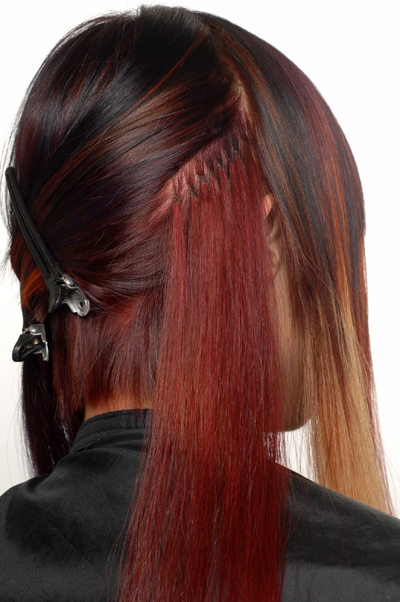
Section from the right ear back in a diagonal parting. Apply the Great Lengths strands in a “continuous” row pattern.
- 3Step 3 of 20
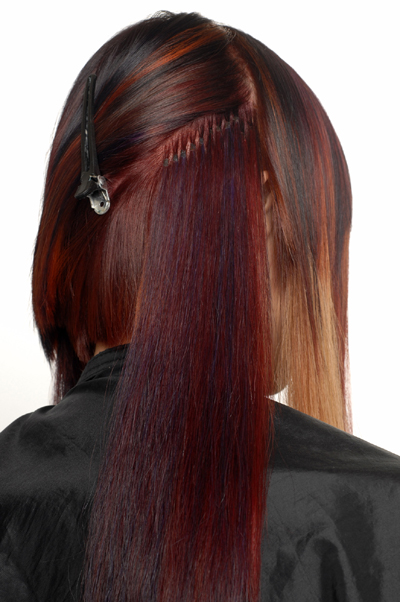
Place a second row directly above, slightly longer to the curve of the head using “continuous” rows.
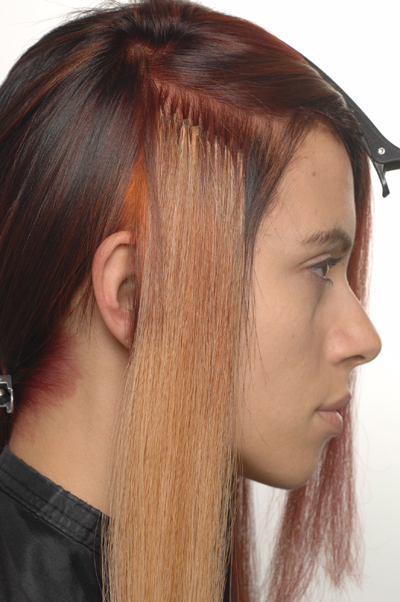
- 4Step 4 of 20
Forward diagonal parting using “continuous” rows.
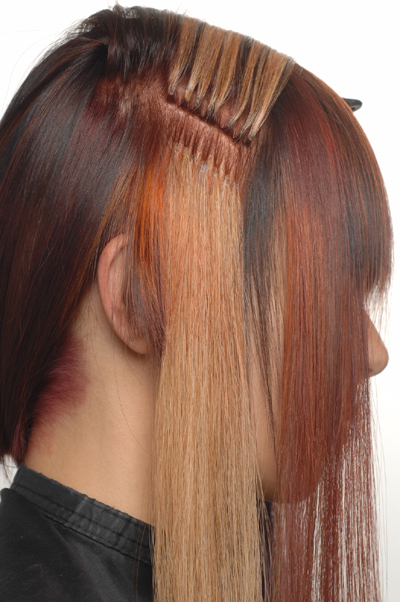
- 5Step 5 of 20
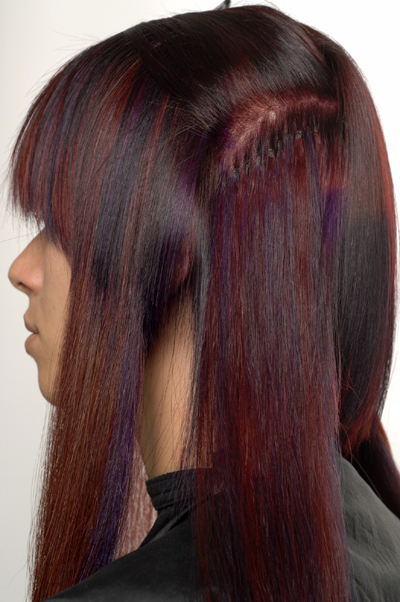
Multiple rows on the diagonal using “continuous” row placement to build density.
- 6Step 6 of 20
A diagonal parting next to the bangs.
- 7Step 7 of 20
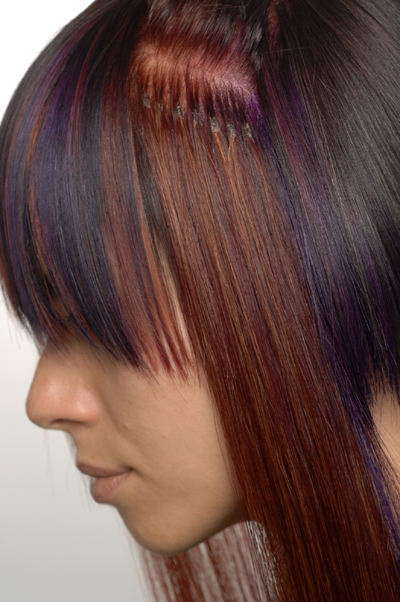
A single diagonal parting behind the left ear with “continuous” rows.
- 8Step 8 of 20

A steep diagonal in front of the ear using “continuous” row placement.
- 9Step 9 of 20
Another row above, “continuous” row placement.
- 10Step 10 of 20
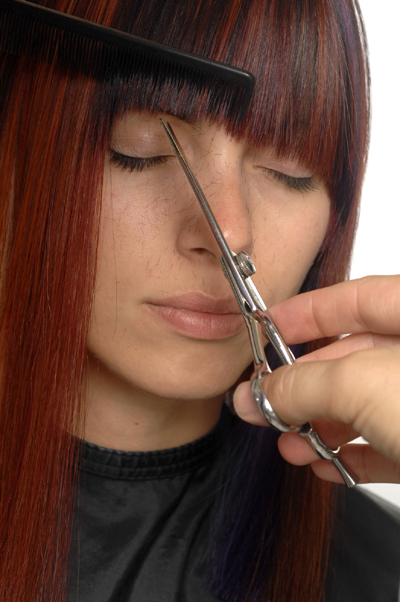
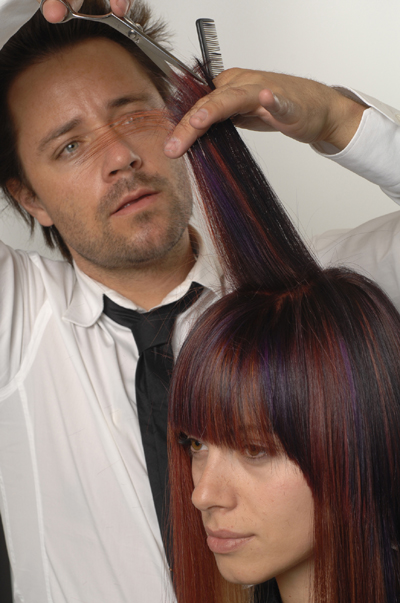
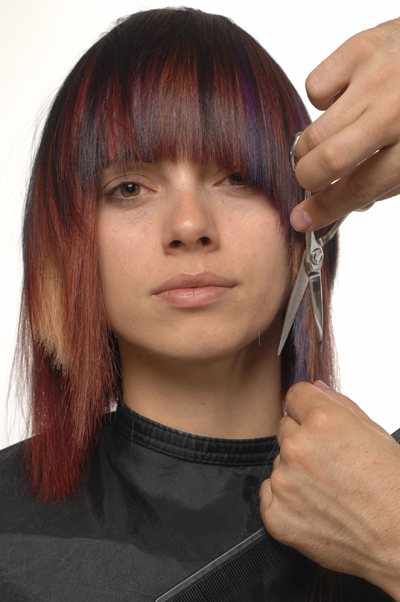
Cut and establish bangs on a diagonal disconnected from the right side.
- 11Step 11 of 20

- 12Step 12 of 20
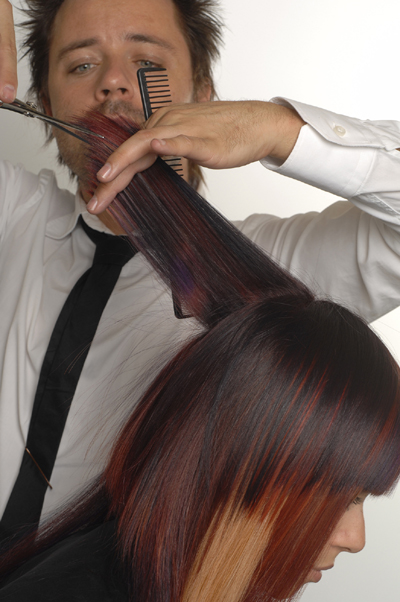
Front/Top of head: Establish the length of the graduation.
- 13Step 13 of 20
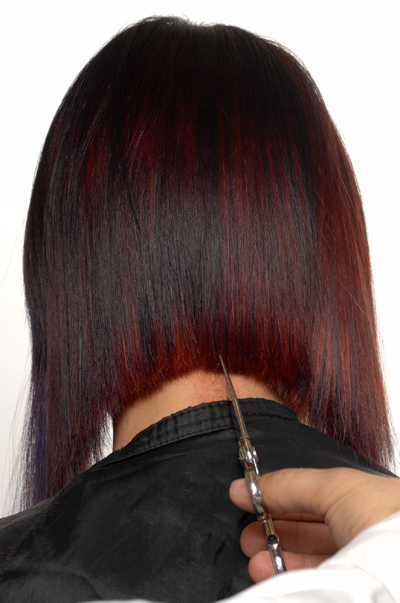
Back of head: Cut upwards to create stacked, graduated layers.
- 14Step 14 of 20
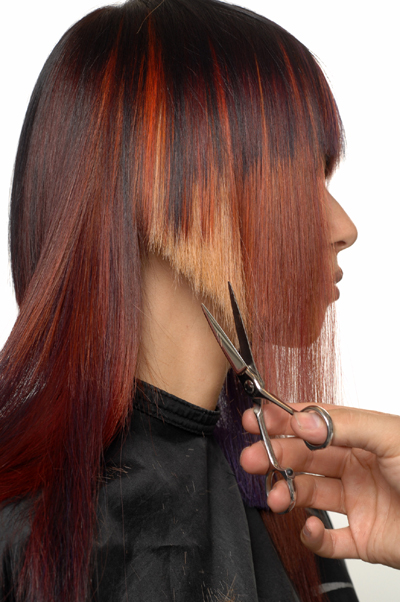
Cut the length on the right side on a diagonal.
- 15Step 15 of 20
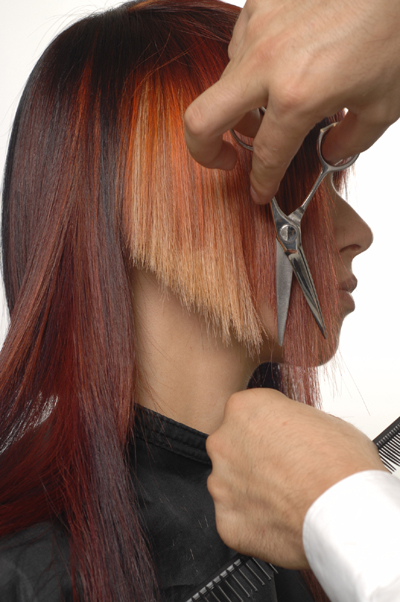
Moving to the red section, create a second diagonal cut.
- 16Step 16 of 20
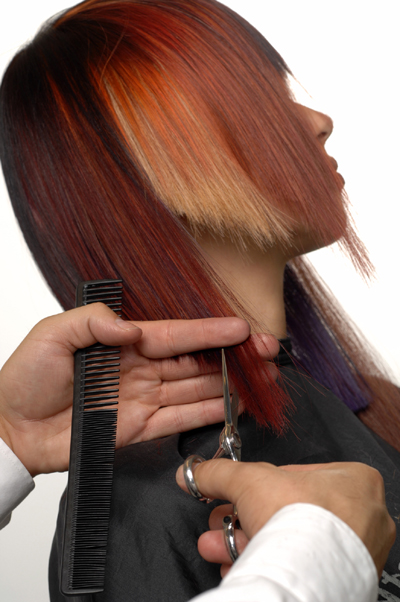
On both sides, beginning at the nape, cut the length in a strong diagonal swing.
- 17Step 17 of 20
Check the balance and weight of contour.
- 18Step 18 of 20
On the left side, cut a round line from the bangs to the side sections.
- 19Step 19 of 20
- 20Step 20 of 20
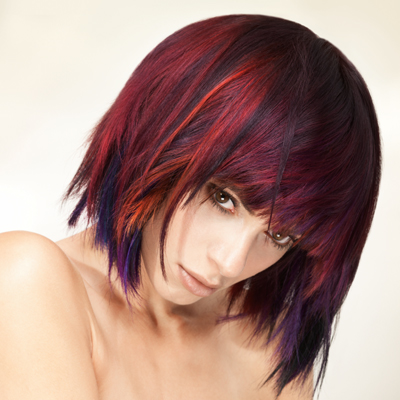
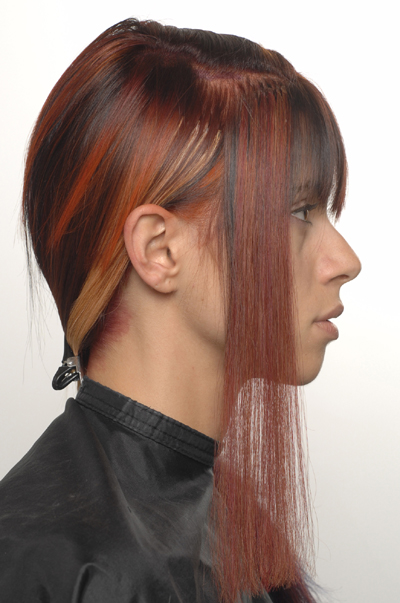
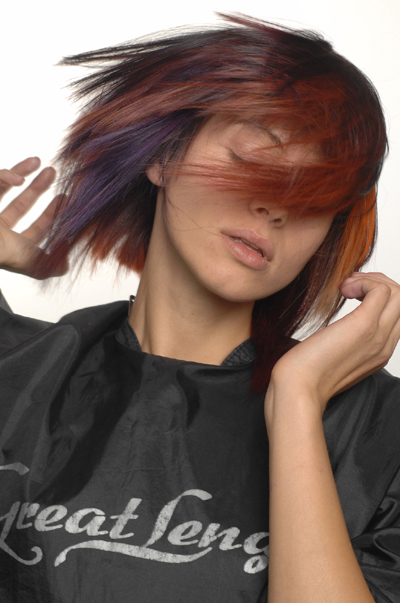
After
Hair Extensions
Great Lengths "Multicolor" Extension How-To
October 18, 2009·1 min read
Extensions aren’t just for creating long, wavy anymore. In this step-by-step from Great Lengths, multi-colored extensions are used to create a modern, choppy bob perfect for any season. It’s a great way to give a permanent color-fearing client an interesting new look. (more…)
More to Read


