- 1Step 1 of 12

Start by detangling the hair using the Sam Villa Signature Series Paddle Brush and MIZANI 25 Miracle Milk.
- 2Step 2 of 12
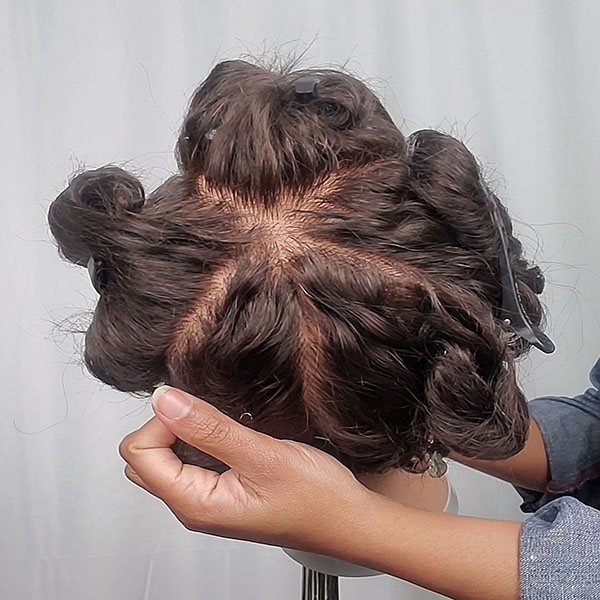
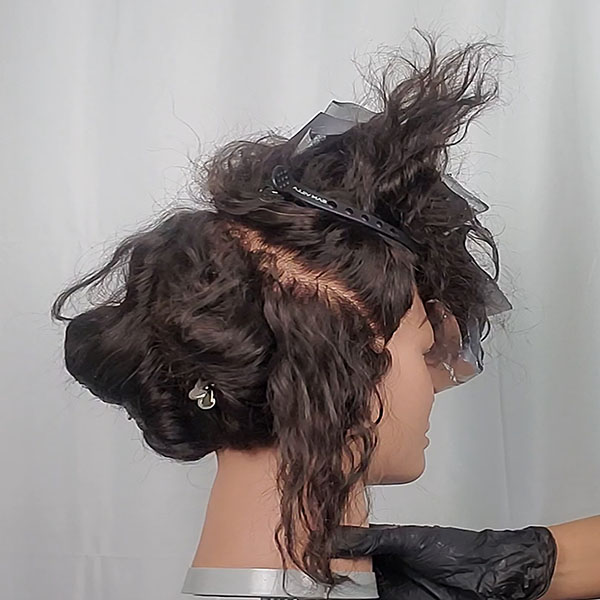
Next, section and clip the hair into five large triangle parts starting in the front at the apex of the crown, then the sides at the mastoid bone, then two sections in the back.
- 3Step 3 of 12
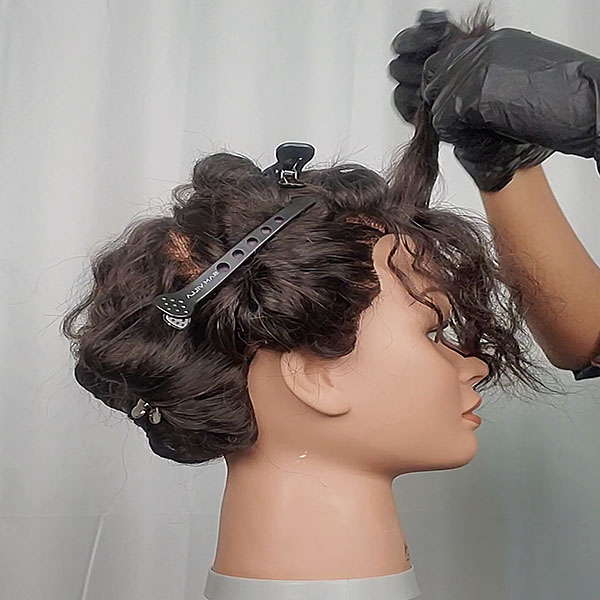
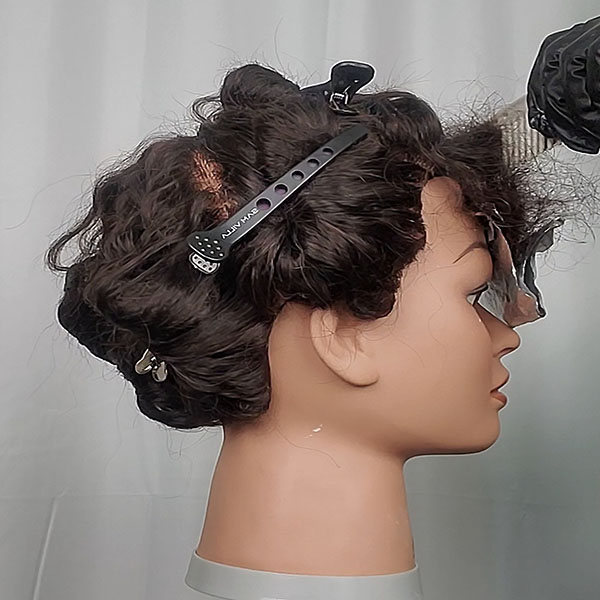
Unclip the front part, take out a 1-inch section where you want to create brightness and clip the rest away. Weave through the hair using a pinky finger to split the section in two.
- 4Step 4 of 12
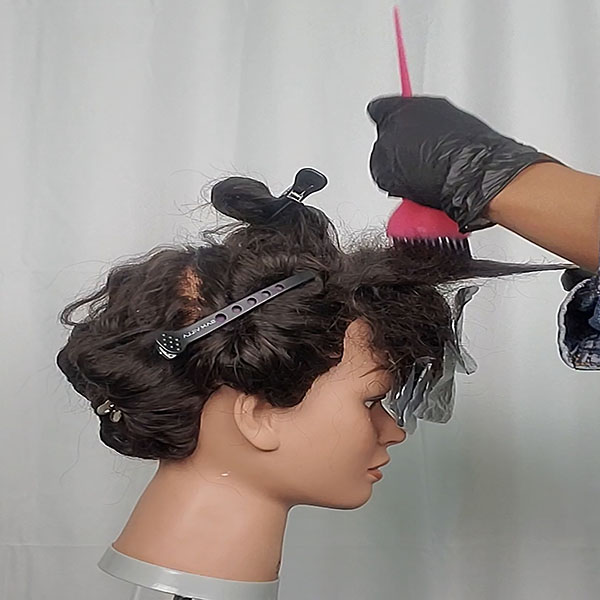
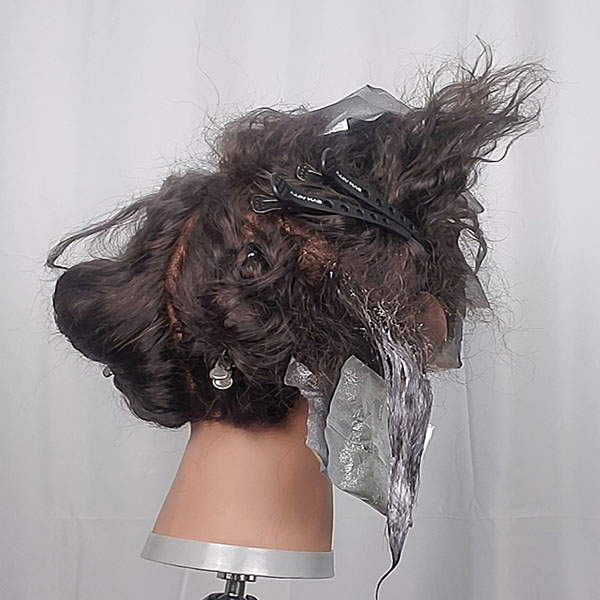
Gently backcomb one of the parts using a Sam Villa Wide Cutting Comb. Place a foil behind the teased part, apply Formula A below the backcombed hair, feather up with a brush and close the foil. Repeat this step with the other part, but this time only apply color ½ way up from the ends.
Note: Where you start backcombing in the hair determines how diffused the results will be.
- 5Step 5 of 12
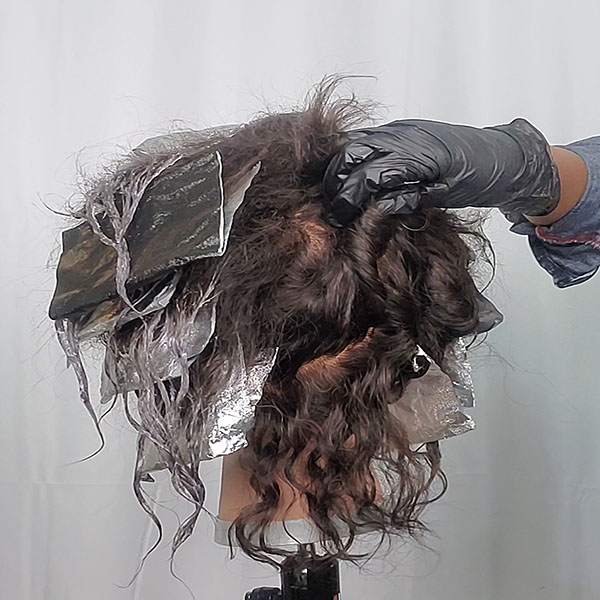
Weave out another section, split in half and backcomb one part. Apply lighter to ¾ of the hair, then feather the lightener up to the backcombed area in a w-shape. Let process in the open air.
Next, take the other part and apply color in a foil. Continue alternating between foils and open air until the section is complete.
- 6Step 6 of 12
In the right triangle section, take a diagonal forward subsection from the cheekbone to the mastoid apex parting.
- 7Step 7 of 12
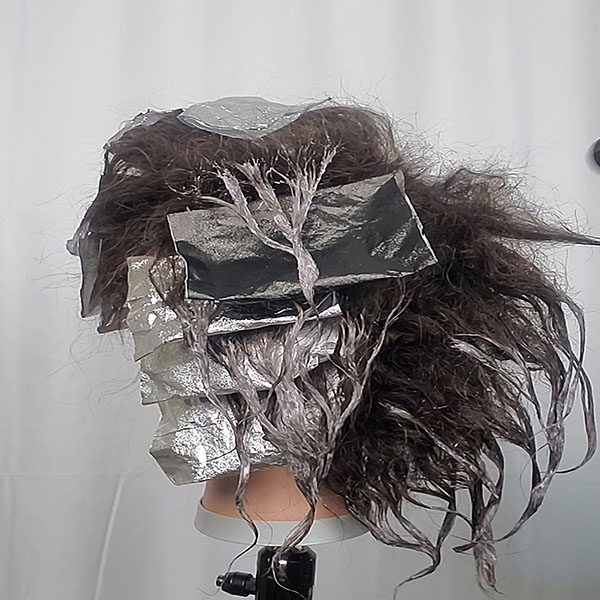
Next, take another deep weave, split into two parts, backcomb and apply Formula A in a foil making sure to saturate the hair at an angle to create depth toward the interior.
Backcomb the second part, apply color below the back combed area, feather up and let process in the open air. Continue alternating between foils and open air until the entire section is complete and then continue on the left triangle section.
- 8Step 8 of 12
Once finished with the sides, take a 1-inch subsection from the back left triangle at a 45 degree angle toward the center part.
- 9Step 9 of 12
Next, take a deep weave, split the section, backcomb, apply Formula A and let process in the open air. Repeat this step until the entire section is finished, then move to the right back triangle section. Let the hair process and rinse.
- 10Step 10 of 12
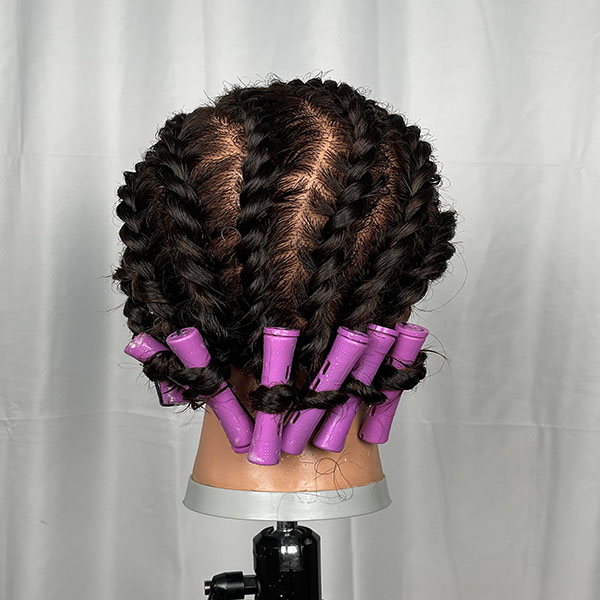
Style the hair into two-strand flat twists using 25 Miracle Milk, MIZANI Style Shifter Society Coco Dew and MIZANI Styling Foam Wrap.
- 11Step 11 of 12
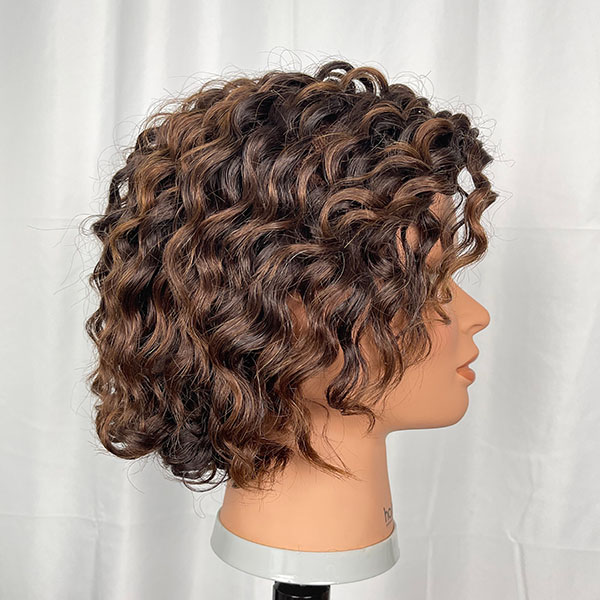
Finished Look
- 12Step 12 of 12Watch the video ↗
Balayage
Foil & Open Air Highlight Placement
July 15, 2021·1 min read
When it comes to textured hair, where you place highlights is crucial so they don’t disappear in the hair. Sam Villa Ambassador Kauilani Goodwyn (@kauigoodwyn) demoed how she avoids that problem by taking thicker sections, while using foils and open air placement to create brightness and depth. Want to learn more? Keep scrolling to get the steps and watch the video for the full tutorial! (more…)
More to Read


