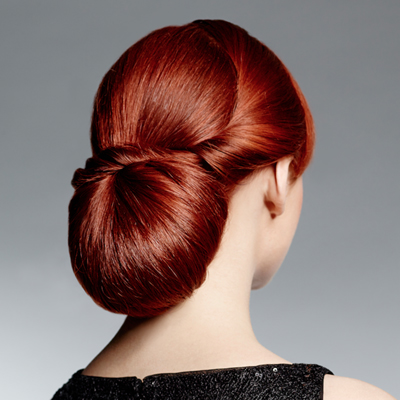
With all the elegance of a Renaissance painting, this classic Florentine Chignon creates a smooth, seamless, very wearable style. jcp salon shows you how to create the look in four easy steps!Watch the video! Win a $1,500 Scholarship for Tuition!More Step-by-StepsHow-To from jcp salons: Romantic Side Braid with a TwistBraided Fishtail Chignon How-ToFor more information, visit www.behindthechair.com/jcpstudent (more…)
- 1Step 1 of 6
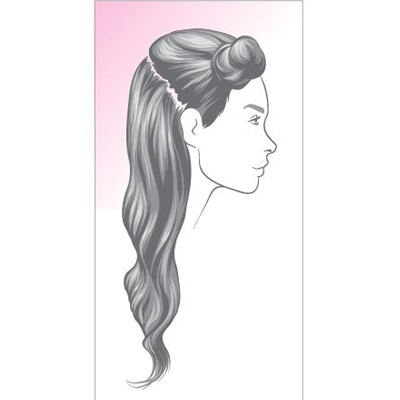 Create a left side part from the front hairline to the high point of the head and from ear to ear.
 - 2Step 2 of 6
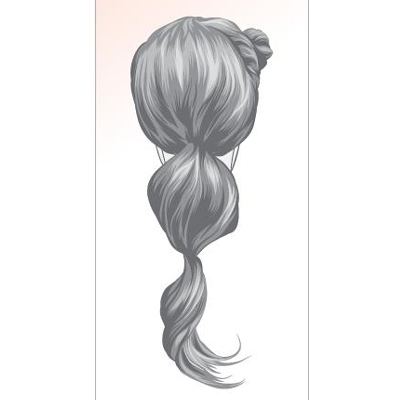 Create a low ponytail at the nape—this will give this classic shape a modern feel.
 - 3Step 3 of 6
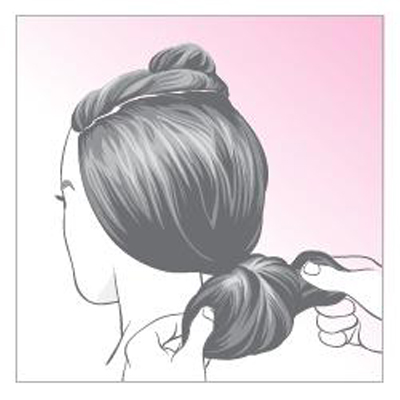 Flip the ponytail up so the tail is facing up. Place the cushion at the base of your ponytail. Secure the cushion into place and smooth the hair over it. Use bobby pins to secure it into place.
 - 4Step 4 of 6
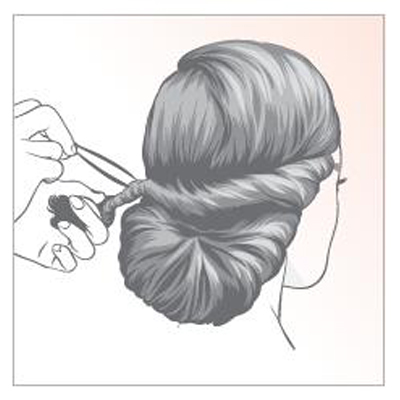 Drop down the right side. Over direct back behind the ear and create a soft, loose twist. Twist hair and wrap around the cushion and secure with pins.
 - 5Step 5 of 6
- 6Step 6 of 6