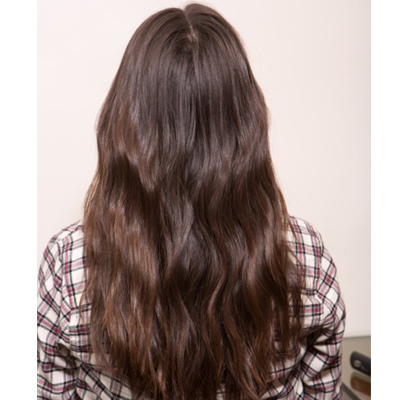
Look at any red carpet event and the style you’re likely to see is waves. From textured and beachy to glam and voluminous to simple and natural-looking—waves are the go-to look in Hollywood, on the runway and in everyday life. Dominick Serna, celebrity stylist at The Chris McMillan Salon in Beverly Hills breaks down his flat iron technique so you can keep your texture-loving clients happy, no matter the season. Photography: Don Q. Hannah (more…)
- 1Step 1 of 12
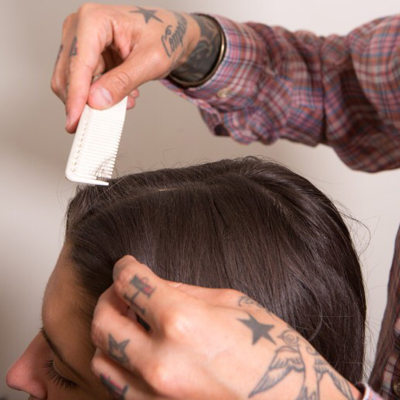 Part the hair into three sections.
 - 2Step 2 of 12
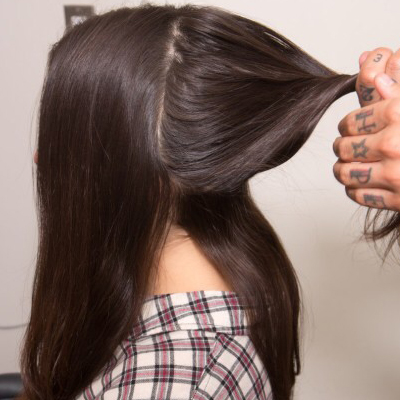
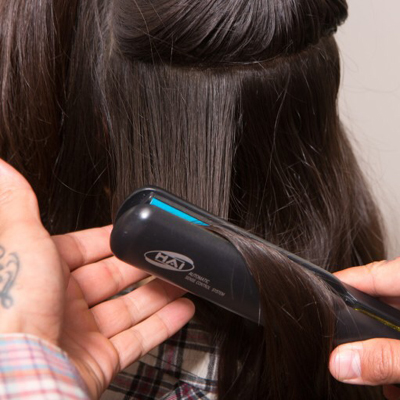
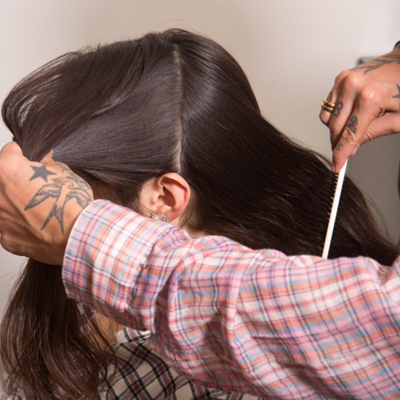 Take 1-inch horizontal sections.
 - 3Step 3 of 12
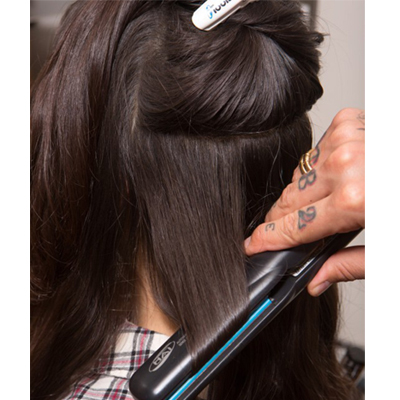
 Leave 1-inch to 1½ inches from the root to start the formation of the wave.
 - 4Step 4 of 12
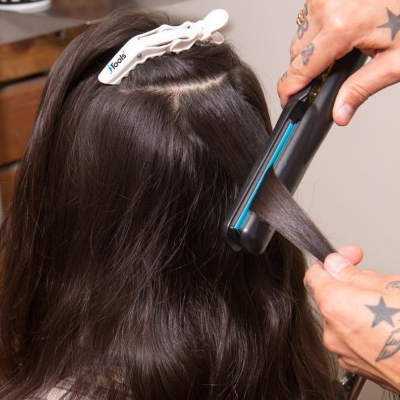
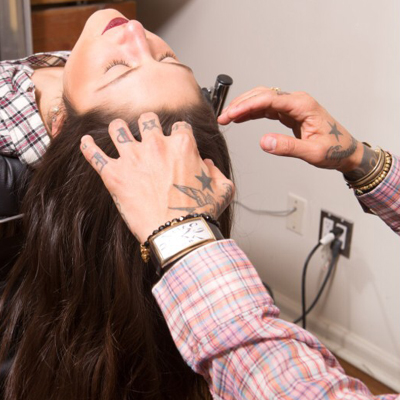
 To Start the wave, bend the wrist toward the head, focusing on creating a bend with the end of the flat iron.
 - 5Step 5 of 12
 Continue where the first bend ended, and bend your wrist away from the head.
 - 6Step 6 of 12
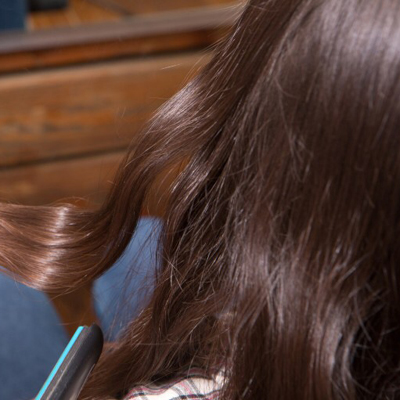
 Follow Steps 4 and 5 until you get toward the end of the hair, leaving about ½-inch out to keep the ends straight.
 - 7Step 7 of 12
- 8Step 8 of 12
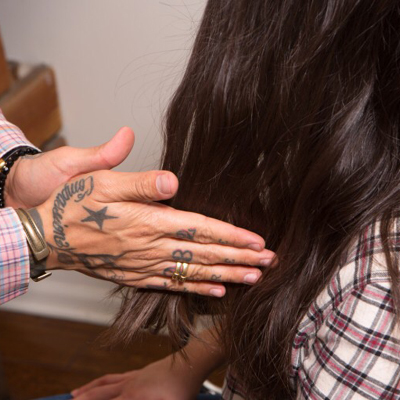
 Once the whole head is waves, run your hand through the hair to break up the wave.
 - 9Step 9 of 12
- 10Step 10 of 12
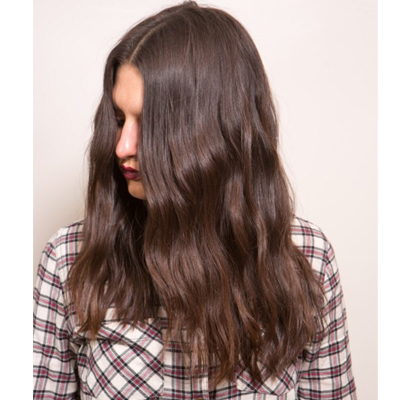
 Spray in Serge Normant Dry Oil, then Oribe Dry Texturizing Spray for a tousled, yet natural look.
 - 11Step 11 of 12
- 12Step 12 of 12