- 1Step 1 of 38
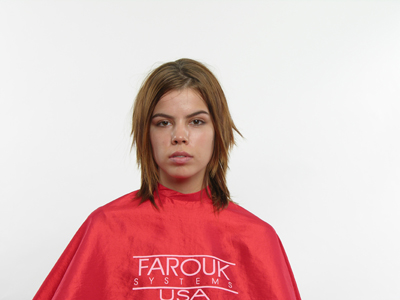
Read the step-by-step and check out the diagrams that follow.
- 2Step 2 of 38
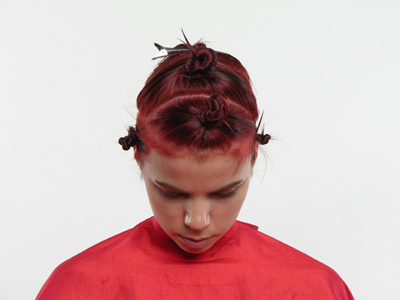
Section the hair from ear to ear.
See Diagram 1. - 3Step 3 of 38
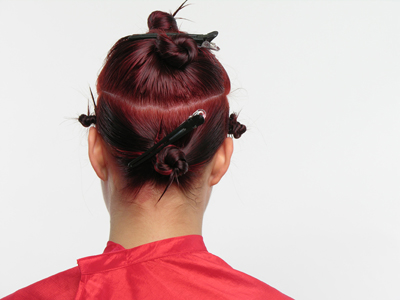
Divide the back section following the parietal ridge in a curve.
See Diagram 2. - 4Step 4 of 38
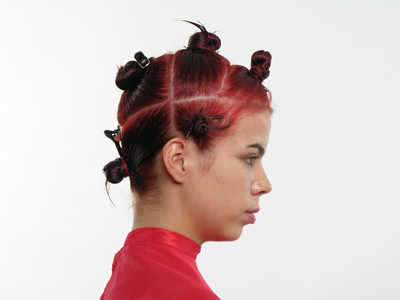
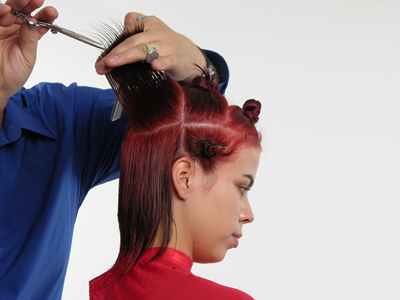
Isolate front side sections on both sides.
Take 1-inch wide curved section for the fringe.
Isolate the remaining hair.
See Diagrams 3 and 4.
- 5Step 5 of 38
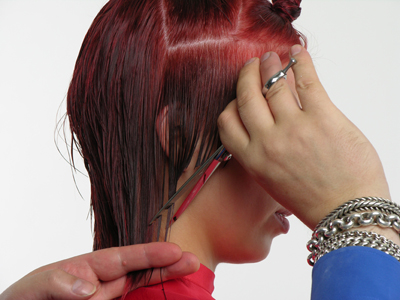
Left Back Section: Start from the middle of the back section by taking a vertical section. Comb the section straight out from its base and blunt cut to a square layer.
- 6Step 6 of 38
Use this length as your stationary guide line. Continue to work in a same manner throughout the left back section.
- 7Step 7 of 38
Right Back Section: Repeat the same thing on the other side.
- 8Step 8 of 38
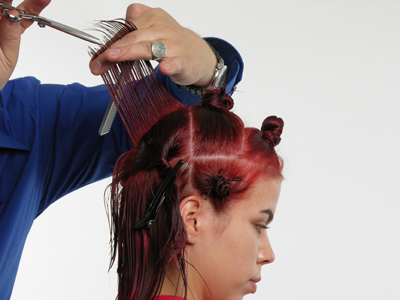
Crown Section: Start from the middle of the crown section by taking a vertical section. Comb the section straight out from teh base and point cut to round layer. Use this section as your stationary guid and over direct everything to this point following the round shape.
- 9Step 9 of 38
Repeat the same thing on the other side.
- 10Step 10 of 38
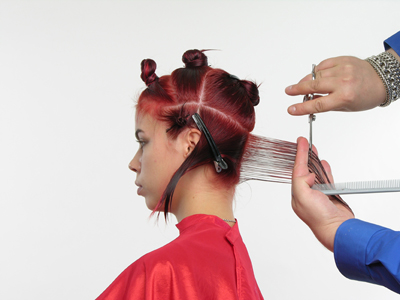
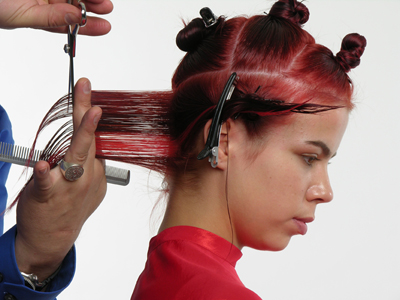
Front Side Sections: Blunt cut the side sections horizontally to desired length.
- 11Step 11 of 38
Outlines: Combine these lengths to the back by slide cutting.
- 12Step 12 of 38
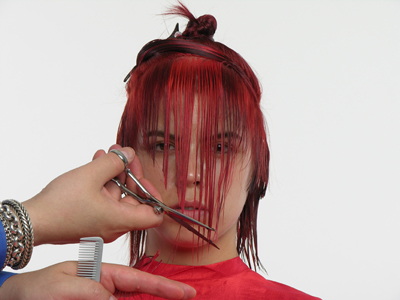
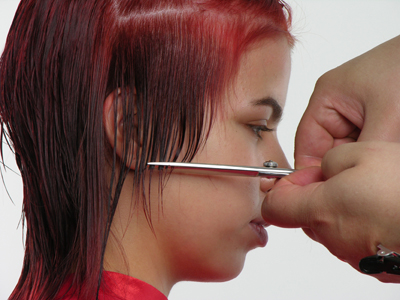
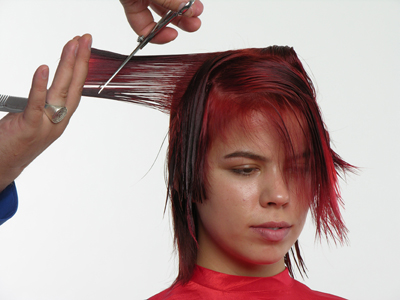
Fringe: Cut the fringe using horizontal sections to desired length and texture.
- 13Step 13 of 38
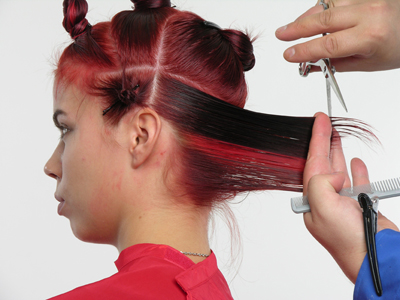
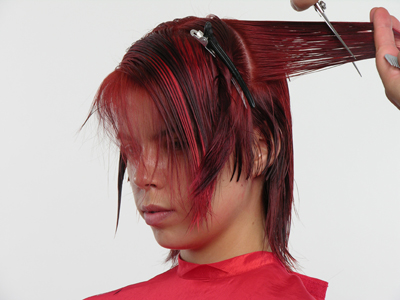
Right Front Crown Section: Slide cut from shorter to longer starting at the ear point to desired length. Use this section as your stationary guide line and over direct everything to this point.
Note: This length can be connected or disconnected.
- 14Step 14 of 38
Left Front Crown Section: Repeat in the same manner on the other side.
- 15Step 15 of 38
- 16Step 16 of 38
- 17Step 17 of 38
- 18Step 18 of 38
- 19Step 19 of 38

Complete this look with Neo - Real Color step-by-step!
See the rest of the Farouk Ambience Collection!
For more information please log on to: www.farouk.com
- 20Step 20 of 38
Read the step-by-step and check out the diagrams that follow.
- 21Step 21 of 38
Section the hair from ear to ear.
See Diagram 1. - 22Step 22 of 38
Divide the back section following the parietal ridge in a curve.
See Diagram 2. - 23Step 23 of 38
Isolate front side sections on both sides.
Take 1-inch wide curved section for the fringe.
Isolate the remaining hair.
See Diagrams 3 and 4.
- 24Step 24 of 38
Left Back Section: Start from the middle of the back section by taking a vertical section. Comb the section straight out from its base and blunt cut to a square layer.
- 25Step 25 of 38
Use this length as your stationary guide line. Continue to work in a same manner throughout the left back section.
- 26Step 26 of 38
Right Back Section: Repeat the same thing on the other side.
- 27Step 27 of 38
Crown Section: Start from the middle of the crown section by taking a vertical section. Comb the section straight out from teh base and point cut to round layer. Use this section as your stationary guid and over direct everything to this point following the round shape.
- 28Step 28 of 38
Repeat the same thing on the other side.
- 29Step 29 of 38
Front Side Sections: Blunt cut the side sections horizontally to desired length.
- 30Step 30 of 38
Outlines: Combine these lengths to the back by slide cutting.
- 31Step 31 of 38
Fringe: Cut the fringe using horizontal sections to desired length and texture.
- 32Step 32 of 38
Right Front Crown Section: Slide cut from shorter to longer starting at the ear point to desired length. Use this section as your stationary guide line and over direct everything to this point.
Note: This length can be connected or disconnected.
- 33Step 33 of 38
Left Front Crown Section: Repeat in the same manner on the other side.
- 34Step 34 of 38
- 35Step 35 of 38
- 36Step 36 of 38
- 37Step 37 of 38
- 38Step 38 of 38
Complete this look with Neo - Real Color step-by-step!
See the rest of the Farouk Ambience Collection!
For more information please log on to: www.farouk.com
Cutting Curls/Texture
Farouk Neo-Real Cut Step-By-Step
February 2, 2006·1 min read
Farouk Neo – Real Cut! Go step-by-step to see how this look took shape! See the entire Farouk Ambience Collection and learn Neo – Real Color step-by-step! For more information please log on to: www.farouk.com (more…)
More to Read


