- 1Step 1 of 13
Prep: Wash with TIGI® Professional Copyright Custom Care™ Moisture Shampoo and Conditioner. Then, prep damp hair with Custom Create™ Split End Repair Cream to protect the ends and Texturising Sea Salt Spray for added grip.
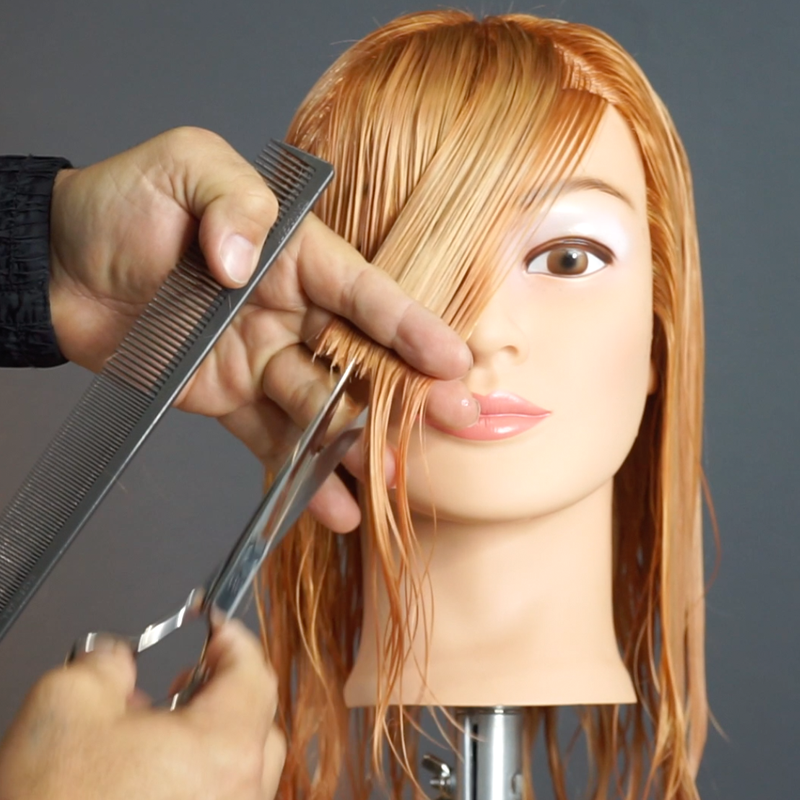
Comb through all of the hair, take a triangular fringe section and part down the center. Starting on one side, overdirect the section to the opposite side and cut from short to long, point-cutting for softness—this will create the guideline for the rest of the frame.
- 2Step 2 of 13
Repeat on the opposite side. Cutting short to long will create shorter lengths in the center that push out into longer lengths for a ’70s, curtain bang vibe.
Pro Tip: For clients with small foreheads, start a bigger section farther back to create an elongated effect. For clients with curly or wavy hair, leave the fringe section longer when cutting wet and detail on dry hair after styling to see how the hair bounces up. - 3Step 3 of 13
Take a horseshoe parting and clip the top section away.
- 4Step 4 of 13

- 5Step 5 of 13
Cut an A-line perimeter using a comb to create a visual map.
- 6Step 6 of 13
To create separation and added texture, take 1-inch sections throughout and twist-cut in alternating directions.
- 7Step 7 of 13
After establishing the perimeter, release the top section and cut the length at natural fall. Create long, soft layers throughout the top working at 90 degrees out of the curvature of the head and slicing. To maintain length, only remove the corners.
- 8Step 8 of 13
Then twist different-sized, alternating sections throughout and diffuse with a Dyson Supersonic™ Hair Dryer Pro Edition. This will allow the natural texture and product cocktail to create separation throughout the ends before detailing on dry hair.
- 9Step 9 of 13

Go back into the fringe section and break it up using slicing techniques. Work from the center out to the sides to direct and push the hair away from the face.
- 10Step 10 of 13

Apply TIGI Custom Create™ Revitalising Dry Shampoo from roots to ends and blow-dry to set for extra separation. Finish with Custom Create™ Volume Finishing Spray for touchable texture with long-lasting hold.
- 11Step 11 of 13
Shag + Long Fringe // Instagram via @joeltorressstyle
- 12Step 12 of 13
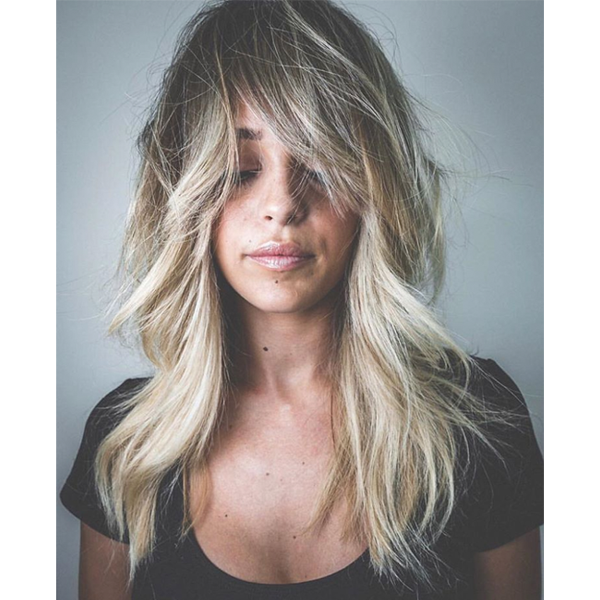
Midlength Shag // Instagram via @joeltorressstyle
- 13Step 13 of 13

Long-Layered Shag // Instagram via @joeltorressstyle
Haircuts
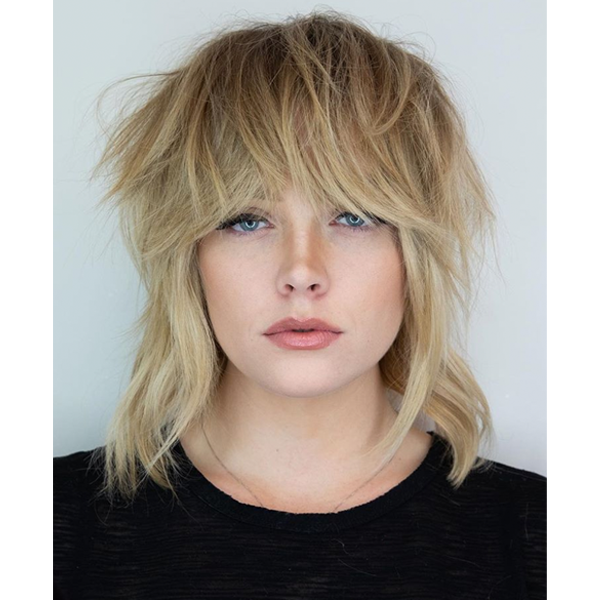
Face-Framing Shag Haircut
March 15, 2019·1 min read
Choppy face-framing layers + effortlessly tousled texture = the ’70s-inspired shag your cool-girl clients want. If you’re like us, you want to know every technique that goes into a finished look—so we’re sharing how to utilize dry-cutting, diffusing and twist-cutting methods to master the shag. Keep scrollin’ for a step-by-step breakdown from Joel Torres (@joeltorresstyle), then try this over-layered midlength cut behind the chair! (more…)
More to Read


