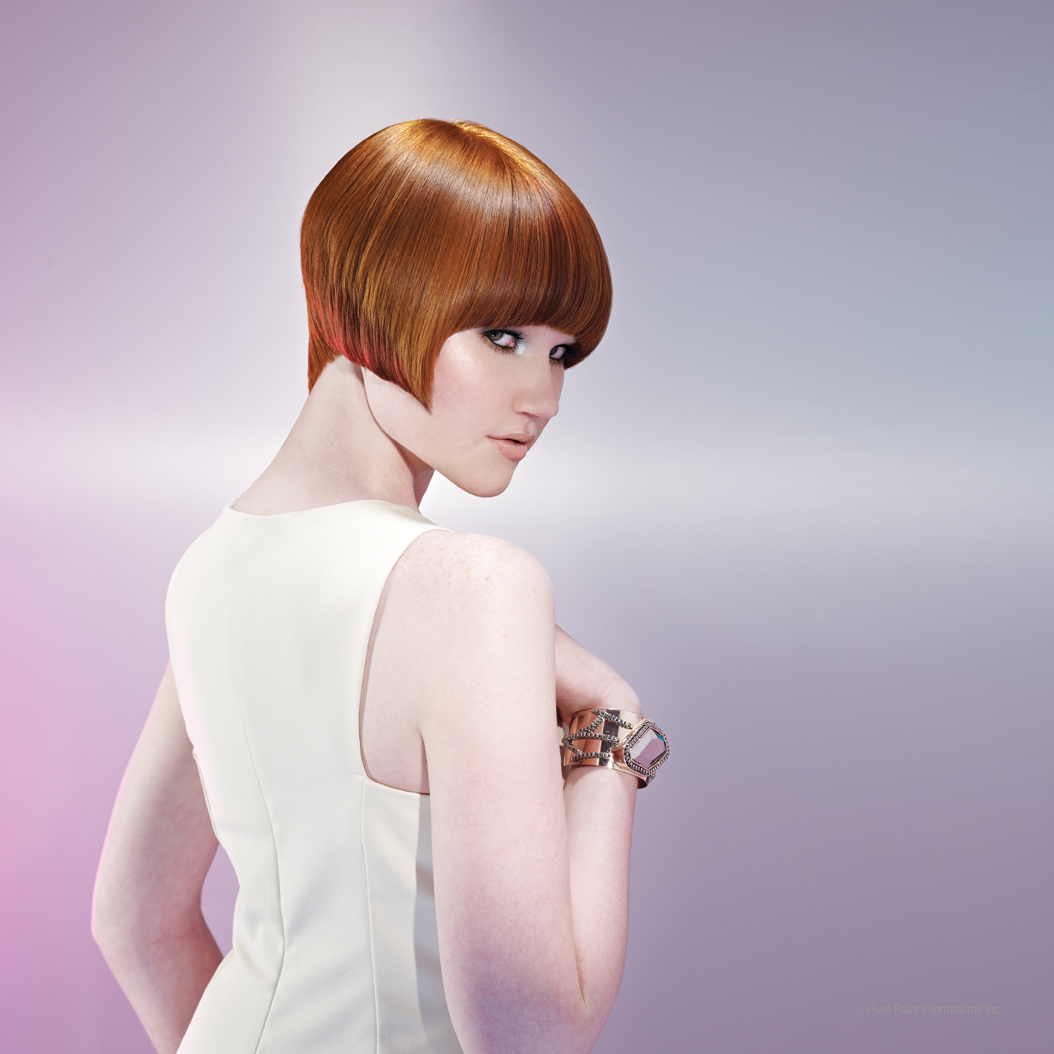
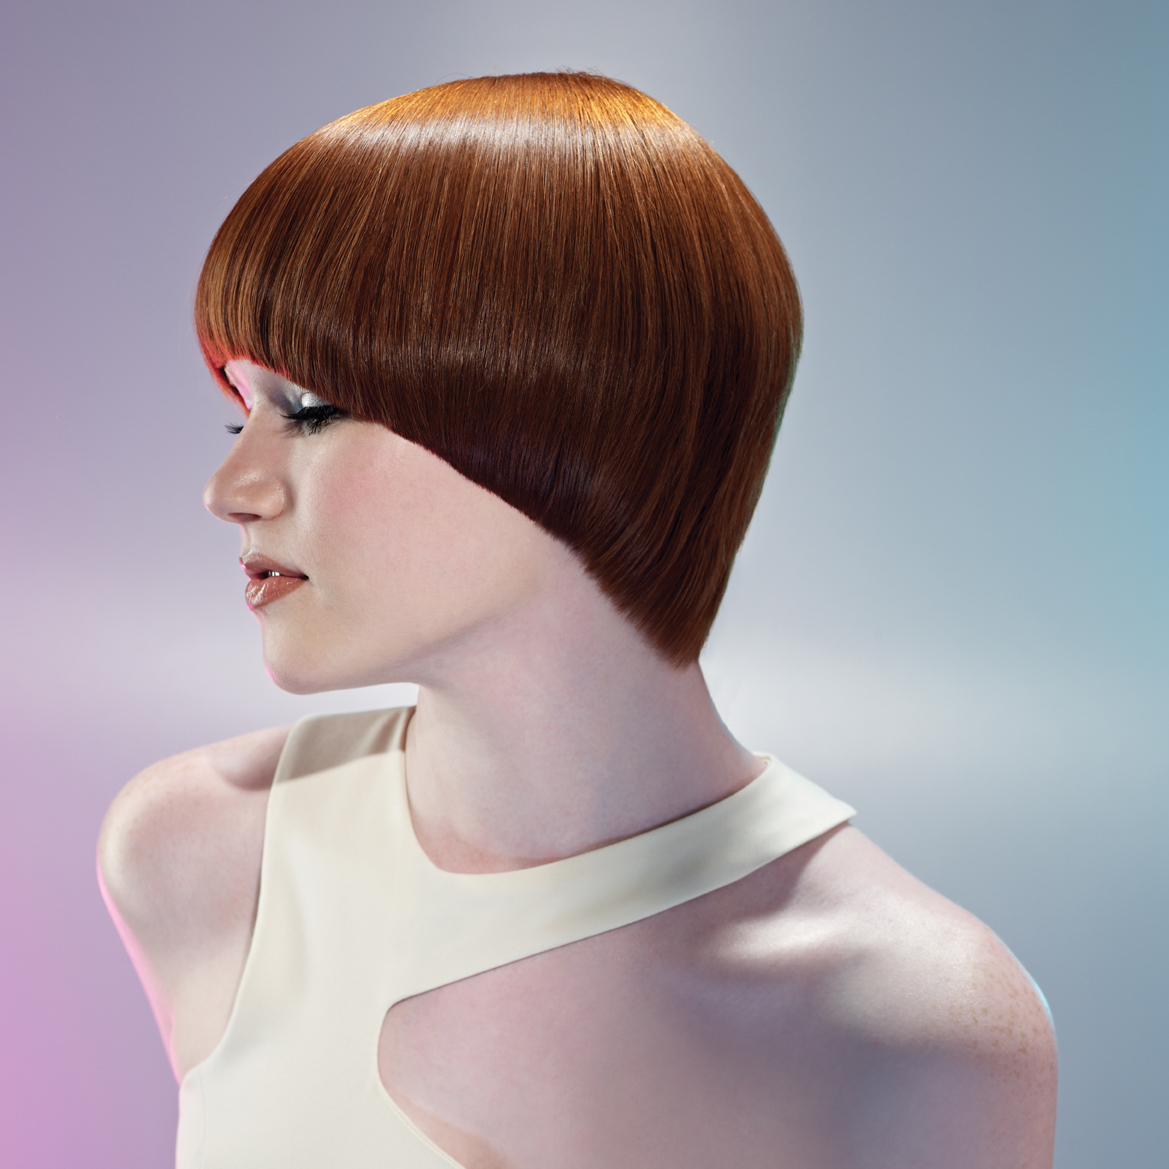
The asymmetry of this cut by Pivot Point International creates a progressive feeling that is complemented by the shine and dimension of the mahogany red haircolor. The result is a sleek, soft, face-framing ‘do. Who did itCourtesy of Meta 051Created by the Pivot Point International TeamView the entire Meta 051 collection!SHOP More How-Tos in the BTC BookstoreSubscribe to behindthechair.com On Paper Magazine! SUBSCRIBE NOW! (more…)
- 1Step 1 of 14
- 2Step 2 of 14
 Structure Graphics – The structure graphics show asymmetric graduated lengths over increase layers and solid lengths in the nape.
 - 3Step 3 of 14
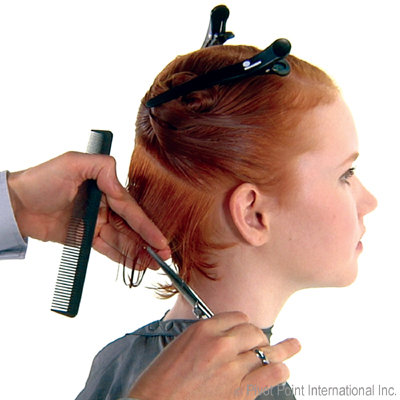
 Begin by dividing the nape vertically in half. On the right side, distribute lengths up to the sectioning line using perpendicular distribution. Project 90 degrees at the sectioning line and sculpt parallel.
 - 4Step 4 of 14
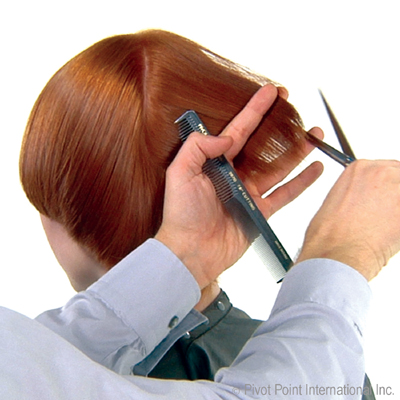
 Next, release a diagonal-forward parting on the right side. Use perpendicular distribution and a medium projection angle. Sculpt parallel to the parting, using the previously sculpted section as a guide, to establish a mobile design line.
 - 5Step 5 of 14
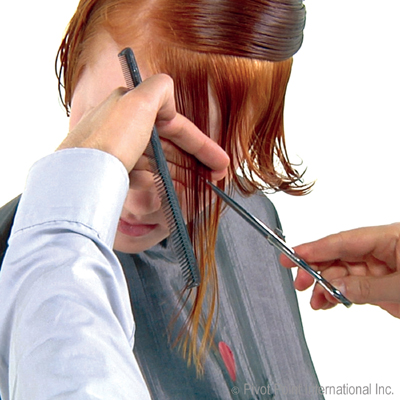 Turn the head to the right and tilt it forward. On the left side, release a thick diagonal-back parting encompassing the entire hairline.
 - 6Step 6 of 14
 Distribute lengths downward. Position your fingers slightly nonparallel to the parting to retain length and sculpt.
 - 7Step 7 of 14
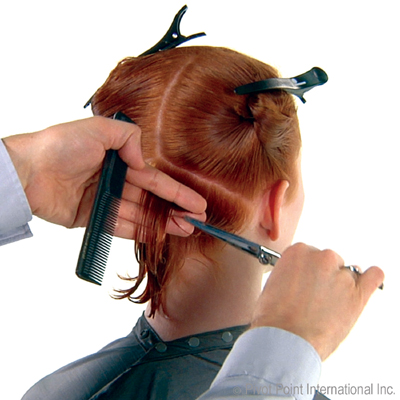
 Continue to work up to the sectioning line using a stationary design line and the same sculpting technique.
 - 8Step 8 of 14
 After air forming, take a thick pivotal parting at the center back. Use medium projection and notch to blend the left and right sections. Work toward the left converging pivotal partings to the center back and notching to blend. Work until lengths no longer reach the center back.
 - 9Step 9 of 14
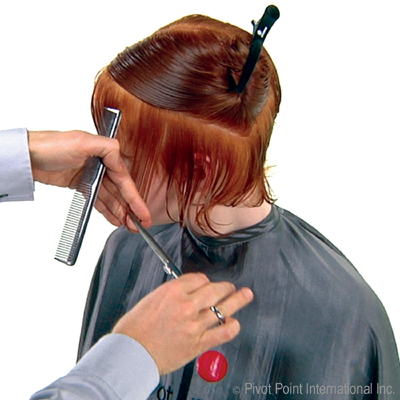
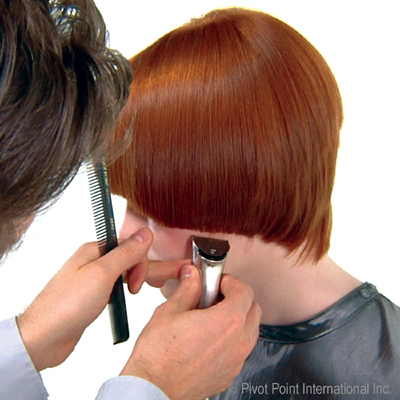
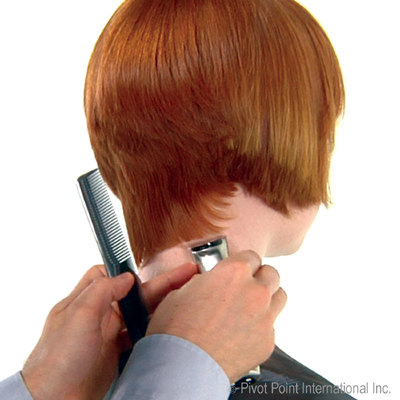 In the nape, use the comb to visualize the diagonal line to be sculpted. Use a freehand technique and trimmers to sculpt a diagonal-left line. Start on the left and work to the right.
 - 10Step 10 of 14
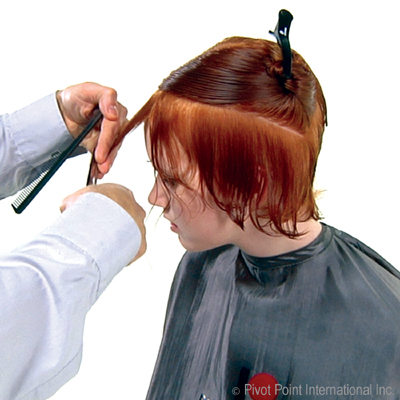
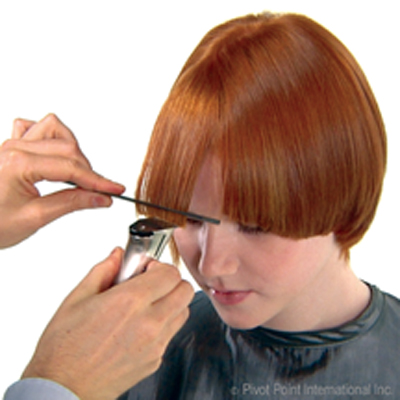 Next, move to the fringe and tilt the head forward. Use comb control and the trimmers to refine the line. Work to the heavy side.
 - 11Step 11 of 14
 At the side, place the trimmers on the skin to refine the perimeter.
 - 12Step 12 of 14
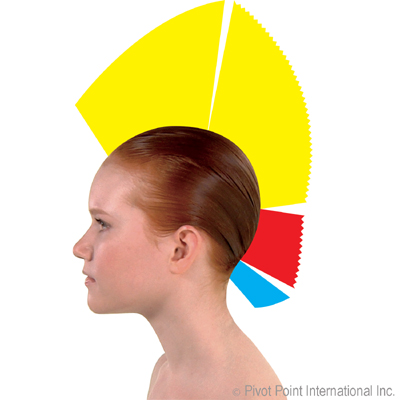
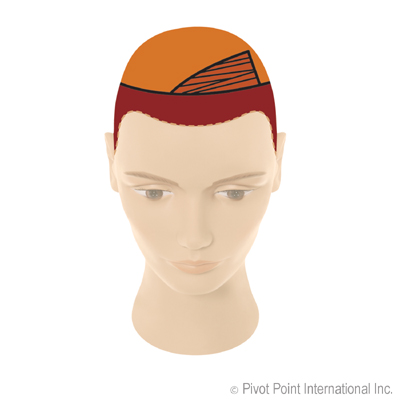 The color graphic shows back-to-back diagonal slices within a triangle in the interior, applied with a level 7 red-orange. A level 6 mahogany red is applied to a large curved section at the front hairline. A level 8 copper gold is applied to the remaining lengths.
 - 13Step 13 of 14
- 14Step 14 of 14