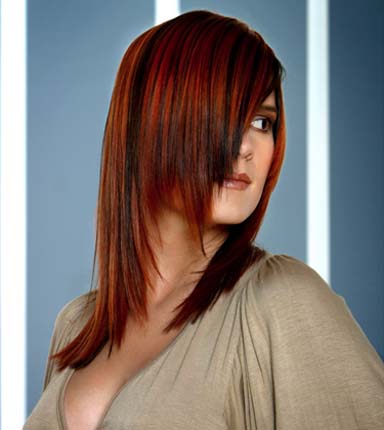
- 1Step 1 of 16
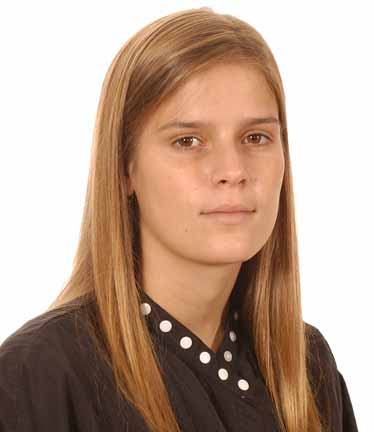
Stacey before.
- 2Step 2 of 16
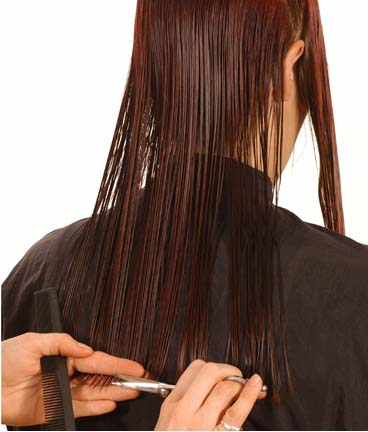
Make an oval section on the occipital bone from ear to ear. With the head slightly forward then cut the baseline blunt.
- 3Step 3 of 16
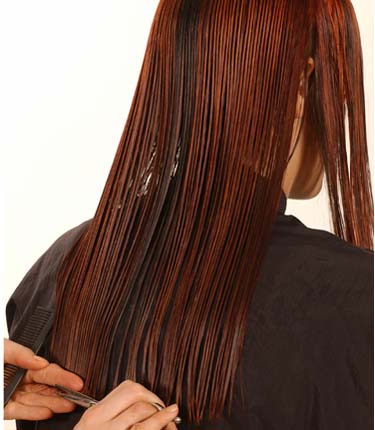
Section from the front of the ears out and allow hair to drop from the back of the head over the baseline. Blunt cut to the guideline.
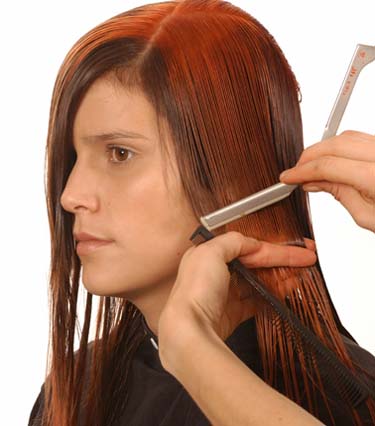
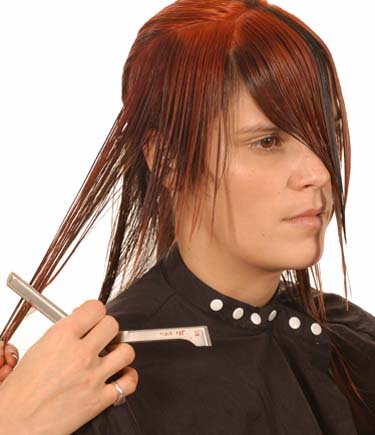
- 4Step 4 of 16
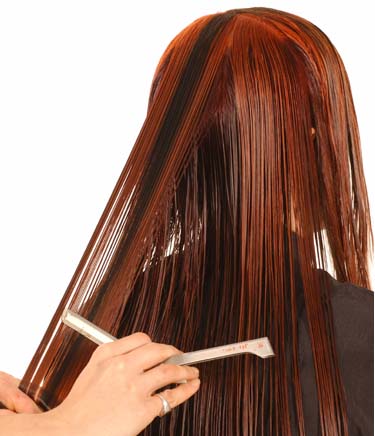
Take horizontal sections held at 45-degree angles in 3 panels and proceed to razor cut hair in order to create movement and eliminate length.
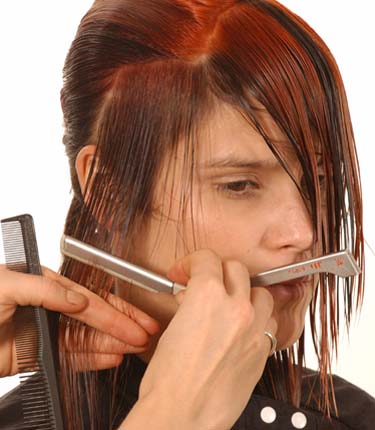
- 5Step 5 of 16
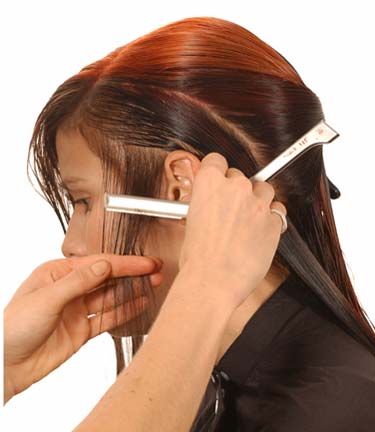
To create asymmetric shapes start with the shorter side, then razor a one inch section in front of the ear.
- 6Step 6 of 16
Take a 1 inch circular section and allow to drop longer than the previous section. Razor the ends to create a soft perimeter shape.
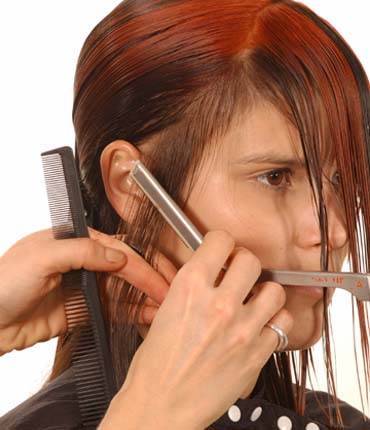
- 7Step 7 of 16
Take a 1 inch circular section from the front to back, razoring in front of the ear to fall softly over the guideline.
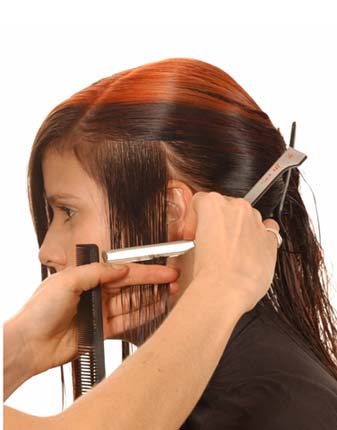
- 8Step 8 of 16
Keeping your fingers horizontal, use the shorter shape in front of the ear as a guide. It's important to keep the hair shorter in front of the ear and longer behind the ear so as the hair falls away from the face. Razor cut and follow shape.
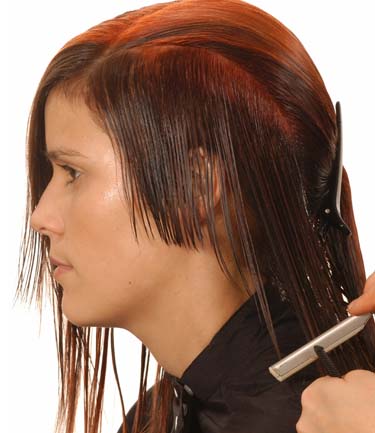
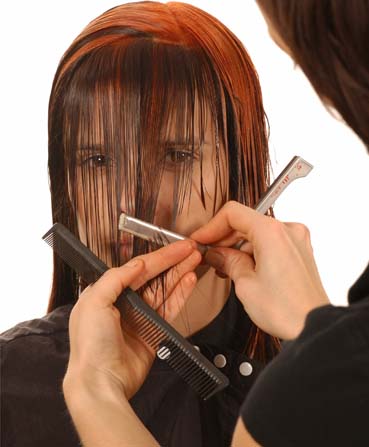
- 9Step 9 of 16
Allow the rest of the hair to fall naturally over previous sections and razor cut diagonally over the ear. This leaves a soft overlap to the underneath.
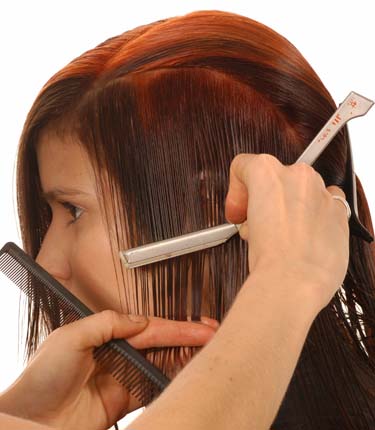
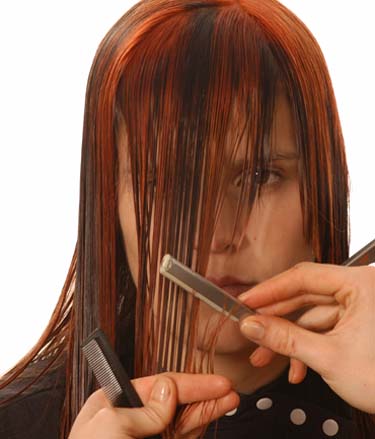
- 10Step 10 of 16
Take a 1 inch on as a fringe and graduate from the short side towards the longer side.
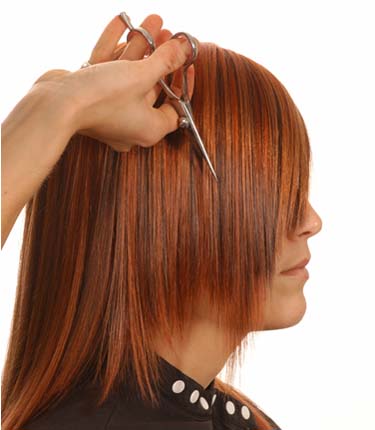
- 11Step 11 of 16
Take a 45-degree angle using the longest point as a guideline and create a stronger asymmetric shape.
- 12Step 12 of 16
Move to the uncut side and take a 1 inch circular section. Razor cut a 1 inch on in front of the ear.
- 13Step 13 of 16
Take sections at 1 inch circular section and allow to drop down longer than the previous section. Razor cut hair shorter in front of the ear graduating to longer behind the ear.
- 14Step 14 of 16
Allow the rest of the hair to fall naturally over the previous sections. Keeping to the shape, allow to fall slightly longer with soft razored ends in order to blend with the fringe.
- 15Step 15 of 16
Dry hair style and personalize.
- 16Step 16 of 16
View Stacey's color step-by step!
To purchase Jamie Carroll's Envision Academy DVD or CD please log on to: https://www.behindthechairs.com/shopping/
For more information on Jamie Carroll contact: http:www.jamiecarrollhairandbeauty.com.au
Editorial
Envision™ Stylist Collection – Stacey's Cut
February 20, 2004·1 min read
From the “envision academy™” by the Jamie Carroll Hair & Beauty Team – We create an assymetrical shape with long hair keeping the interior smooth and creating a soft exterior texture. View Stacey’s color step-by step! To purchase the Envision DVD or CD please log on to the BTC Bookstore! (more…)
More to Read


