- 1Step 1 of 34
- 2Step 2 of 34
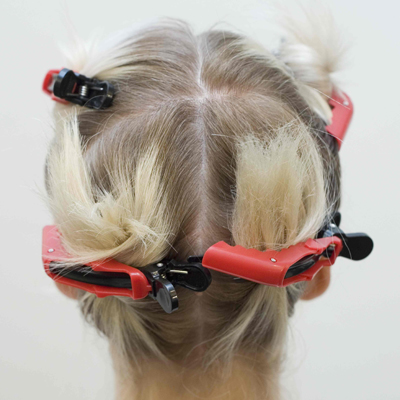
Color Formula:
TIGI True Light
TIGI 20vol mixed 1:1Hair is divided into 4 equal sections with a profile parting from the center forehead to the center nape and a radial parting from the top of the crown to the top of the ear.
- 3Step 3 of 34
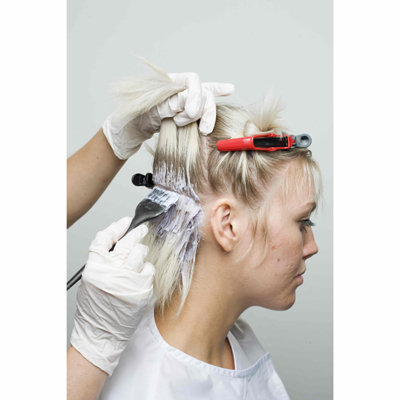
Begin at the nape working upwards towards the crown.
Make sure to apply a generous amount of product without overlapping.This same technique is repeated through each of the 4 sections.
- 4Step 4 of 34
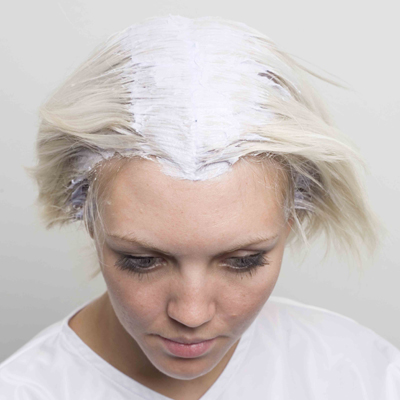 The front hairline and nape area originally left out is colored at the very end of the processing time.
 - 5Step 5 of 34
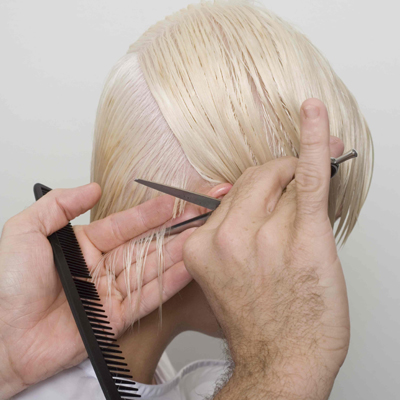
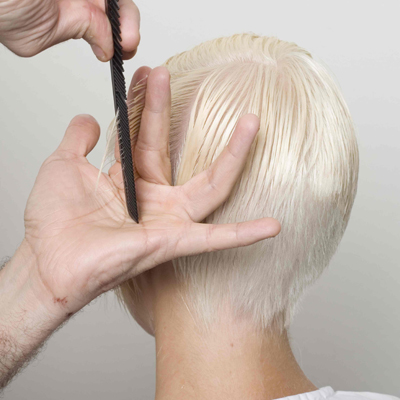
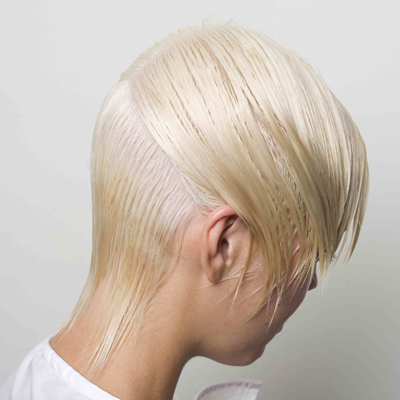 Diagonal forward sections are taken just above the occipital bone to isolate the nape area.
 - 6Step 6 of 34
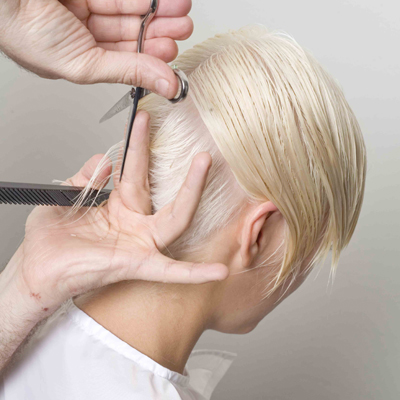
 Working right to left, diagonal back sections are taken. Elevate to 90 degrees and blunt cut to follow the shape of the head.
 - 7Step 7 of 34
 This is repeated on both sides until meeting in the middle.
 - 8Step 8 of 34
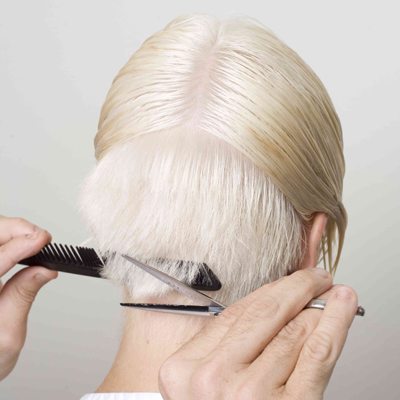
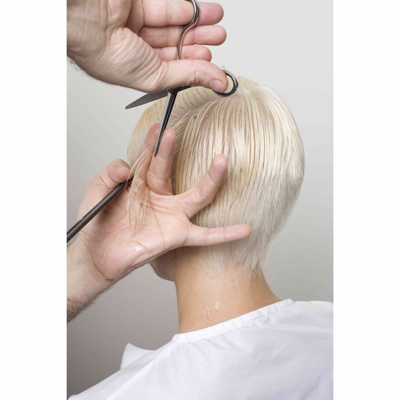
 The graduation is then detailed using the scissor-over-comb technique.
 - 9Step 9 of 34
 The graduation is then detailed using the scissor-over-comb technique.
 - 10Step 10 of 34
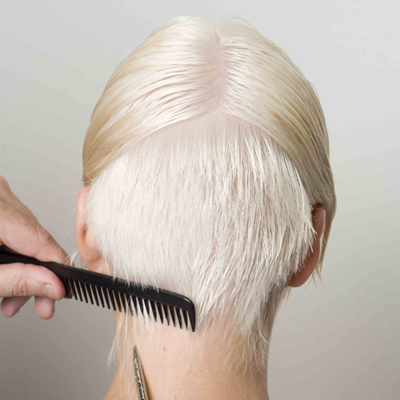
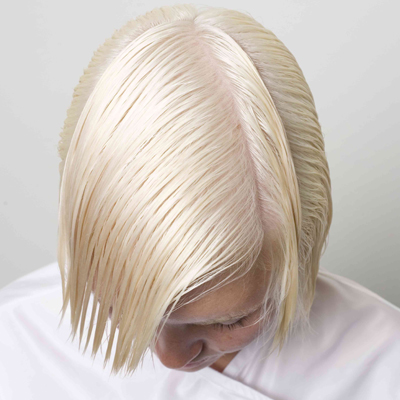 Slight diagonal forward sections are taken from the crown to medium recession with emphasis on the parting.
 - 11Step 11 of 34
 Through the right hand side at the back, the crown is connected working 90 degrees from the head, slightly rounded, over directing everything into the middle.
 - 12Step 12 of 34
 Through the right hand side at the front, diagonal back sections are taken. The first section is elevated to 90 degrees; the remainder sections are elevated to a stationary 45 degree. The perimeter is then detailed.
 - 13Step 13 of 34
 Through the left hand side at the back, diagonal forward sections are taken and the crown is connected, over-directing to previous.
 - 14Step 14 of 34
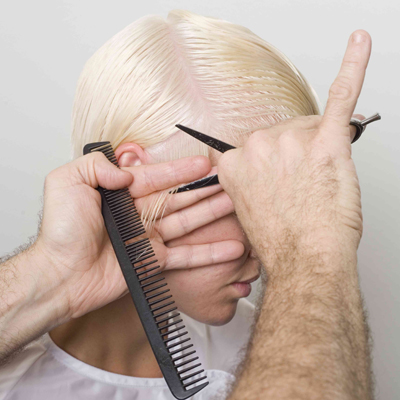
 Through the left hand side at the front, diagonal forward sections are continued with everything in front of the ear, over-directed back behind the ear. The perimeter is then detailed.
 - 15Step 15 of 34
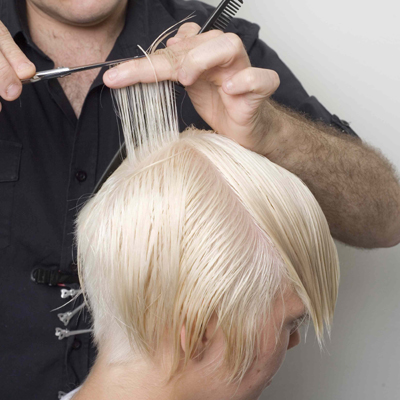
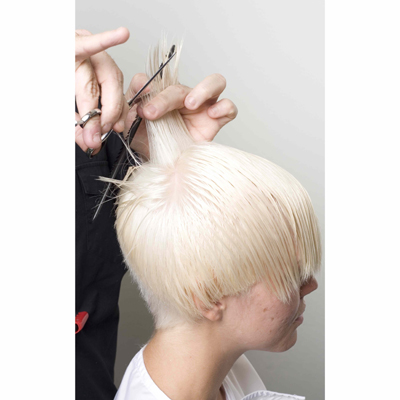 The remaining hair at the top is worked horizontally, elevated to 90 degrees. Taking guide from the crown, cut square. The sides of the section are over directed to the middle. The fringe area is over-directed back to a stationary guide at the crown to maintain length.
 - 16Step 16 of 34
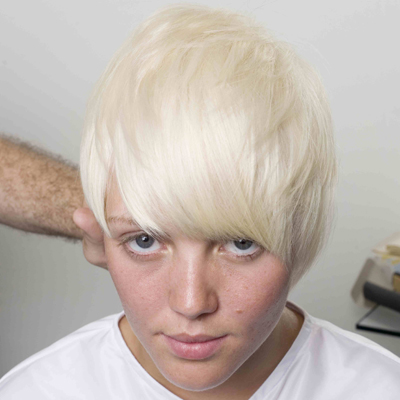 The hair is then wrap dried and flat ironed. The perimeter is once again detailed and the cut personalized with deep point cutting.
 - 17Step 17 of 34

Apply L’Oréal Professionnel Tecni Art Play Ball Silky Sunrise for extra smoothness before drying. Next, finish with L’Oréal Professionnel Tecni Art Play Ball Deviation Paste to create definition and a matte, textured finish.
Click here to see Emiliano Vitale's Elements Collection - a behindthechair.com On Paper exclusive!
- 18Step 18 of 34
- 19Step 19 of 34
Color Formula:
TIGI True Light
TIGI 20vol mixed 1:1Hair is divided into 4 equal sections with a profile parting from the center forehead to the center nape and a radial parting from the top of the crown to the top of the ear.
- 20Step 20 of 34
Begin at the nape working upwards towards the crown.
Make sure to apply a generous amount of product without overlapping.This same technique is repeated through each of the 4 sections.
- 21Step 21 of 34The front hairline and nape area originally left out is colored at the very end of the processing time.
- 22Step 22 of 34Diagonal forward sections are taken just above the occipital bone to isolate the nape area.
- 23Step 23 of 34Working right to left, diagonal back sections are taken. Elevate to 90 degrees and blunt cut to follow the shape of the head.
- 24Step 24 of 34This is repeated on both sides until meeting in the middle.
- 25Step 25 of 34The graduation is then detailed using the scissor-over-comb technique.
- 26Step 26 of 34The graduation is then detailed using the scissor-over-comb technique.
- 27Step 27 of 34Slight diagonal forward sections are taken from the crown to medium recession with emphasis on the parting.
- 28Step 28 of 34Through the right hand side at the back, the crown is connected working 90 degrees from the head, slightly rounded, over directing everything into the middle.
- 29Step 29 of 34Through the right hand side at the front, diagonal back sections are taken. The first section is elevated to 90 degrees; the remainder sections are elevated to a stationary 45 degree. The perimeter is then detailed.
- 30Step 30 of 34Through the left hand side at the back, diagonal forward sections are taken and the crown is connected, over-directing to previous.
- 31Step 31 of 34Through the left hand side at the front, diagonal forward sections are continued with everything in front of the ear, over-directed back behind the ear. The perimeter is then detailed.
- 32Step 32 of 34The remaining hair at the top is worked horizontally, elevated to 90 degrees. Taking guide from the crown, cut square. The sides of the section are over directed to the middle. The fringe area is over-directed back to a stationary guide at the crown to maintain length.
- 33Step 33 of 34The hair is then wrap dried and flat ironed. The perimeter is once again detailed and the cut personalized with deep point cutting.
- 34Step 34 of 34
Apply L’Oréal Professionnel Tecni Art Play Ball Silky Sunrise for extra smoothness before drying. Next, finish with L’Oréal Professionnel Tecni Art Play Ball Deviation Paste to create definition and a matte, textured finish.
Click here to see Emiliano Vitale's Elements Collection - a behindthechair.com On Paper exclusive!
Hair Color
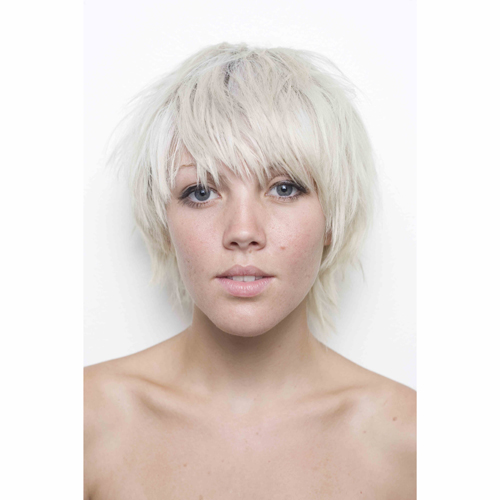
E Salon's "Re-Connection" Color and Cut How-To
June 17, 2009·1 min read
Re-connection showcases a modern fusion between a bob and a crop taking elements from both looks to create the re-connection. “The look is versatile,” explains Emiliano Vitale. “It can be worn both ways. The cut is easy to manage and ultimately creates a free flowing movement in different directions.” Subscribe to behindthechair.com “On Paper” Magazine–4 Issues Only $29.95! Next Issue: COLOR with Beth Minardi! (more…)
More to Read


