- 1Step 1 of 24
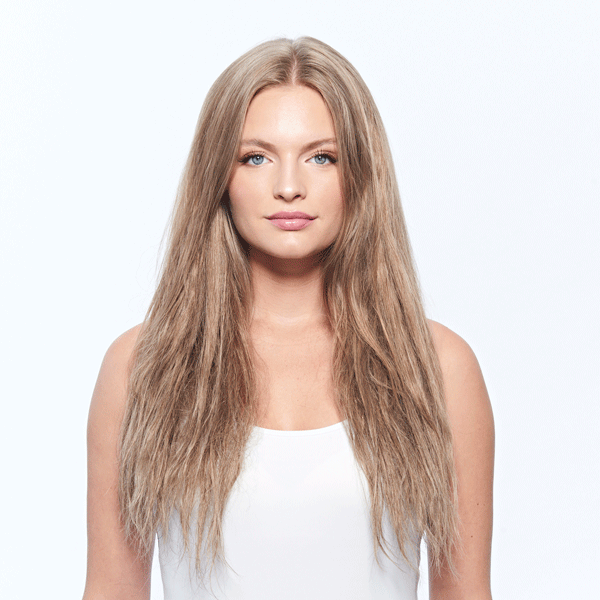
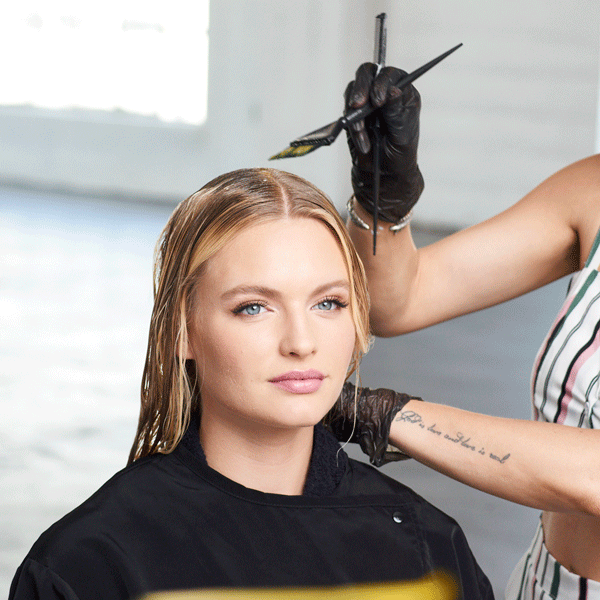
Before.
- 2Step 2 of 24
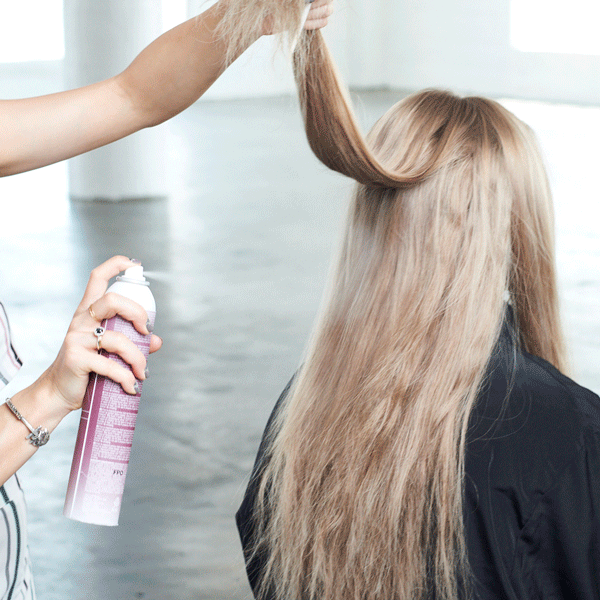
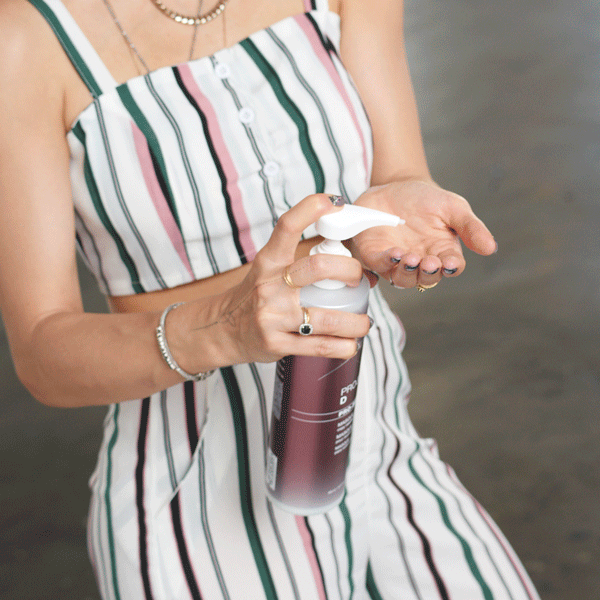
Prep the hair using the Defy Damage ProSeries 1Bond-Protecting Color Optimizer. Shake the can vigorously then spray Defy Damage ProSeries 1 to two-inch sections focusing on the ends and areas where there is the most damage, use a comb to evenly distribute throughout the hair.
Pro Tip: The Defy Damage ProSeries is a bond protecting system that protects client's hair during their appointment and after they leave the salon. Using this system before any color application will keep hair healthy and preserve the longevity of their color.
- 3Step 3 of 24

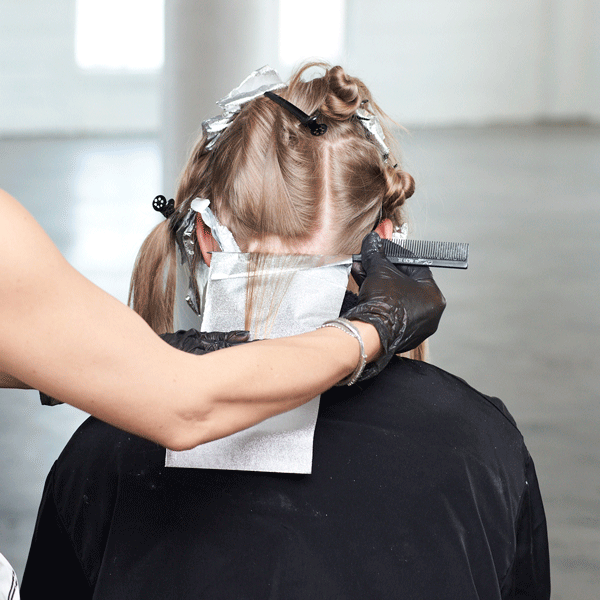
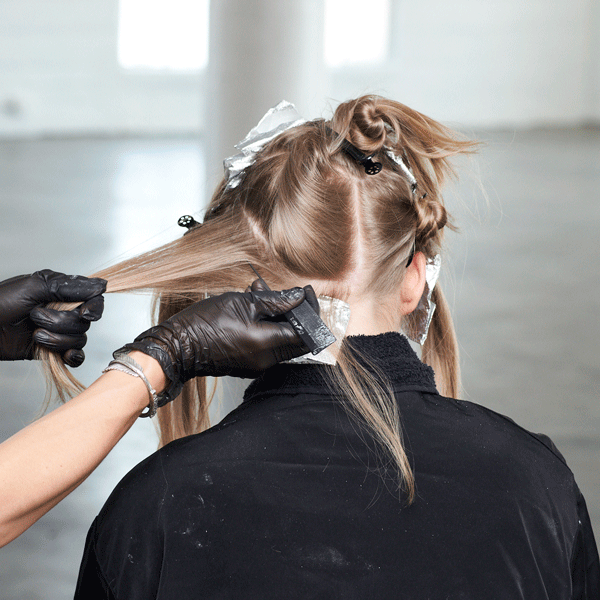
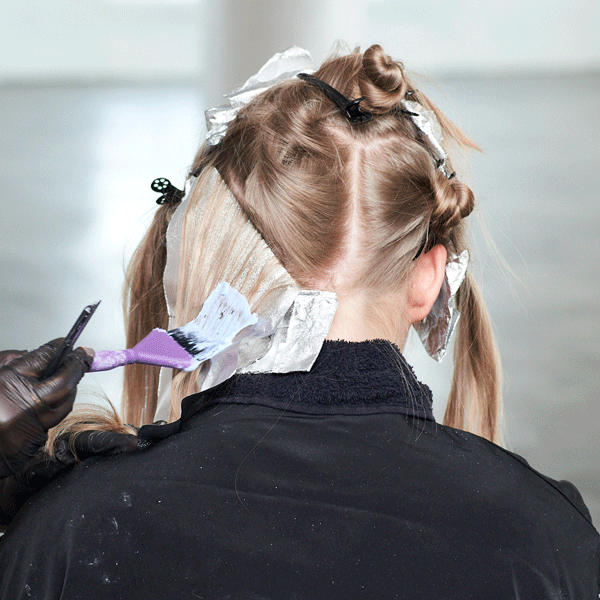
Divide the hair into seven sections: First, create a section from ear to ear. Then, create a large diamond at the crown of the head and section that diamond in half. This will leave two additional sections on the front sides. Section the remaining hair in the back down the middle from the diamond point. This will create three total sections in the back.
[btc-insert-slideshow ids="700790 700789 700791"]
- 4Step 4 of 24

- 5Step 5 of 24
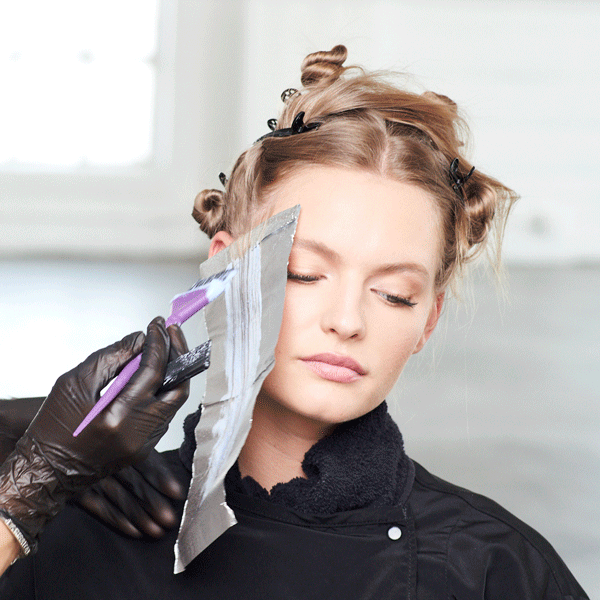
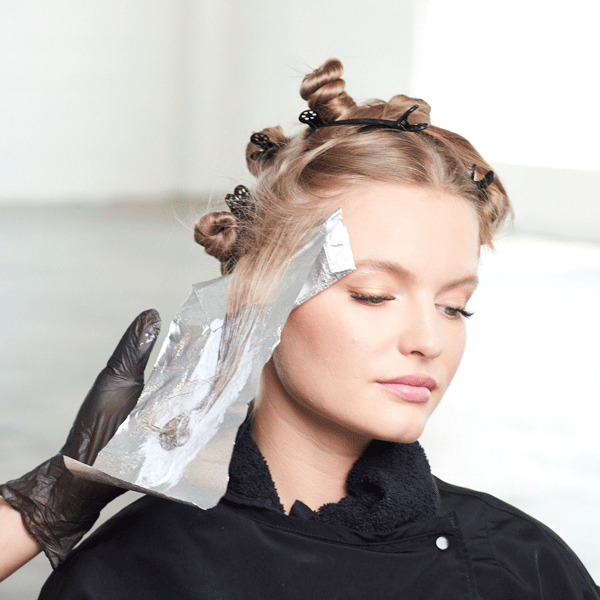
Start with the bottom front section, near the temple. Take a diagonal slice parting that follows the front hairline and apply Formula A from roots to ends.
- 6Step 6 of 24
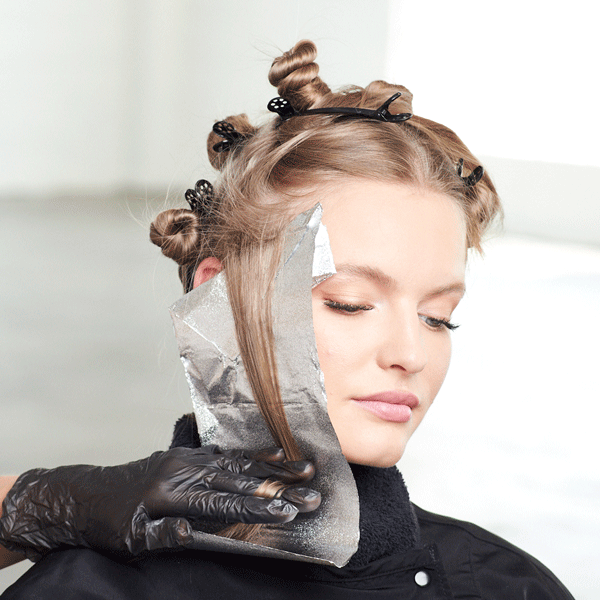
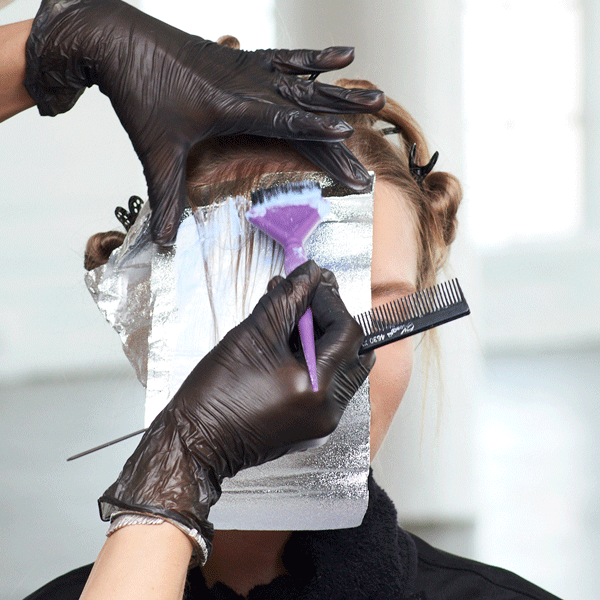
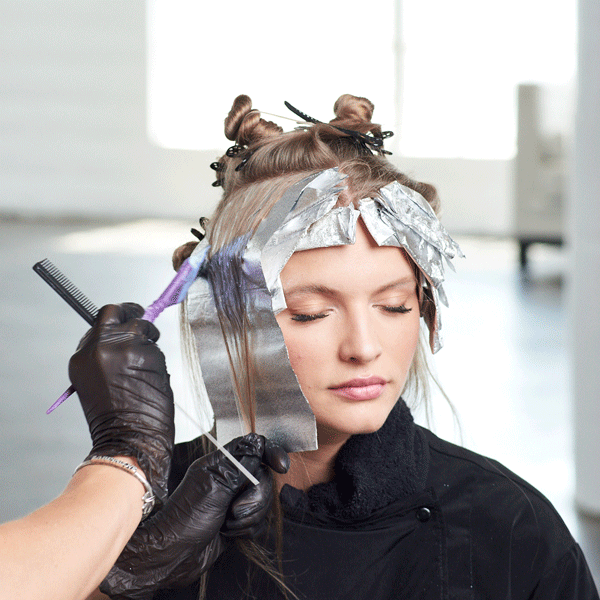
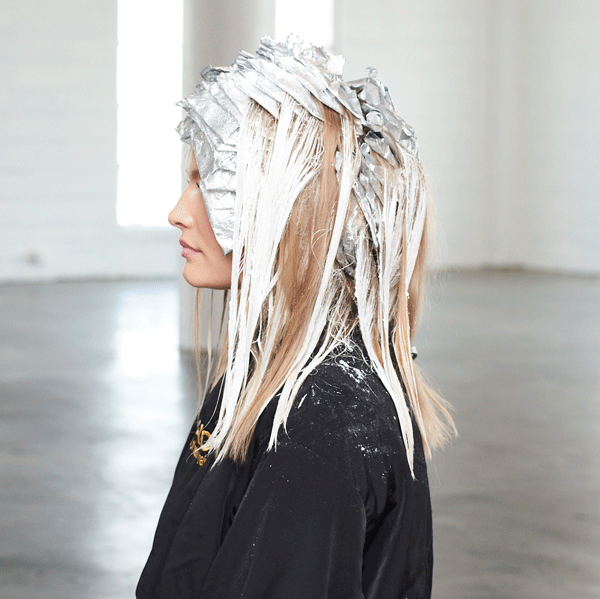
Take a back to back diagonal weave parting and clip the top portion away. Tease the base and apply Formula A from mids to ends using a foilayage technique.
- 7Step 7 of 24
Apply Formula A to the remaining hair left out of the foilayage. Feather the hair at the root and apply from roots to ends.
- 8Step 8 of 24
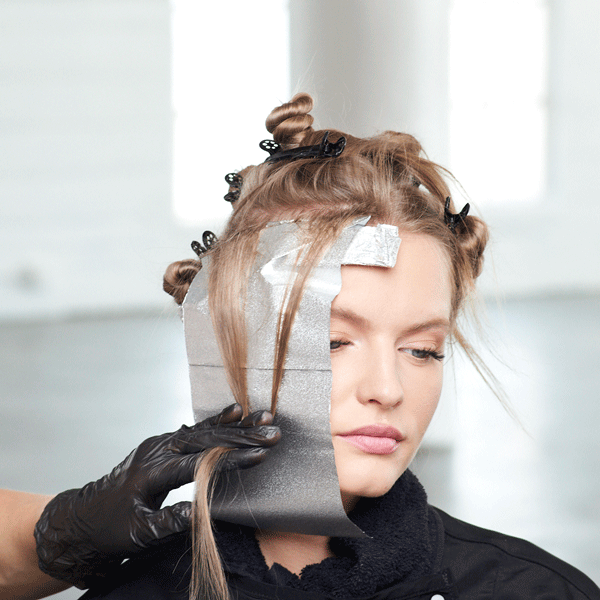
Take a diagonal weave parting at the front hairline and gently tease the base. Apply Formula A from roots to ends.
- 9Step 9 of 24
Take another back-to-back diagonal weave parting and tease the base. Apply Formula A using a foilayage technique.
Pro Tip: As the head and partings become wider, feather the formula up into the teased area for a more diffused blend.
- 10Step 10 of 24
Repeat the process on the opposite front section.
- 11Step 11 of 24
Go back to the other side and continue working up the bottom front section. Take diagonal weave partings and applying Formula A from scalp to ends, feathering at the base. Start to leave out hair between each foil. Repeat the same process on the opposite side.
- 12Step 12 of 24
Repeat the same process on the opposite side. Continue alternating the sides of the head while working to ensure that the lightener lifts evenly on both sides.
- 13Step 13 of 24
Continue taking diagonal weave partings, leaving out hair between each foil, working into the two triangle sections at the top. Partings will start to get thicker to create a more diffused color blend. Apply Formula A using a foilayage method, teasing each parting at the base. The diagonal partings follow the way the hair was sectioned. Repeat the process on the opposite top triangle section.
- 14Step 14 of 24
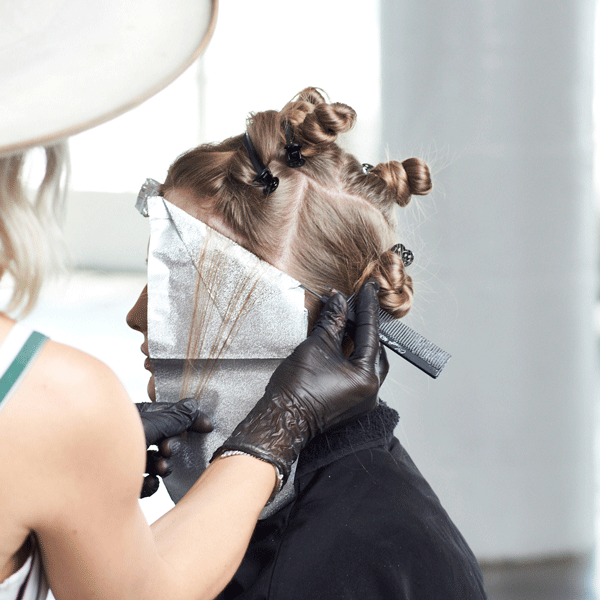
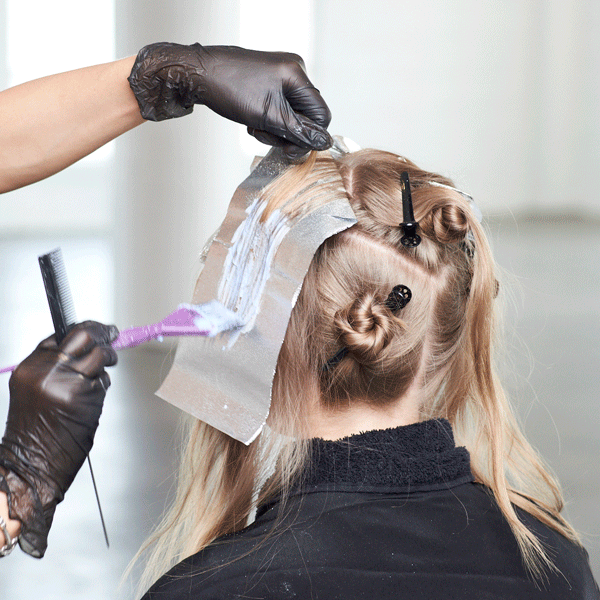
Move to the back-left side and take a diagonal weave parting weave right off the hairline. Apply Formula B from roots to ends.
- 15Step 15 of 24
Move to the nape and take a diagonal weave parting at the hairline. Gently tease the base and apply Formula B from roots to ends.
- 16Step 16 of 24
Take a second diagonal weaved parting, leaving some hair out, and apply Formula B from roots to ends.
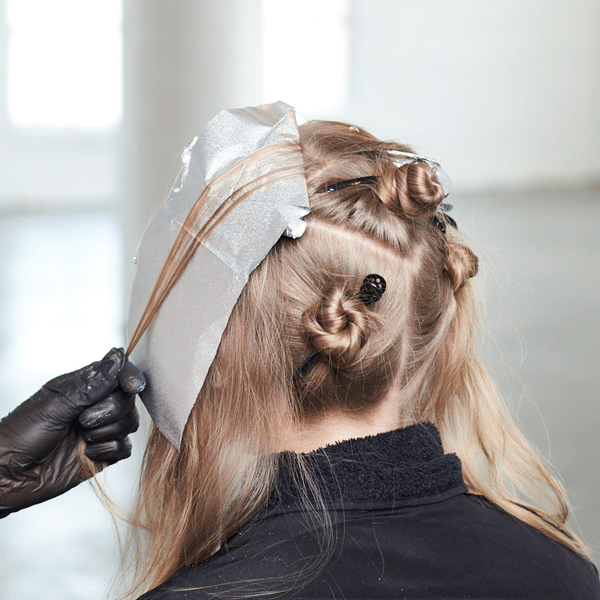
- 17Step 17 of 24
Continue to work up the head taking diagonal weave partings and applying Formula B. Notice that the weaved partings will become wider as the head becomes wider.
TIP! Folding the foils at an angle helps to keep the wider diagonal partings neat and secure.
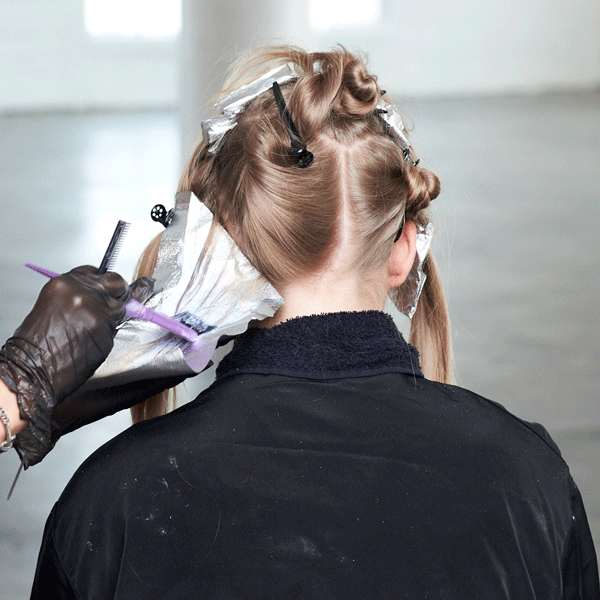
- 18Step 18 of 24
Repeat the process with Formula 2 on the opposite side. Continue to alternate the sides of the head as you work, applying Formula B. Repeat the process until all of the hair in the last back triangle is foiled with Formula B.
- 19Step 19 of 24

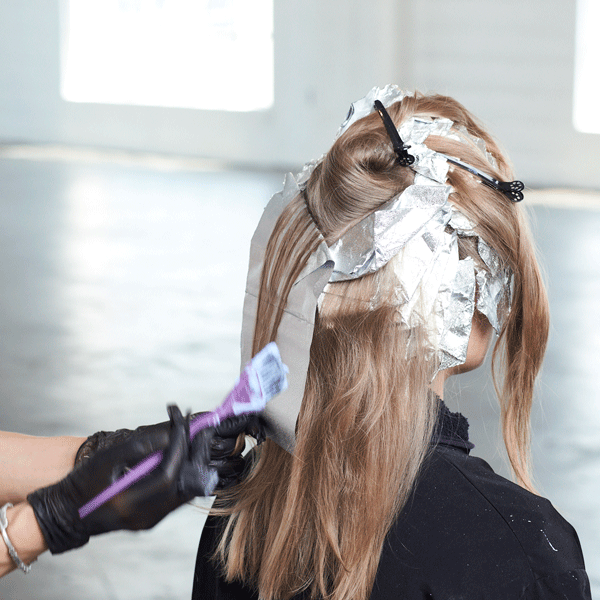
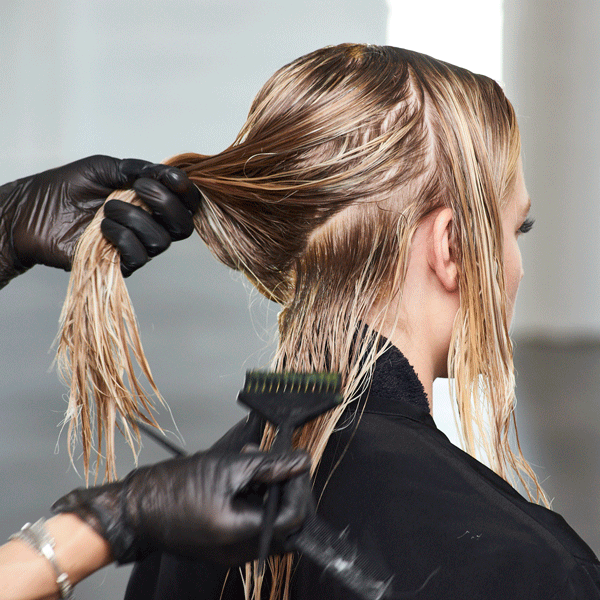
Move to the front sections and apply Formula C using a balayage method to all of the hair that was left out of the foils. This will add brightness and create a better all-over color blend. Focus your color application with formula C on the mids and ends.
- 20Step 20 of 24
Continue applying Formula C in a V-shape balayage method, working around the head. Feather the formula, using the side of the brush, when applying in the top of the section. Allow formula to process for 30 minutes or until the hair is at a Level 11, palest yellow. Shampoo with Defy Damage Protective Shampoo and towel-dry the hair.
- 21Step 21 of 24
Apply Formula D using a teardrop shadow root method: shallow at the front of the head and deeper towards the crown. Use the side of the brush when applying the shadow root to avoid creating any harsh lines.
- 22Step 22 of 24
Apply Formula E to the mids and ends, blurring the formula into the shadow root. Let process for 15 minutes or until desired coolness is achieved. Then, shampoo the hair with Defy Damage Protective Shampoo.
- 23Step 23 of 24
Apply Defy Damage ProSeries 2 Bond-Strengthening Color Preserver throughout entire head and leave in for 5 minutes. Rinse and towel dry the hair. Then, apply Defy Damage Protective Shield to the mids and ends, blow-dry the hair and style as normal.
- 24Step 24 of 24

Finished.
Blonde
Diamond Foilayage
March 1, 2019·1 min read

Let us be honest, we will never not swoon over a blonde bombshell. And this color job from Joico Brand Ambassador Larisa Love (@larisadoll) has us ON THE FLOOR. Larisa used a diamond foilayage technique with some touches of traditional balayage to achieve the ultimate lift and create dimension with her color. Plus she tried out Joico’s NEW Defy Damage ProSeries System (you’ve probably seen it on her Insta!) to keep her client’s hair healthy! Scroll down to get Larisa’s formulas and application steps! (more…)
More to Read


