- 1Step 1 of 16
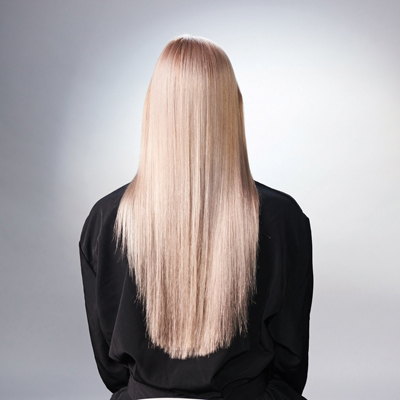
Prelighten the hair to a Level 9 with Formula A, then tone to a neutral pale blonde with Formula B.
- 2Step 2 of 16
- 3Step 3 of 16

Section the hair into four quadrants as shown.
- 4Step 4 of 16

- 5Step 5 of 16

Begin at the bottom left. Starting at the nape, work upwards in vertical slices, shadowing the root with Formula C. Repeat on the right section.
- 6Step 6 of 16

Create a shadow root using Formula C that is 1 inch in the front and 3 inches longer in the back. This helps create a base for the brighter end color that contours the curve of the head. Repeat on the top left and right sections.
Pro Tip: Create peaks and valleys with the brush to prevent harsh, unnatural lines between colors.
- 7Step 7 of 16

Move to the two top front sections. Take vertical slices and melt Formula D from the Formula C shadow root through to the ends. Use your fingers to blend the two colors together. Continue using Formula 2 until you reach the area just in front of the ear.
- 8Step 8 of 16

In the area in front of the ear, transition to Formula E. For a seamless transition between Formulas D and E, and all the colors in between, take a section between the two sections and overlay the two colors to create the Crisscross Color Melt.
- 9Step 9 of 16

As you reach the back, follow the natural curve of the head by switching slices from vertical to diagonal. This will crisscross the colors and allow for a seamless gradiant transition into Formula F on the ends.
- 10Step 10 of 16

Continue with the Formula E section to just past the ear, then transition into Formula F using the same overlaying technique as before. Leave out the section below the occipital bone.
- 11Step 11 of 16

For the bottom section, melt Formula G into Formula C, followed by Formula D on the ends for a beautiful pop of color.
- 12Step 12 of 16

Repeat the process on the opposite side, melting Formula G into Formula C. Process for 25 to 30 minutes. Shampoo with K-PAK Color Therapy, then follow with K-PAK Color Therapy Luster Lock. Send your client home with Color Co+Wash Whipped Cleansing Conditioner to maintain color vibrancy.
- 13Step 13 of 16

- 14Step 14 of 16
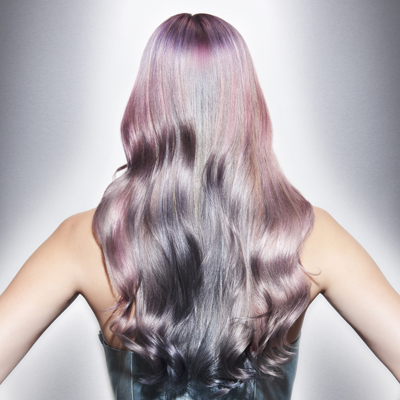
Finished look.
- 15Step 15 of 16
Finished look.
- 16Step 16 of 16Watch the video ↗
Color Melt
Crisscross Color Melt
January 29, 2017·1 min read
Switching your slices from vertical to diagonal creates this crisscross technique that’s amped up with the addition of metallic hues. Check out Ricardo Santiago (@stylistricardosantiago), Joico Global Guest Artist, create this cool color melt! (more…)
More to Read


