- 1Step 1 of 20
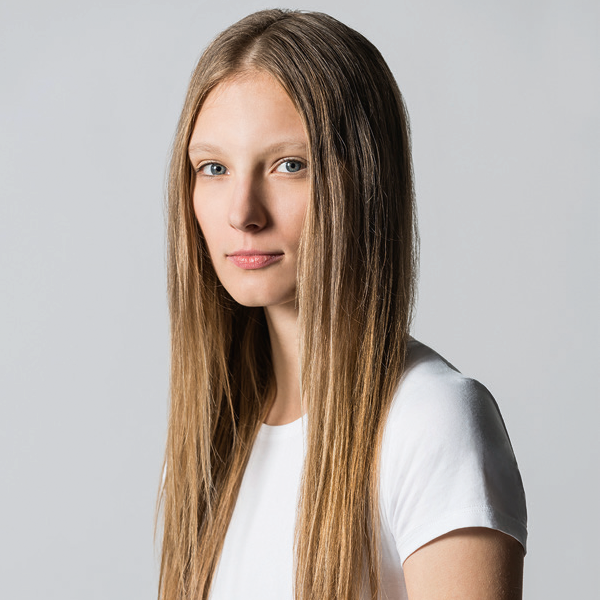
Before
- 2Step 2 of 20
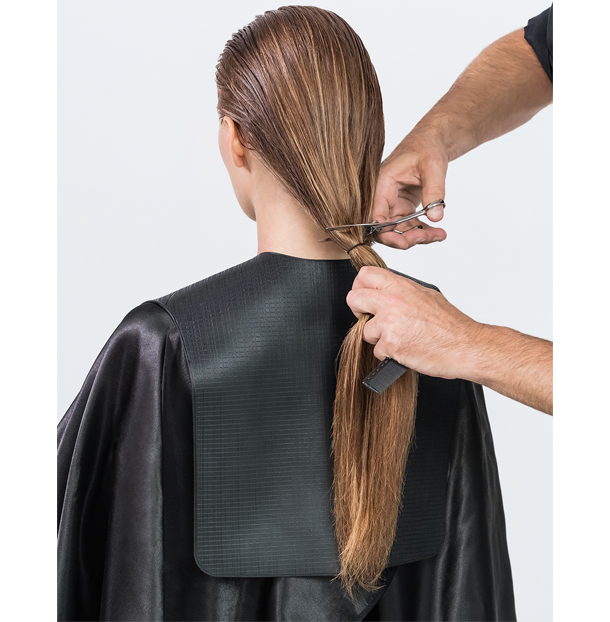
Gather the hair into a low ponytail and secure with an elastic below the hairline. Then, cut above the band to remove the bulk of hair.
- 3Step 3 of 20
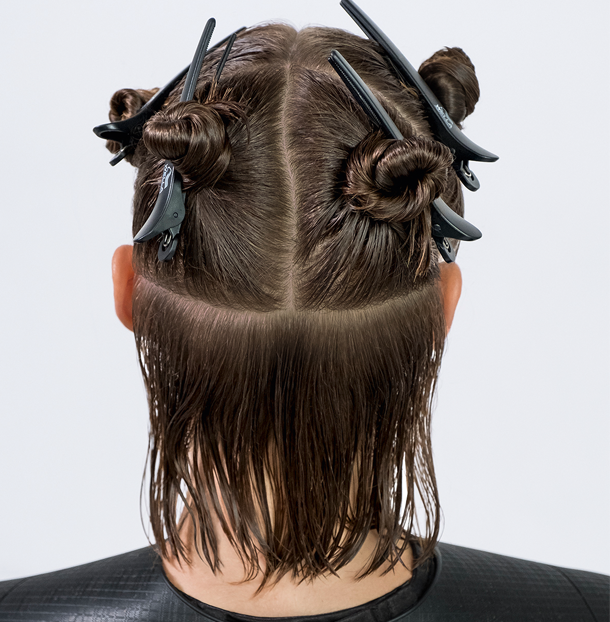
Then, separate the hair into five total sections—two in front of the ear, two crown sections and the nape.
- 4Step 4 of 20
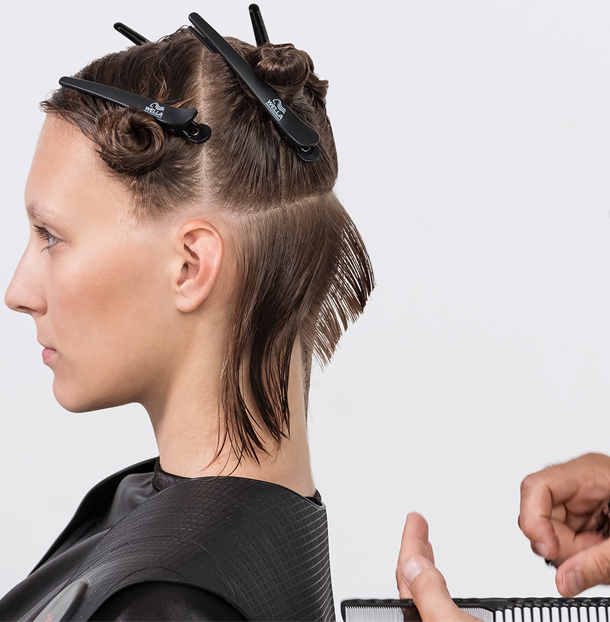
Begin creating graduation by taking vertical sections in the nape and cutting the hair at a 45-degree angle with moderate tension.
- 5Step 5 of 20
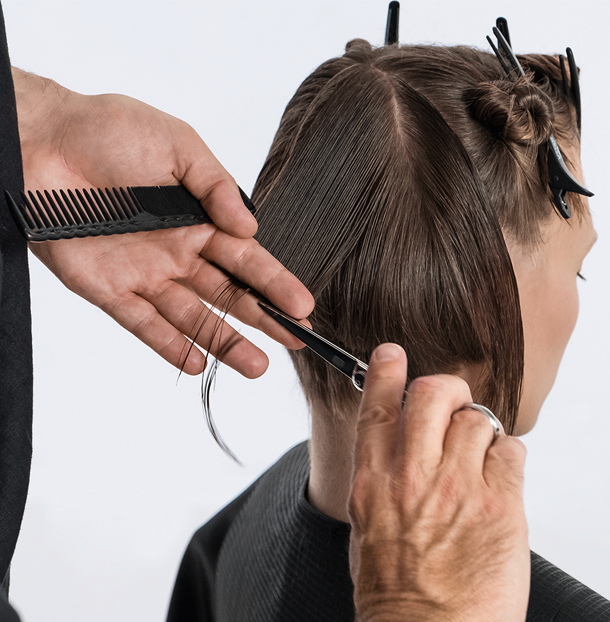
Working with strong tension, take diagonal sections and overdirect the hair to the weight line.
- 6Step 6 of 20
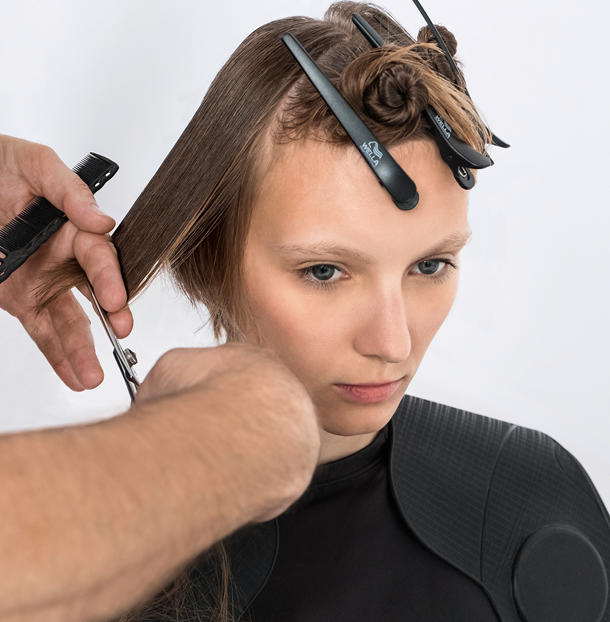
Then, section away the fringe area and connect the sides by elevating to 45 degrees to create volume and a soft bevel.
- 7Step 7 of 20
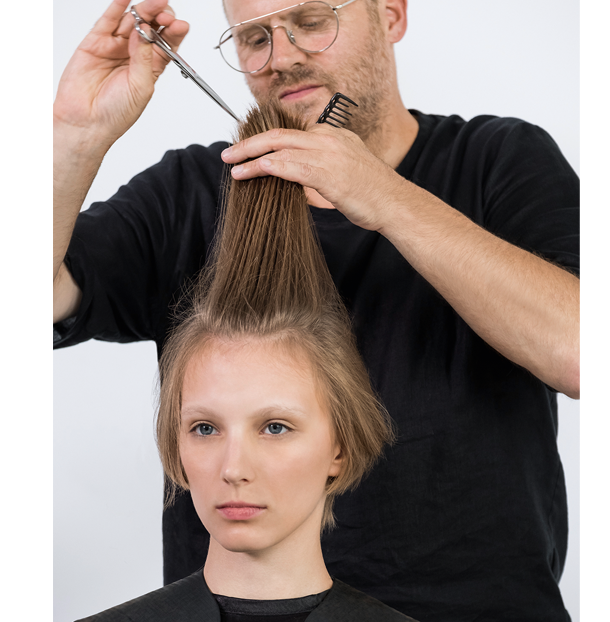
Overdirect the entire top section toward the crown to leave more weight at the front, then point-cut for softness.
- 8Step 8 of 20
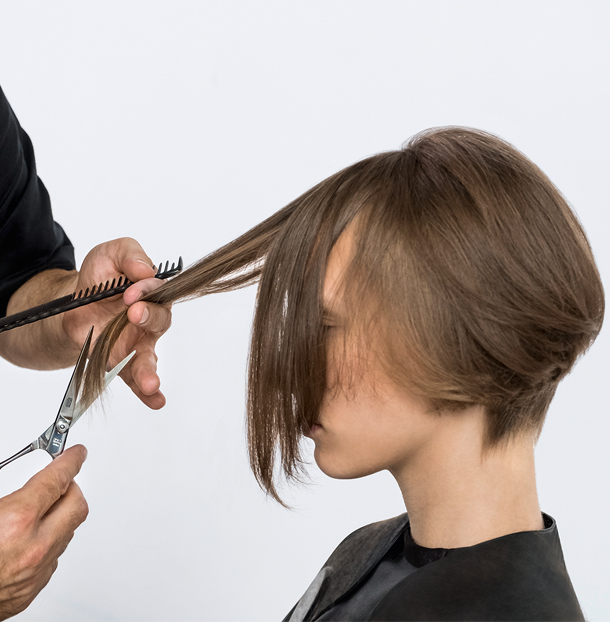
In the fringe section, elevate the hair to create softness and remove length with deep point-cutting. Blend into the sides leaving some slight disconnection.
- 9Step 9 of 20
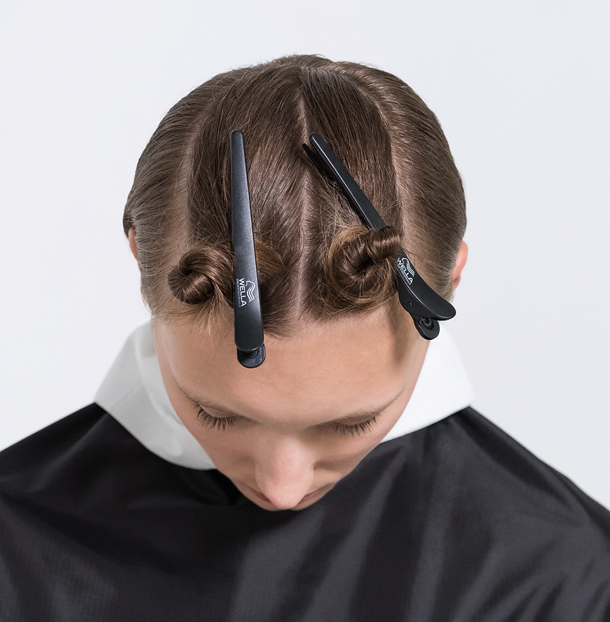
After the haircut, section the hair for the color transformation. Take a horseshoe parting on the top of the head, then separate the hair into two sections off of the part.
- 10Step 10 of 20
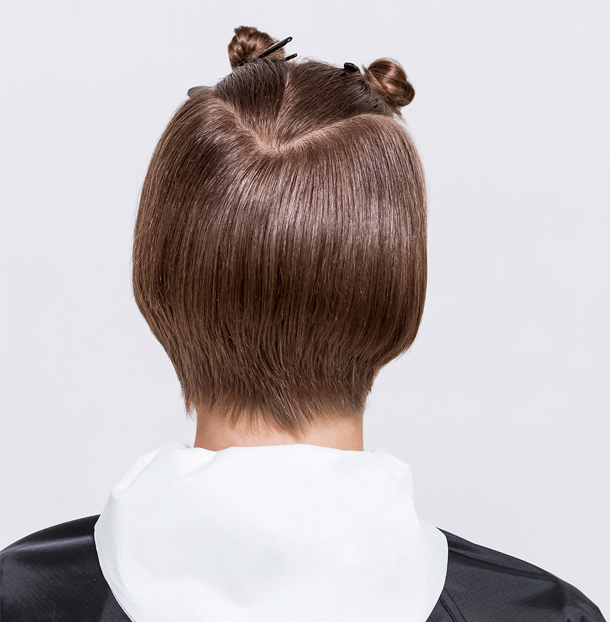
Sectioning Pattern - Back
- 11Step 11 of 20
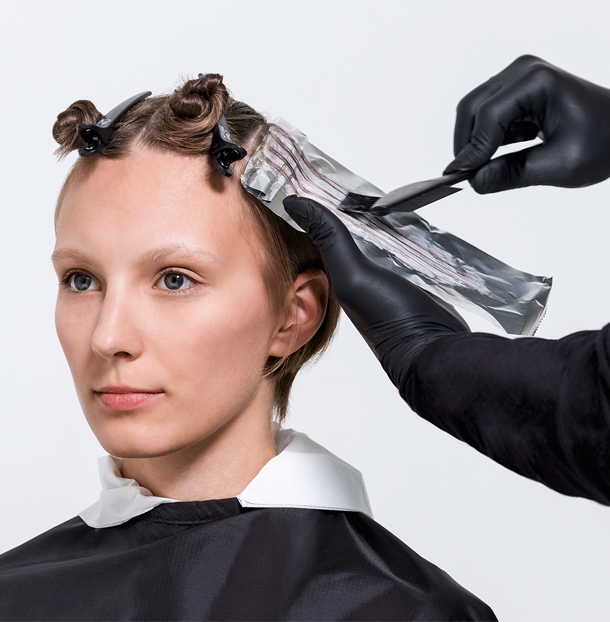
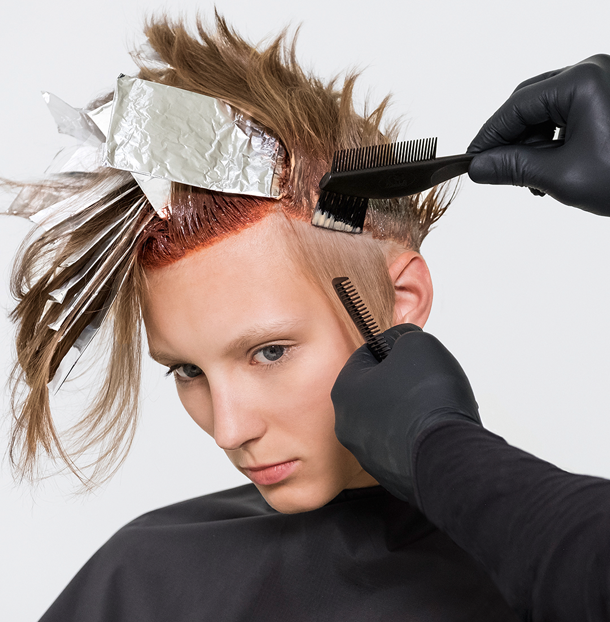
Start by outlining the top sections with highlights. Take medium-sized weaves and apply Formula B.
- 12Step 12 of 20
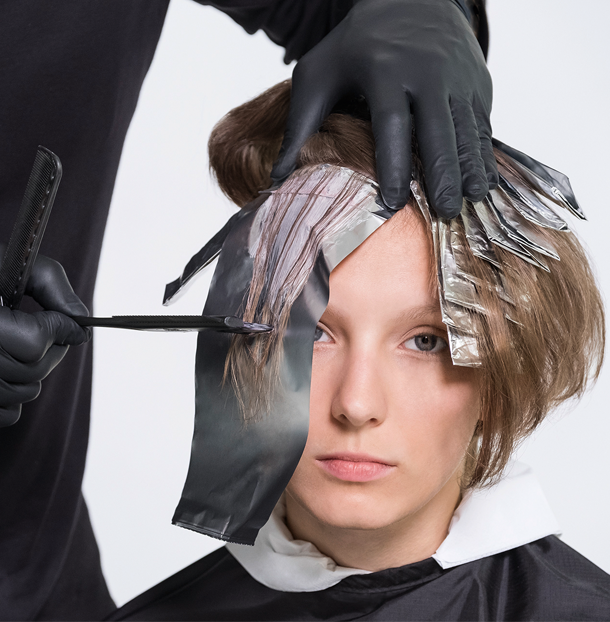
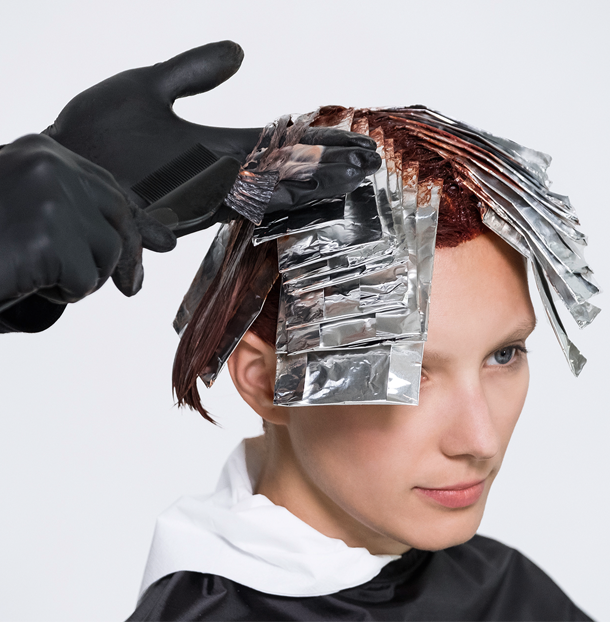
Alternate applying Formulas B and C in diagonal-backward highlights throughout the top sections.
- 13Step 13 of 20

- 14Step 14 of 20
Then, apply Formula A to the entire root area. Bring the color down less than 3/4 inches to create a slight shadow root.
- 15Step 15 of 20
Apply Formula C to the mids and ends. Process, shampoo and neutralize.
- 16Step 16 of 20
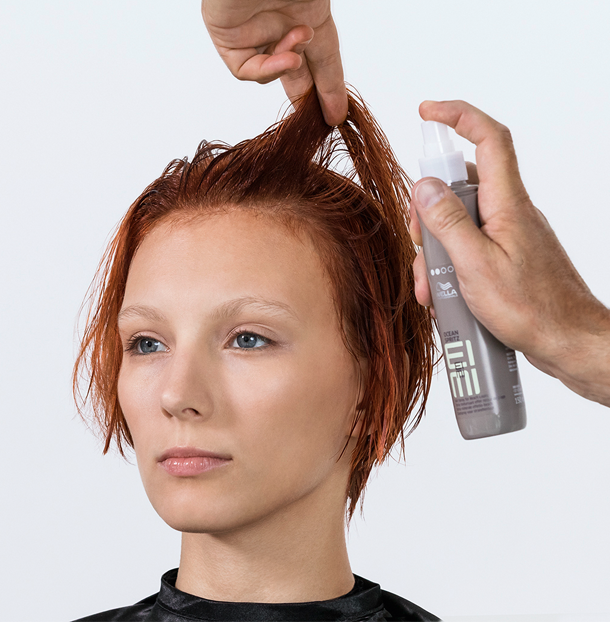
To style the pixie, start applying Wella Professionals EIMI Ocean Spritz to towel-dried hair. This salt hairspray keeps the hair hydrated and creates undone texture.
- 17Step 17 of 20
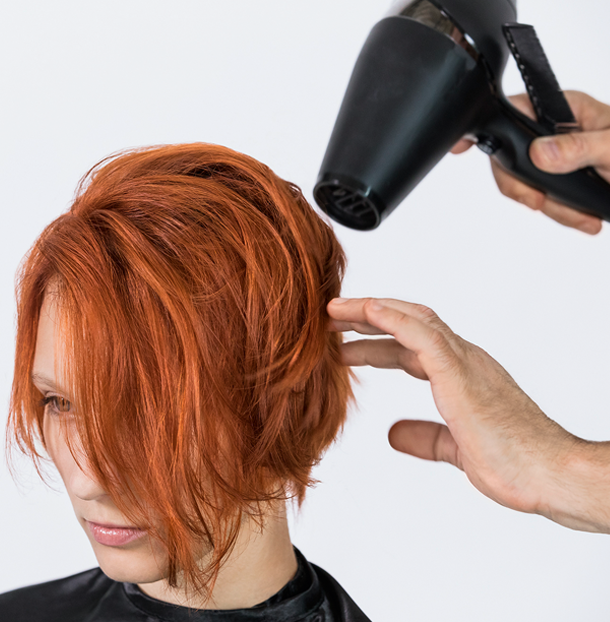
Then, rough-dry the hair for a textured look with movement.
- 18Step 18 of 20
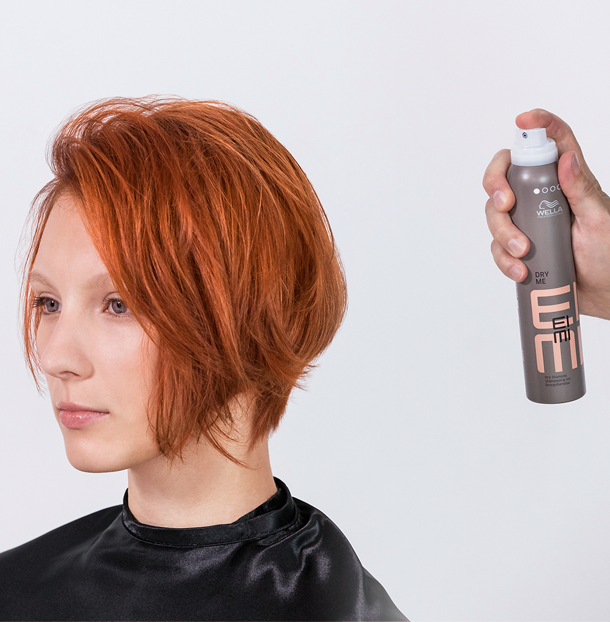
Finish with Wella Professionals EIMI Dry Me to create manageable matte texture that absorbs oil and builds major volume.
- 19Step 19 of 20

Finished Look
- 20Step 20 of 20

Before & After
Hair Color
Copper Pixie Transformation
March 1, 2019·1 min read
From long and lackluster blonde to a fiery copper pixie—this transformation shows exactly how simple precision cutting and color melting techniques can change an entire look. But how? Pairing clean, soft lines that allow the hair to move freely with a rich copper blend to create an overall expensive-looking flow of vibrancy. From cut to color and styling, get the formulas and complete application step breakdown below! (more…)
More to Read


