- 1Step 1 of 8
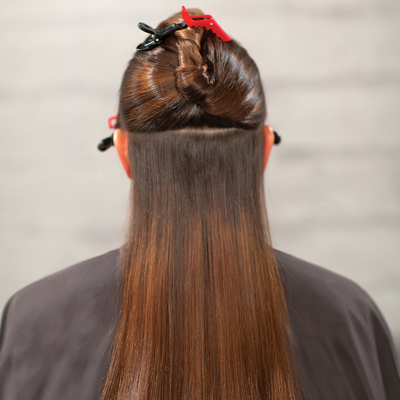
Section off the hair from the top of the head to the center of each ear. Create a part across the back of the flat of the head.
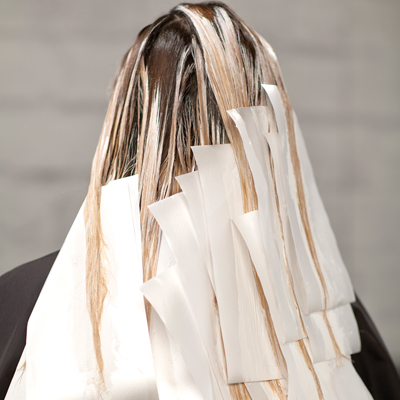
- 2Step 2 of 8
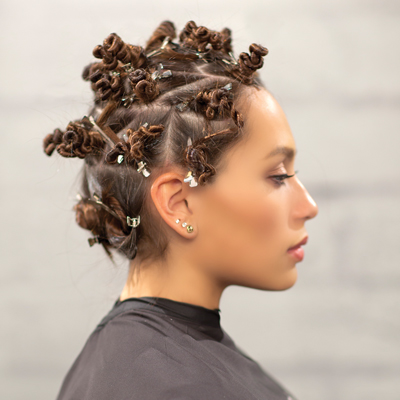
Create the first triangle section, then continue across the head, alternating from a triangle up to a triangle down, until you run out of hair behind the ear. Section off each triangle with a clip.
- 3Step 3 of 8
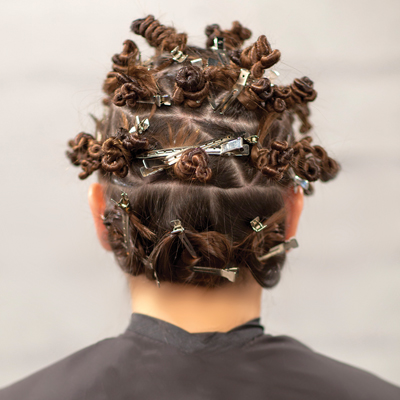
Continue creating triangles throughout the head. Triangle size can vary based on density of the hair—smaller triangles can be used for heavier, dense hair and larger triangles for thinner hair.
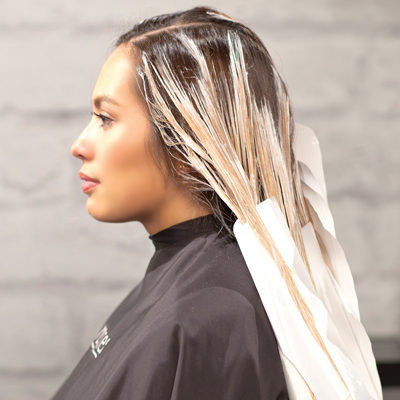
- 4Step 4 of 8
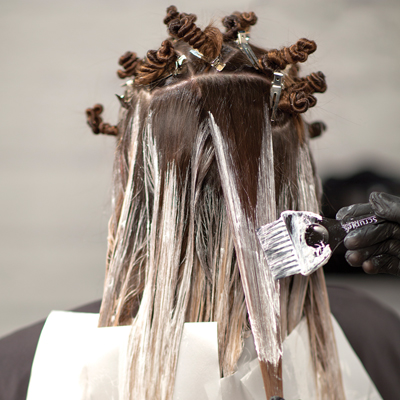
Starting back at the nape and working your way up the head, apply each triangle section one at a time. Apex the triangle and apply Formula A with light pressure.
- 5Step 5 of 8
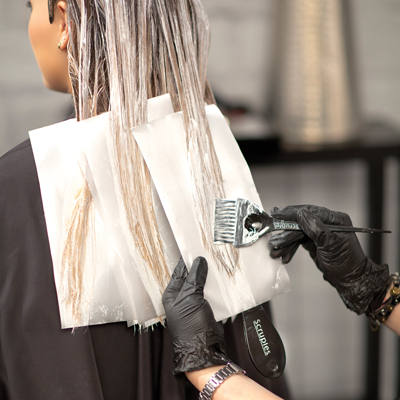
Take the Scruples Balayage Board and place a Scruples Color Paper on top. Lay a section onto the board so it is flat. Continue to blend Formula A through the midshafts and ends. The balayage board allows you to apply pressure for heavier saturation of lightener while sliding the color paper with the hair and board down through the ends.
- 6Step 6 of 8
Repeat this technique, working up the head until all sections are complete.
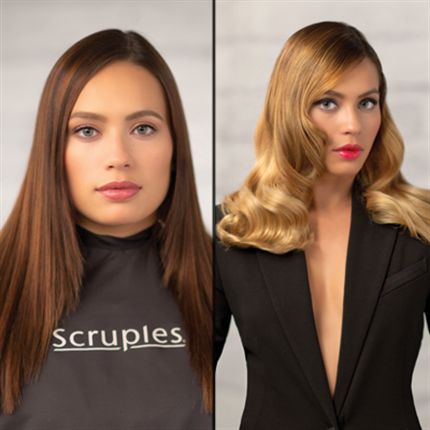
- 7Step 7 of 8
Process at room temperature for up to 45 minutes, or until desired lightness is achieved. Shampoo and rinse with preferred Scruples product. Tone with chosen POWER BLONDE Conditioning Gel Toner. Shampoo, rinse and condition the hair with preferred Scruples products.
- 8Step 8 of 8Watch the video ↗
Makeup
Constructed Contouring
June 21, 2016·1 min read
Your clients want balayage, but not just ANY balayage. They want custom. They want Kim K-level contour. They want cheekbones for days. They want “I woke up like this.” Well, we’ve got just the thing: this constructed contour look, which gives you the basics of balayage with a pretty pop that will accentuate her facial features. Give her the glow—here’s how! (more…)
More to Read


