- 1Step 1 of 13
Before. Model had existing grown-out highlights.
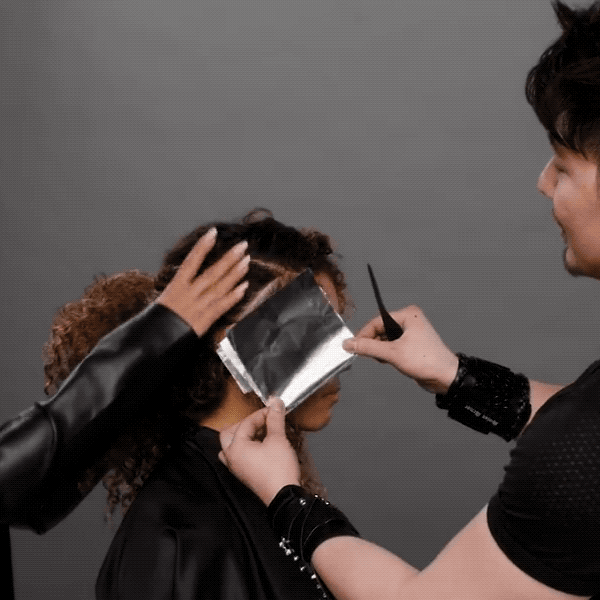
- 2Step 2 of 13
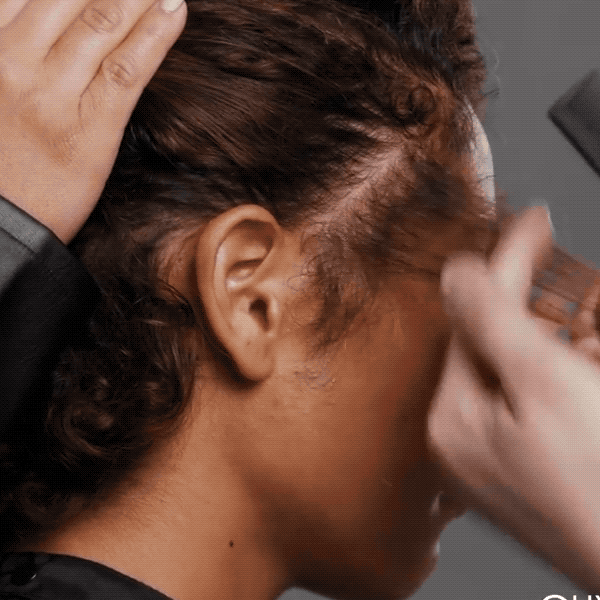
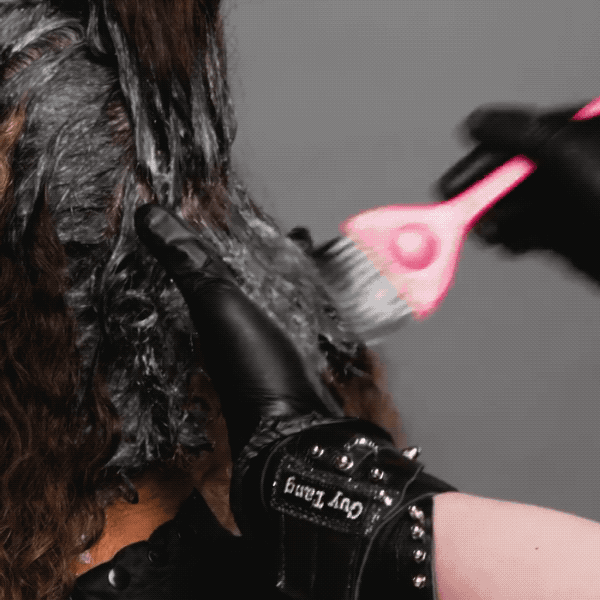
Create a diagonal parting at the hairline and take a weave for your first highlight.
Pro Tip: When highlighting curly hair, start the weave right at the scalp—this creates a more natural look. Also, leave out the short baby hairs at the hairline. Highlighting these will emphasize them and make them look broken.
- 3Step 3 of 13
Apply Formula A to the weaved section.
- 4Step 4 of 13
- 5Step 5 of 13
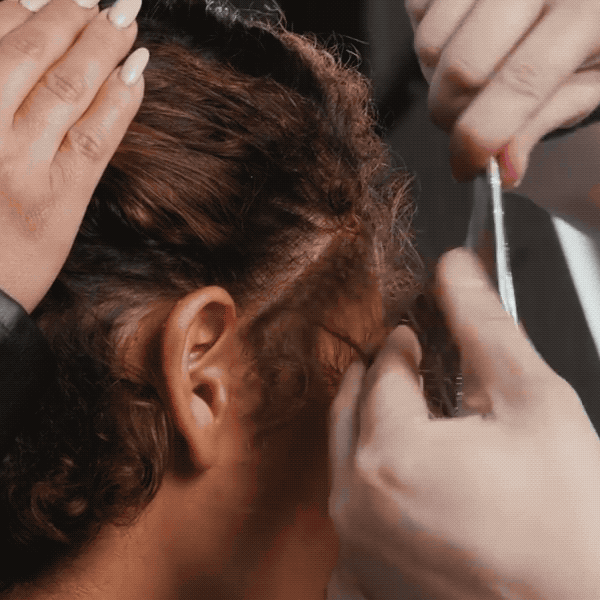
Do two or three more back-to-back weaves, folding foils gently to leave room for Formula A to expand.
Pro Tip: On curly hair, use diagonal sections and weaves (instead of horizontal sections and slices) for the most blended, natural look.
- 6Step 6 of 13
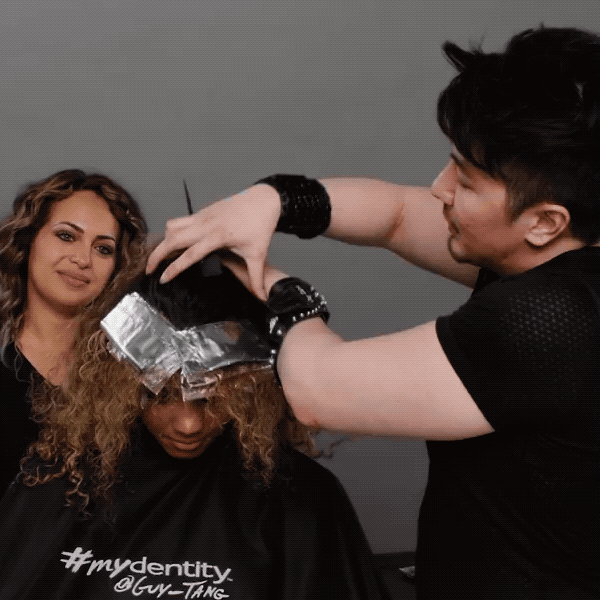
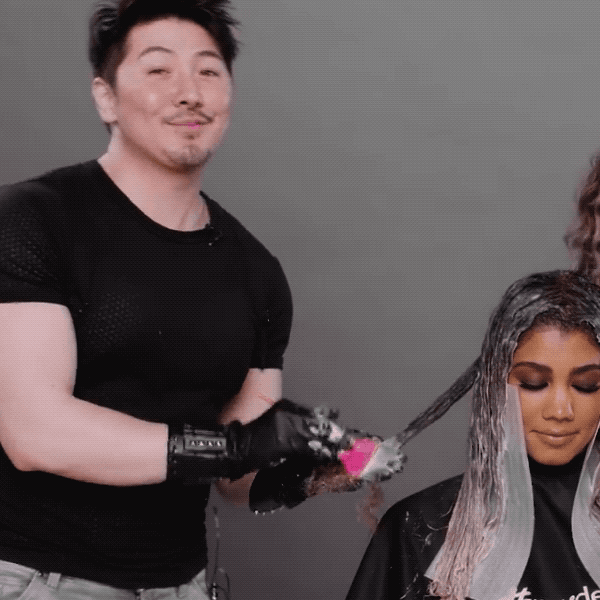
Continue to the other side, then do two more sections of 3 to 4 weaves on each side until you reach the top of the head. Guy always works in a face-frame like this at the hairline so there’s a pop of color whether she tosses her hair to the left or the right.
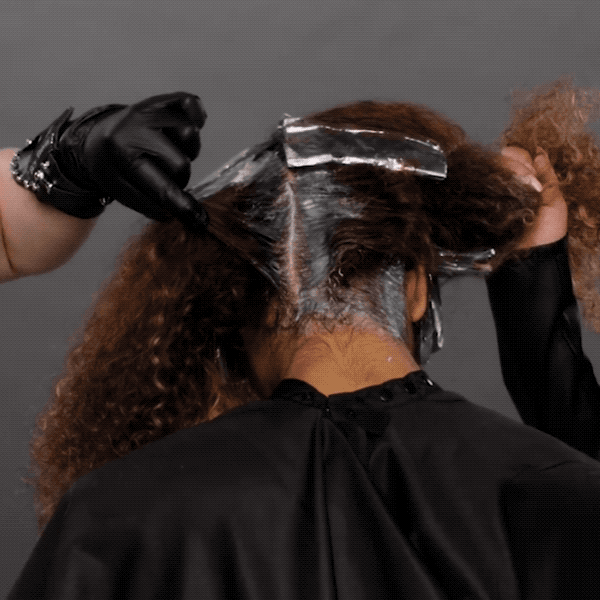
- 7Step 7 of 13

Move farther back on the head for the next section. At the top, skip an inch – this ensures dimension. Repeat the weave pattern until you hit the back crown.
- 8Step 8 of 13
Begin applying Formula B as the base, starting at the nape. Process, rinse and dry with a diffuser.
Pro Tip: Guy works in vertical sections because it allows him to move across the head faster.
- 9Step 9 of 13
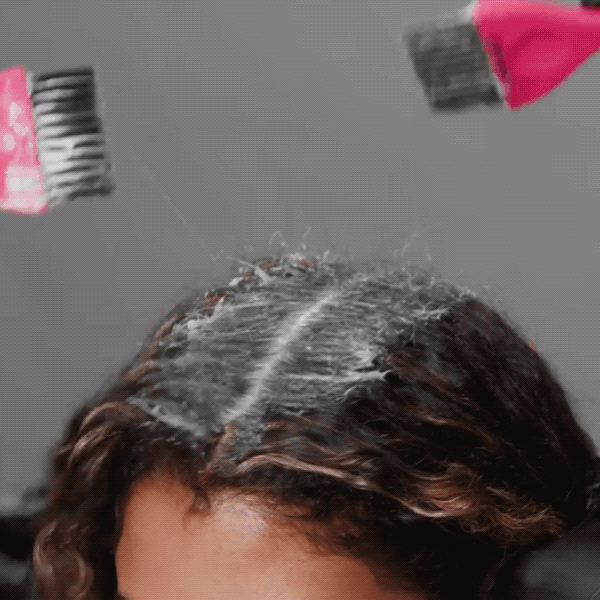
When the hair is dry, apply Formula C at the rootage, which will help blend away the stitch marks and to create a shadow root. Drag some of Formula C down to meet the old highlights for a better transition.
Pro Tip: Guy always glazes dry—this ensures full color deposition, so it doesn’t look hollow, and increased color longevity.
- 10Step 10 of 13
Use Formula D through the mids, melting the two formulas into one another. Vary how high you create the shadow root each time for maximum dimension.
- 11Step 11 of 13
Use Formula E on the ends, melting into the midshaft formulas.
Pro Tip: Add Clear to what’s left over in the bowl of Formula D to create Formula E instead of mixing up new color.
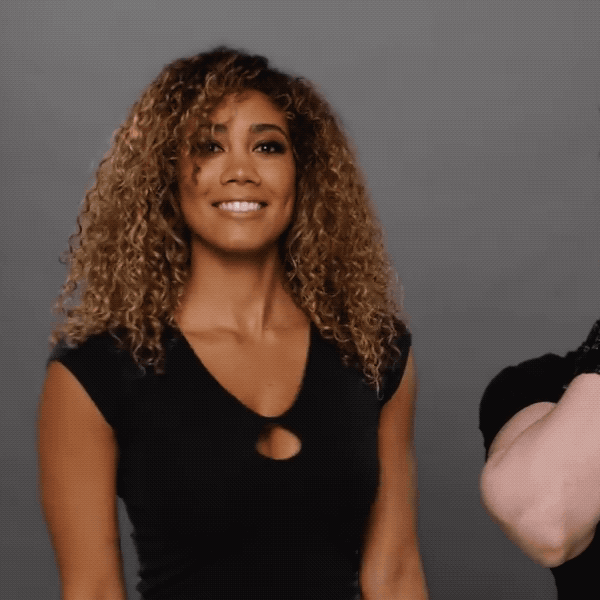
- 12Step 12 of 13
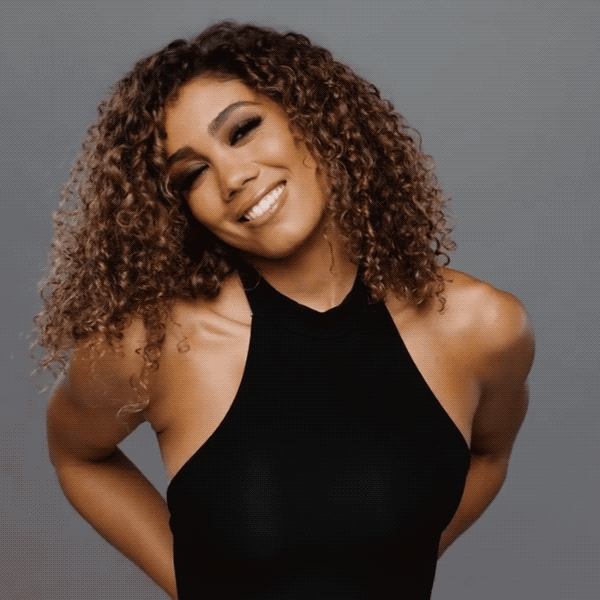
Finished look.
- 13Step 13 of 13
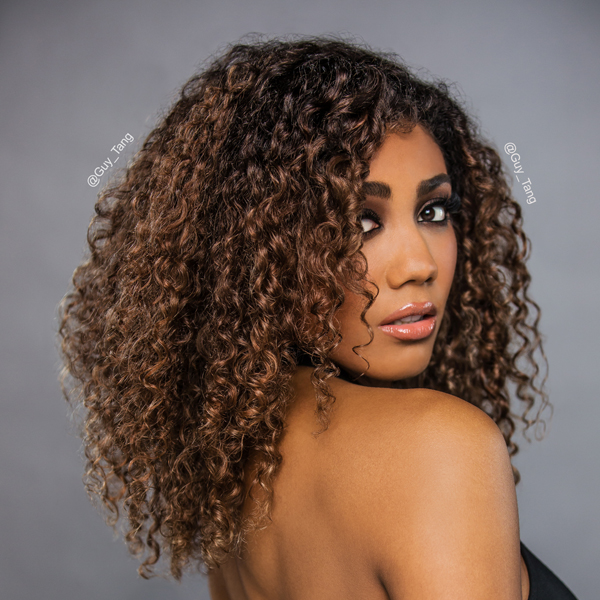
Finished look.
Hair Color
Coloring Curly Hair: Natural Ice
September 6, 2017·1 min read
Coloring curly hair doesn’t have to be scary! Watch #hairbestie Guy Tang break down his technique using new shades from his line, #mydentity @guy_tang. He gives his model a natural, cool-toned look using three separate glazes on dry hair for maximum impact. Check it out, and enter to win a #mydentity Natural Ice shade! (more…)
More to Read


