- 1Step 1 of 9

Before
- 2Step 2 of 9

Create a circle section at the crown, then split it at your client’s natural parting. If your client has a natural side parting, use this as the center of your circle to ensure there’s an equal amount of slice on either side.
- 3Step 3 of 9
Apply Formula A to the hair outside of the circle, working from regrowth to ends.
- 4Step 4 of 9

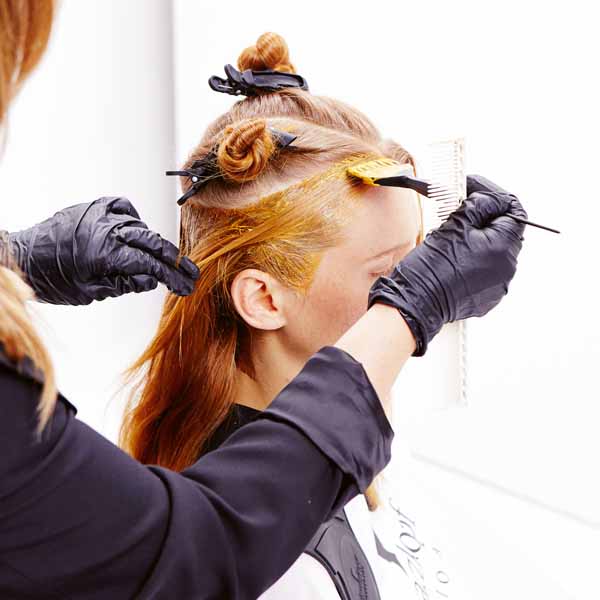
Working in the circle section, apply Formula A to the regrowth, taking the color about 4 centimeters down.
- 5Step 5 of 9

Using the Schwarzkopf Professional ColorMelter with Formulas A, B and C, take slices in the circle and apply all three colors at once with the tool. When you reach the midlengths, switch the direction of the ColorMelter to create different lights and depths.
- 6Step 6 of 9
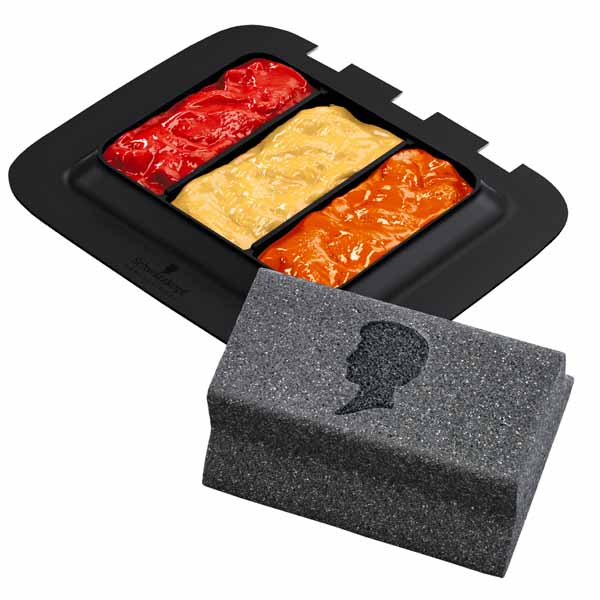
Schwarzkopf Professional ColorMelter
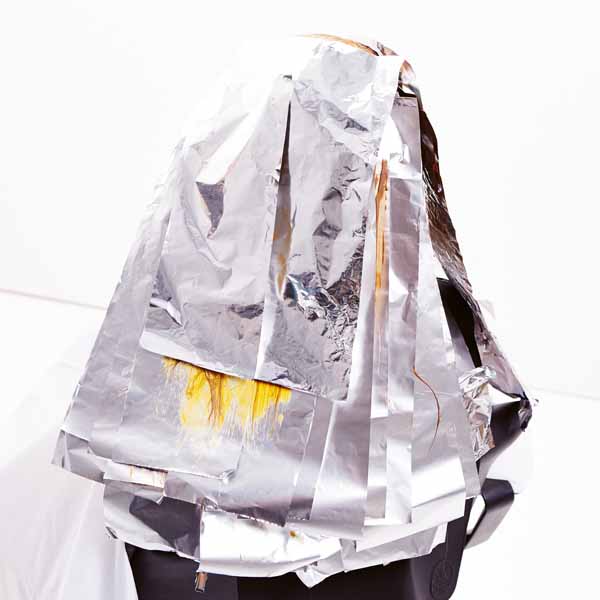
- 7Step 7 of 9
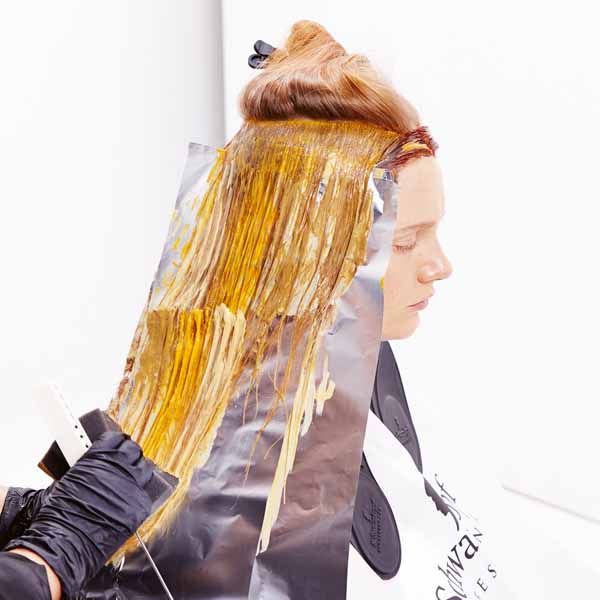
In Process
- 8Step 8 of 9
Process, rinse, shampoo and style.
- 9Step 9 of 9

Finished Look
Color Melt
Color Melt With Depth
April 1, 2017·1 min read
Inspired by the colors used by Renaissance painters, this is not your basic redhead. With richness and depth, the key to this look is the ColorMelter from Schwarzkopf Professional, which lets you blend with ease and add movement to your clients’ hair. (more…)
More to Read


