- 1Step 1 of 15
Before
- 2Step 2 of 15
Section the hair into four sections—two in the front from the center of the ear forward and two vertical sections in the back.
- 3Step 3 of 15
Beginning on the left side, apply Formula A by slicing vertical sections on an angle at the nape, leaving no hair out against the skin. Repeat two times to create a highlight against the collarbone. This is Zoe’s skinlights technique—highlights that rest against the skin for maximum brightness at the nape.
Tip: Angled sections look more natural than horizontal sections. Angle the brush to feather on the formula for a softer line—this will prevent stripes.
- 4Step 4 of 15

Repeat these back-to-back slices just behind the ear to highlight the jaw bone.
Tip: Zoe left some of her client’s ends out because they were fragile. Use your best judgment with your clients.
- 5Step 5 of 15
After both back sections are complete, return to the left-out ends on the left side. Backcomb and apply Formula A to the ends for a pop of vibrancy and dimension while also correcting previous uneven color.
- 6Step 6 of 15
For the rest of the left back section, take fine diagonal sections about 1/8 inch thick and create fine highlights until you reach halfway to the top.
- 7Step 7 of 15

- 8Step 8 of 15
Begin adding a lowlight with Formula B to create dimension. Alternate a highlight, lowlight and highlight back to back with no hairs left out (a highlight-lowlight sandwich). Then, leave a section of the hair out and repeat the highlight-lowlight sandwich until you reach the top. Repeat the process on the other side.
Tip: Don’t fold the Formula B foil, because the crease will create a line in the hair.
- 9Step 9 of 15
Move on to the crown and create a triangle section as shown. Start at an angle and do the highlight-lowlight sandwiches again, pivoting to horizontal to create a veil over the top of the head.
- 10Step 10 of 15

Create a section ½ inch wide and 1 inch deep at the part and clip it away. In front of the ears and at the temple, repeat the skinlights from Step 2.
Tip: At this point, Zoe removed the foils she started with so they didn’t overprocess.
- 11Step 11 of 15
Take thin, diagonal sections from behind the front pieces and do fine highlights with Formula A. As you reach the top half of the section, repeat the highlight-lowlight sandwich, remembering to leave out natural hair between each sandwich.
- 12Step 12 of 15
Take all the hair that was left out and divide into two sections. Backcomb and lay the ends onto foil as you paint on Formula A. Repeat on the other side.
- 13Step 13 of 15
Move to the fringe section that was left out in step 8. Take a thin section at the front and apply Formula A, then do two more back-to-back sections right behind it. Process for 20 minutes, then rinse and apply Formula C. Process for 10 minutes. Shampoo and condition with Blonde Life Brightening Shampoo and Conditioner.
- 14Step 14 of 15
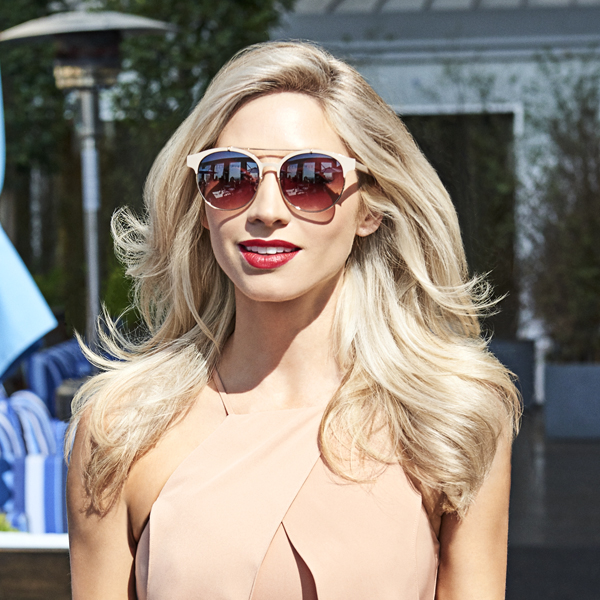
Finished look
- 15Step 15 of 15Watch the video ↗
Blonde
Champagne Blonde
July 13, 2017·1 min read
Bump up a brassy blonde to champagne tones with this how-to from Joico Guest Artist Zoe Carpenter. A cool trick? Her “skinlights” technique, which places the highlight right at the skin, resulting in a super-bright nape, where blondes tend to get dark. Check it out! And enter to win the Blonde Life Salon Opener Kit! (more…)
More to Read


