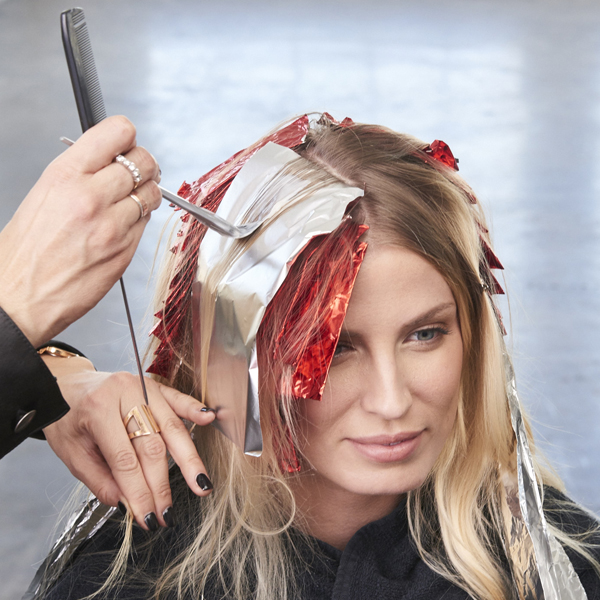
- 1Step 1 of 19
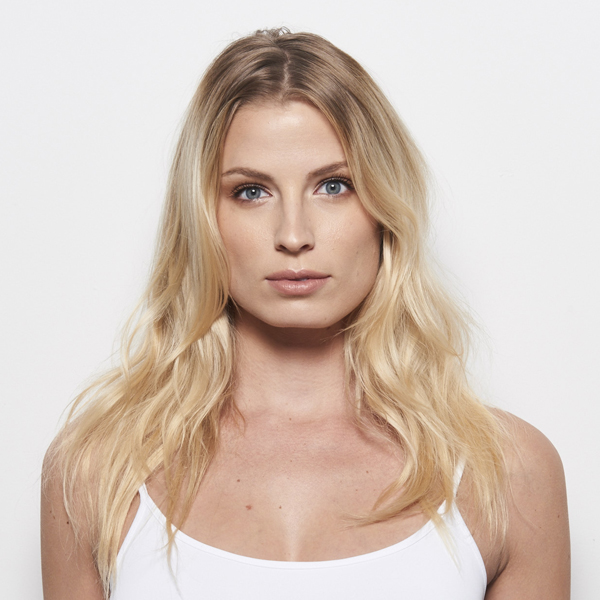
Before
- 2Step 2 of 19
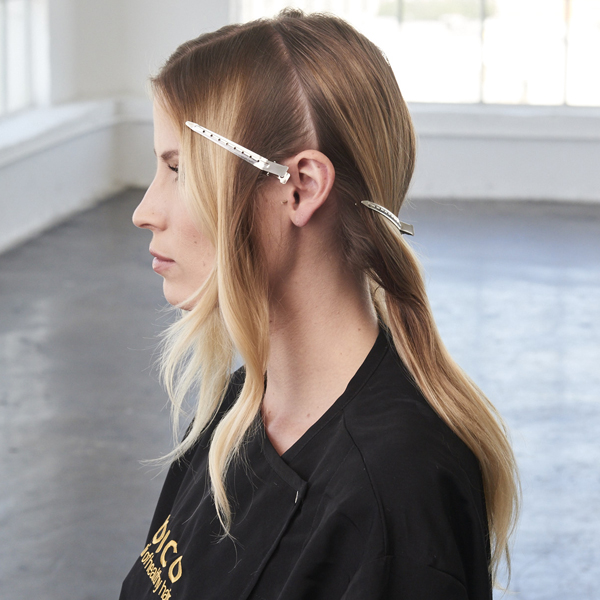
Part the hair into quadrants: two from the center of the ear forward and two behind, working off a center part to the nape.
- 3Step 3 of 19
Apply Formula A in a “V” painting method to a diagonal forward vertical slice section just behind the ear.
- 4Step 4 of 19
- 5Step 5 of 19
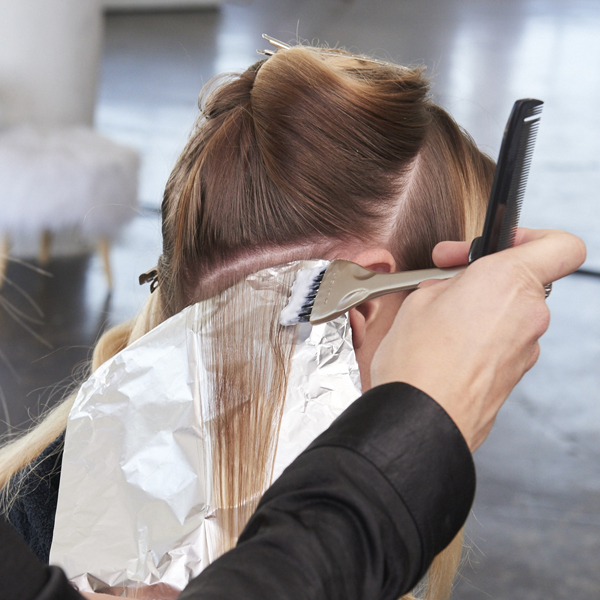
Apply Formula B to the inside of the “V” to add depth and dimension. Be sure to blend the lines out and not create a severe line with the lowlight formula.
- 6Step 6 of 19
Repeat the process for three to four slice partings until you reach just above the ear, working with diagonal vertical partings and Formulas A and B.
Pro Tip: For easier application on long hair, use Joico Artistry Foils. These large, 7x14 foils make it easier apply multiple formulas to long hair.
- 7Step 7 of 19
Repeat the process on the opposite side for a total of four to five slice partings.
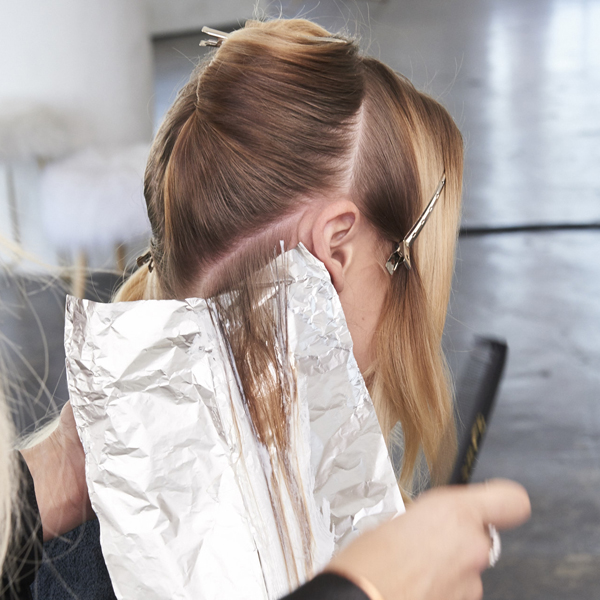
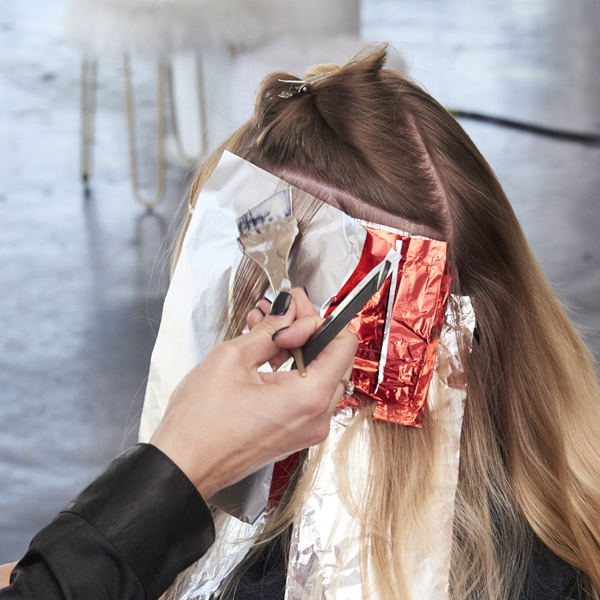
- 8Step 8 of 19
Continue working upward in the same section. In the red foils, apply Formula B from scalp to ends. To create more texture and dimension, leave some ends out on the lowlights.
- 9Step 9 of 19
Using your creative eye, determine where to apply lightness with Formula A (in foils) to balance the design, blurring the line of demarcation on grown-out balayage.
- 10Step 10 of 19
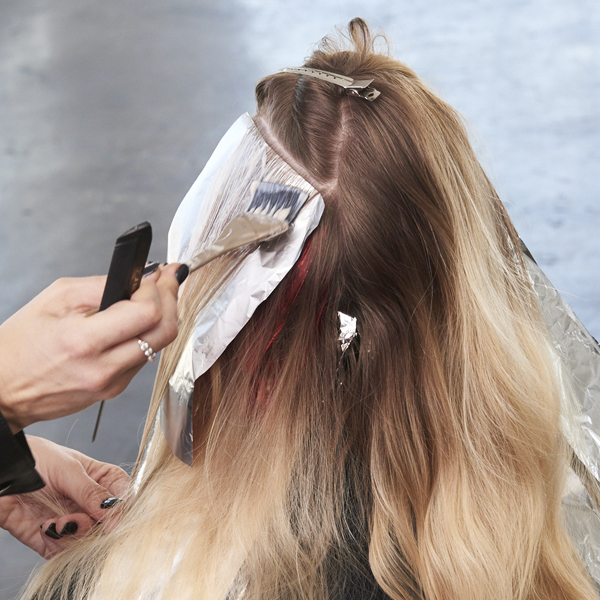
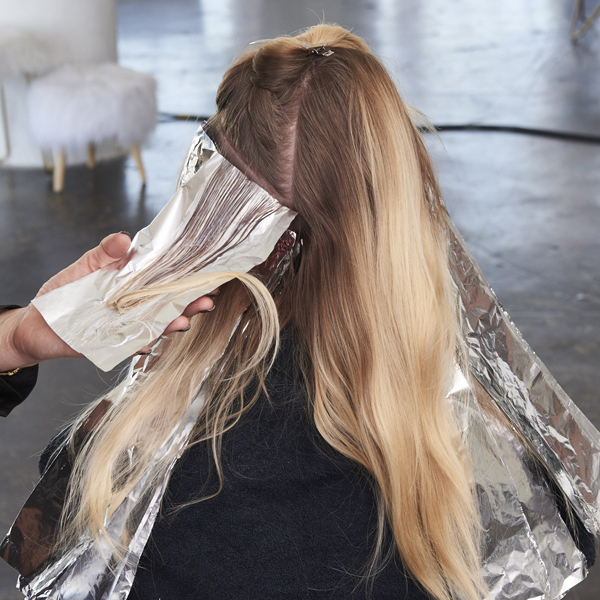
Keep working upward in various diagonal partings, alternating Formulas A and B. These varying diagonal partings will ensure the color is well-blended and will erase any prior lines of demarcation. Continue taking micro-slices until the back sections are complete.
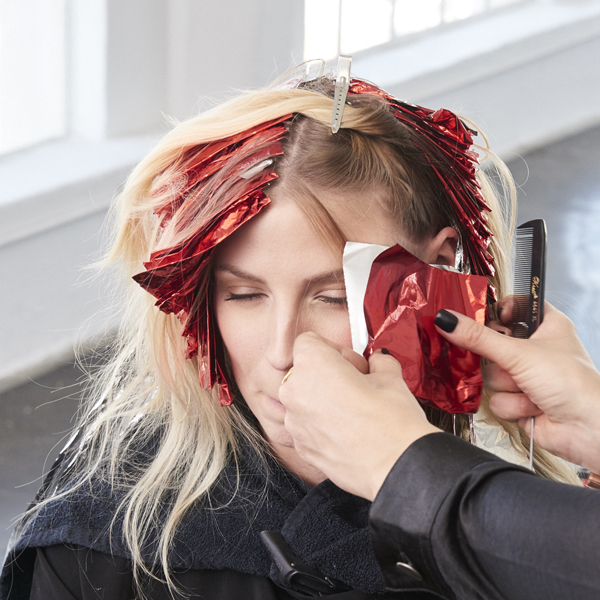
- 11Step 11 of 19
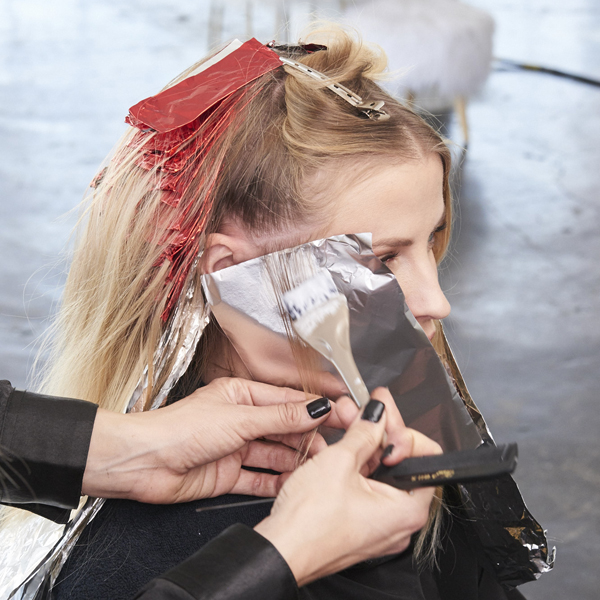
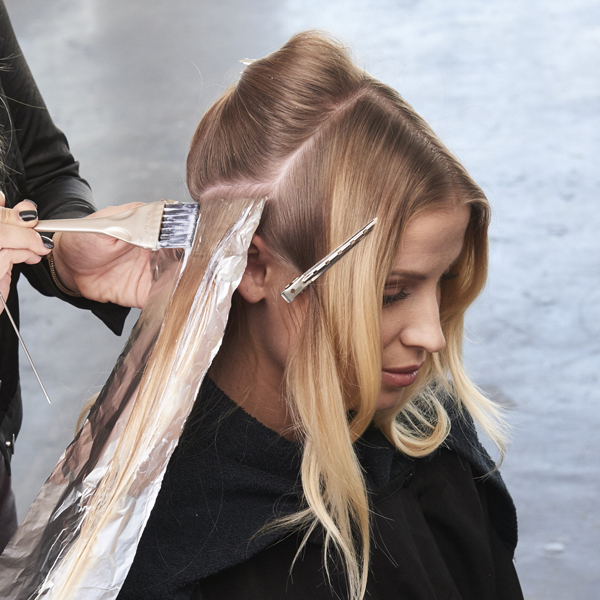
Next, working in the front, take a fine diagonal forward slice parting and apply Formula A to the pieces that frame the face. These are called skinlights—get the technique here!
- 12Step 12 of 19
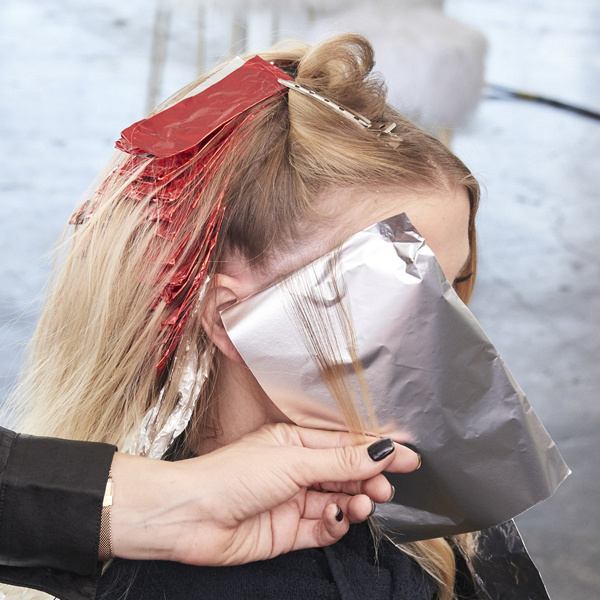
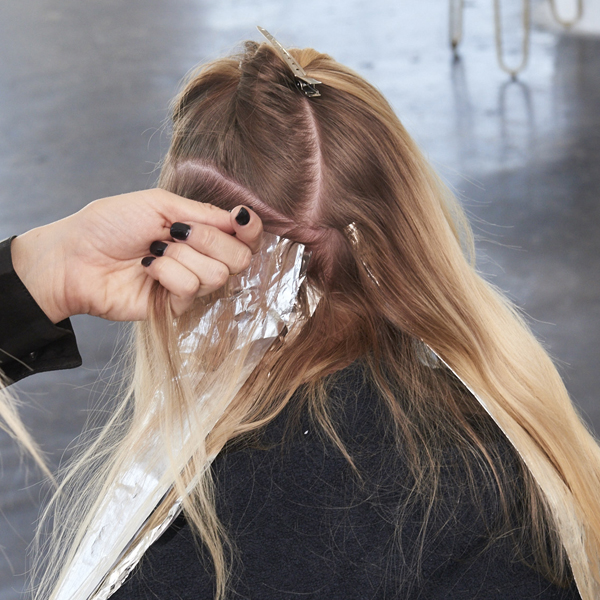
Begin the contouring lowlights by applying Formula C behind the face-frame from scalp to ends.
Pro Tip: Remember to flick the ends out of some foil to create sombré pieces.
- 13Step 13 of 19
Continue working in the front section with Formulas A and C to add depth and light. Keep partings angular with fine slices.
- 14Step 14 of 19
Repeat on the opposite side.
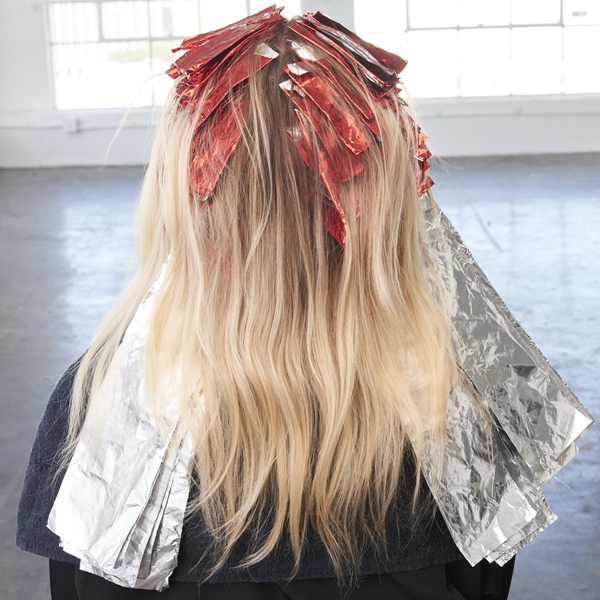
- 15Step 15 of 19

Completed foiling.
- 16Step 16 of 19
Process for 35 minutes, then shampoo with Joico K-PAK Color Therapy. Towel-dry the hair with two towels by squeezing, not shaking. Apply Formula D from scalp to ends with a bottle applicator, process for 15 minutes, then shampoo and condition with K-PAK Color Therapy. For an added boost of shine, apply K-PAK Color Therapy Luster Lock Instant Shine & Repair Treatment or K-PAK Color Therapy Multi-Perfector Protect & Shine Spray.
- 17Step 17 of 19
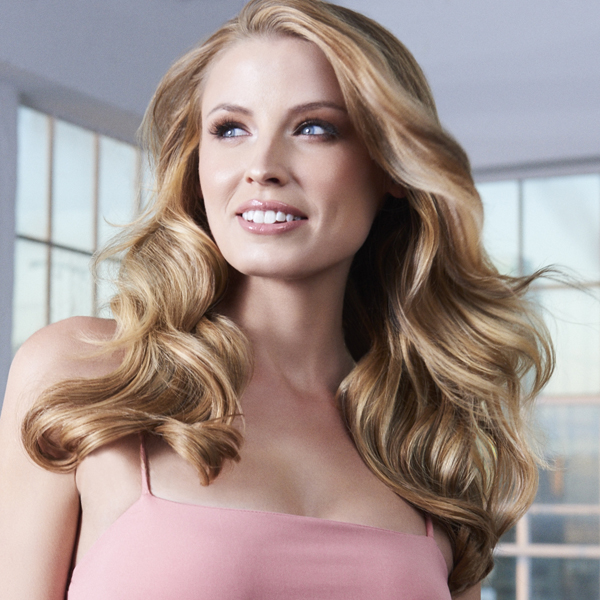
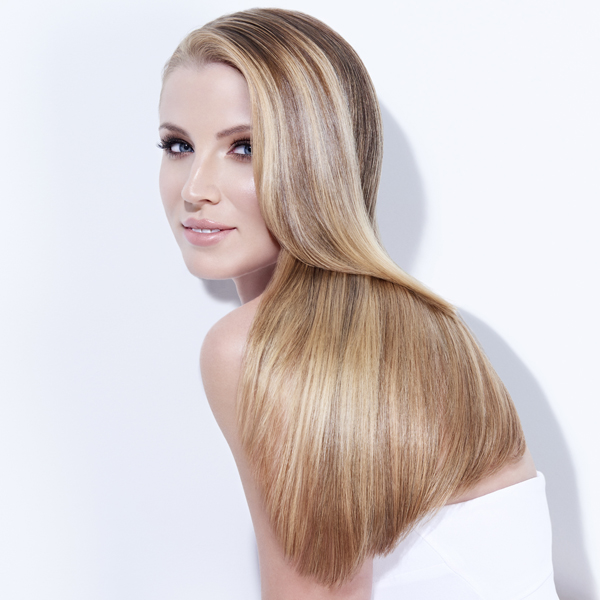
Finished look.
- 18Step 18 of 19
Finished look, alternate style.
- 19Step 19 of 19Watch the video ↗
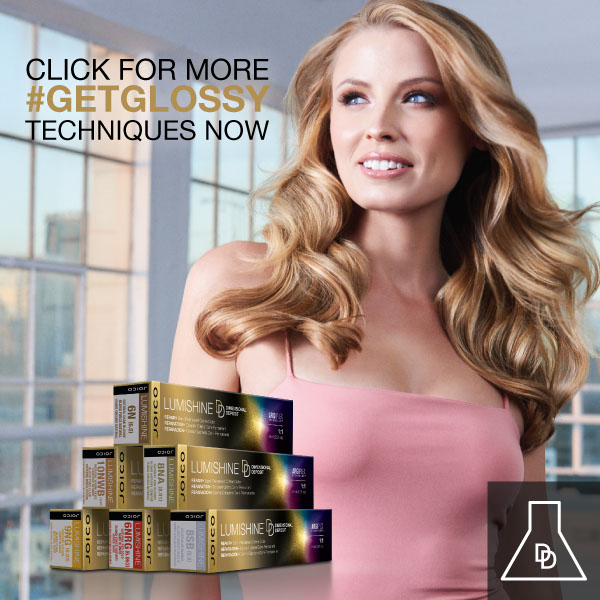
Blonde
Caramel Contour
June 1, 2018·1 min read
Problem: Your client has grown-out, brassy balayage on fine, limp hair. Solution: Contour her face with lightness and rich caramel lowlights to create the illusion of thicker hair and enhance her complexion! Keep scrolling to see how Joico Guest Artist Zoe Carpenter (@zoequeenofblonde) uses new warm tones in Joico’s DD Dimensional Deposit Demi-Permanent Crème Color line to bring illuminating balance to her client’s locks. (more…)
More to Read


