- 1Step 1 of 16

Create additional loops with the remaining hair at the end of the braid, and add them to the existing shape to make it fuller.
- 2Step 2 of 16

- 3Step 3 of 16

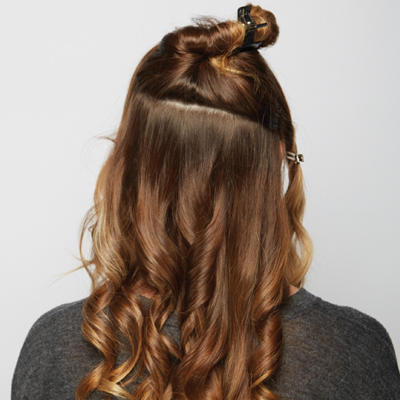
If necessary, use a curling iron to create a waved texture. Then, divide the hair into three sections—one on each side and one in back.
- 4Step 4 of 16
In the back, create a parting just below the crown and clip the top.
- 5Step 5 of 16
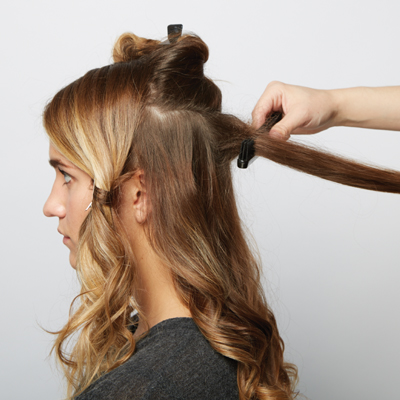
Backcomb the hair in the back section, using a spray wax to add volume, grip and texture.
- 6Step 6 of 16
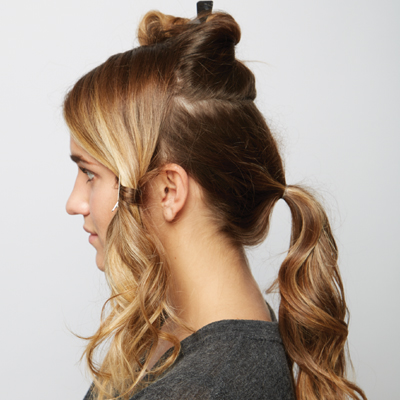
Gather this section into a low ponytail.
- 7Step 7 of 16
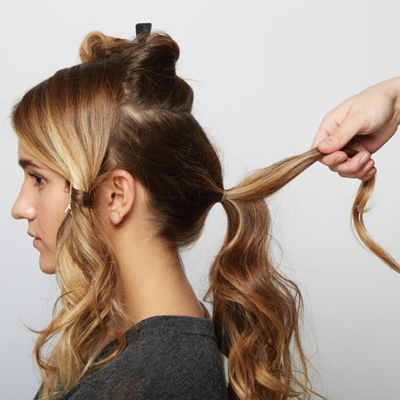
Subdivide the ponytail into smaller sections. Wind each subsection up toward the base of the head, forming small loops, and secure with bobby pins.
- 8Step 8 of 16
Continue looping and pinning subsections in the ponytail until all of the hair has been secured.
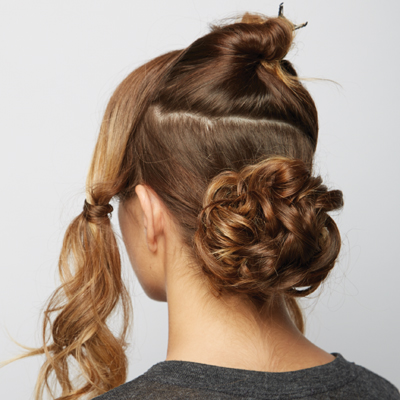
- 9Step 9 of 16
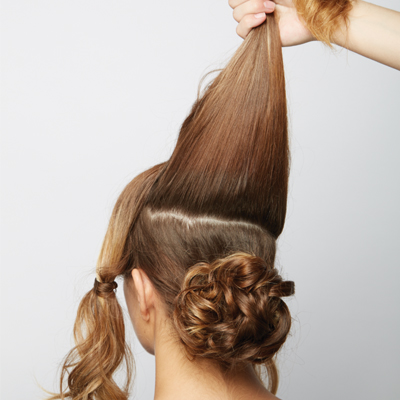
Release the top section.
- 10Step 10 of 16
Starting above the right ear, begin creating a three-strand French braid.
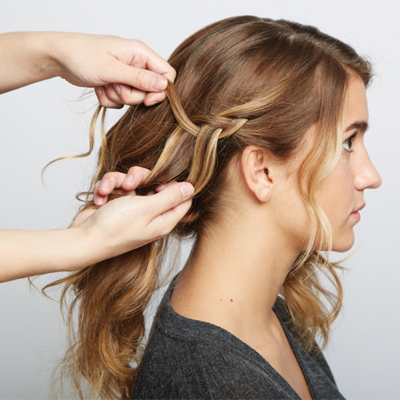
- 11Step 11 of 16

Continue working across the head, feeding in hair from the crown area as the braid is formed.
- 12Step 12 of 16

Gently tug at the sides of the braid to loosen and enlarge the shape.
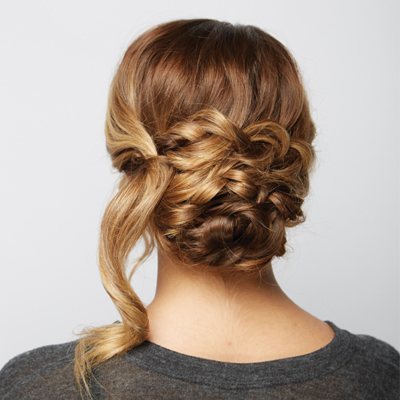
- 13Step 13 of 16

Drape the braid across the top of the looped ponytail and secure it with bobby pins.
- 14Step 14 of 16

Subdivide the ends and create additional loops, pinning each one into the existing shape.
- 15Step 15 of 16
Release the remaining side section, direct it back, and pin it into the looped shape.
- 16Step 16 of 16
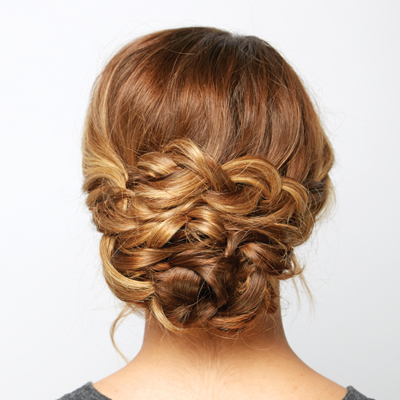
Braids
Braided Romance From Stephanie Brinkerhoff
October 26, 2014·1 min read
Braids and buns are two of the most popular topics on behindthechair.com, so when we’re able to offer you a braided bun? It’s crazy good! This particular version, by bestselling BTC author Stephanie Brinkerhoff, is a delicious confection of perfection. It’s soft, graceful and balanced, with just enough of a relaxed shape to be completely modern. It’s from Steph’s book, Elegant Upstyles for Today’s Bride, and it’s also one of her most frequently-requested looks—from clients and students alike. (more…)
More to Read


