- 1Step 1 of 16

This look is best achieved on a slightly wavy texture.
- 2Step 2 of 16
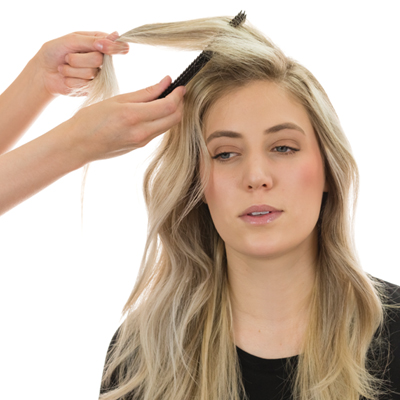
Backcomb the roots to create volume.
- 3Step 3 of 16

Mist the ends with spray wax and tousle the hair with your fingers to create texture.
- 4Step 4 of 16
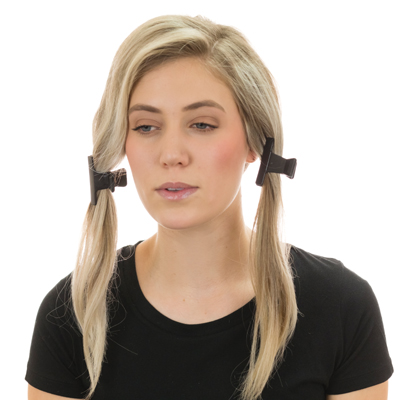
Create a side part, then section the hair at the ears on each side and clip away the front sections.
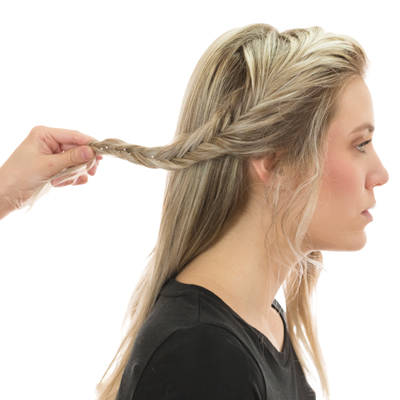
- 5Step 5 of 16
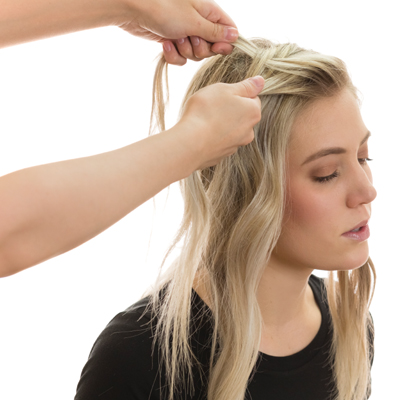
On the heavy side, create a French fishtail braid, beginning at the part.
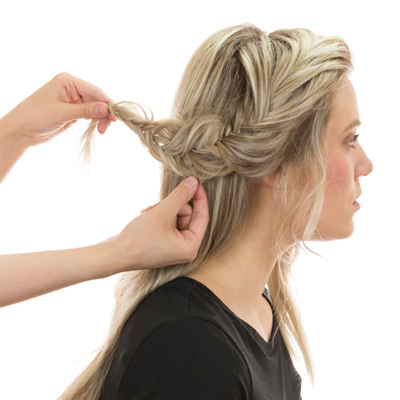
- 6Step 6 of 16
Omit some of the hair around the hairline to soften the look.
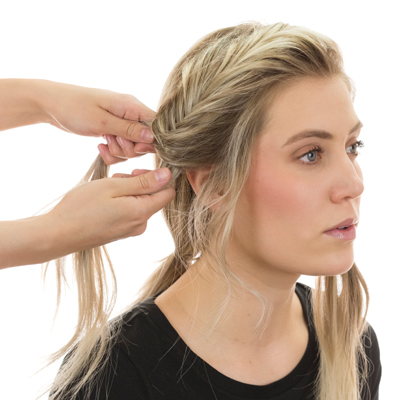
- 7Step 7 of 16
Continue braiding to the ends.
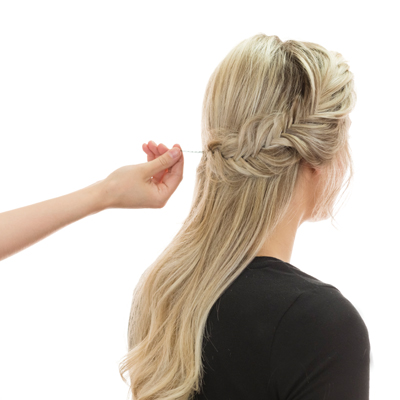
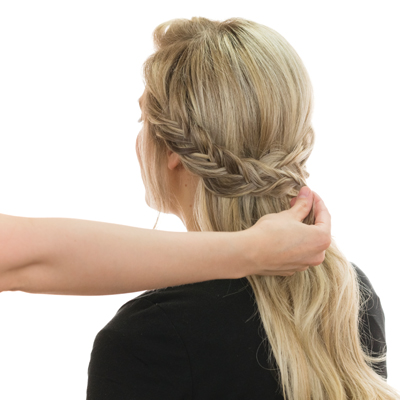
- 8Step 8 of 16
Grasp the end of the braid with one hand and with the other, gently pull each section at the sides to loosen the braid.
- 9Step 9 of 16
Pin the end of the braid behind the opposite ear, taking care to avoid flattening the volume on top.
- 10Step 10 of 16
Repeat on the other side, pinning the end of the second braid just under the first braid.
- 11Step 11 of 16

Create a low, loose ponytail with the remaining hair.
- 12Step 12 of 16
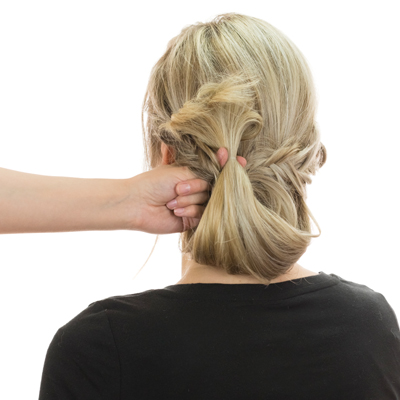
Pull the ponytail through the braids, forming a chignon.
- 13Step 13 of 16
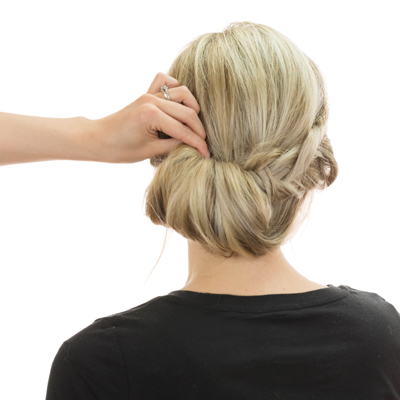
Secure by inserting bobby pins down through the top of the chignon.
- 14Step 14 of 16

Finish with hairspray.
- 15Step 15 of 16
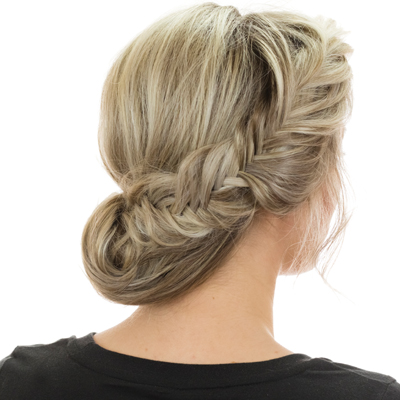
Finished look.
- 16Step 16 of 16

Finished look.
Styling
Braided Fishtail Chignon
July 30, 2014·1 min read
Modern upstyles combine intricacy with a casual feeling, and nobody masters this mix like Stephanie Brinkerhoff. The Pinterest star has created a staggeringly successful career as a bridal artist and educator, and now she’s also an author! Her Elegant Upstyles for Today’s Bride is a BTC best-seller. Steph reveals that the Braided Fishtail Chignon is one of her most in-demand styles among brides and stylists with bridal clients. Here’s how she does it. (more…)
More to Read


