- 1Step 1 of 18

- 2Step 2 of 18
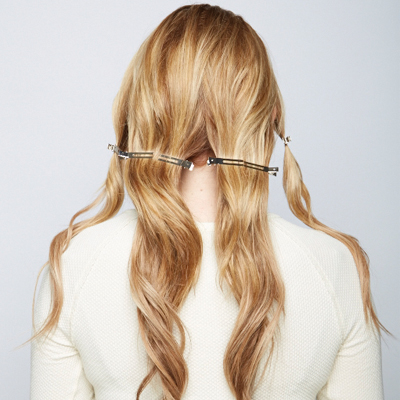
Divide the hair into four sections—one on each side and two in back.
- 3Step 3 of 18
- 4Step 4 of 18
- 5Step 5 of 18
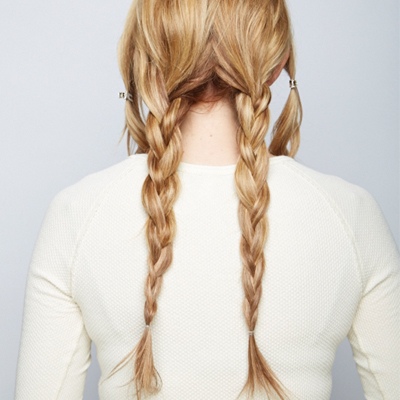
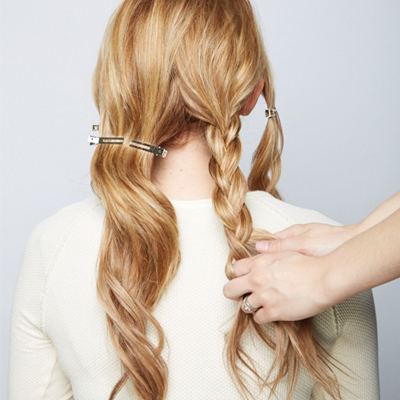
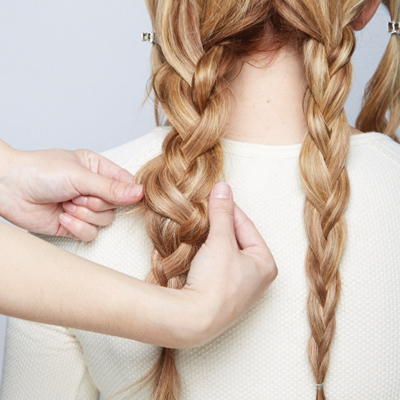
Braid both of the back sections and secure each braid with an elastic.
- 6Step 6 of 18
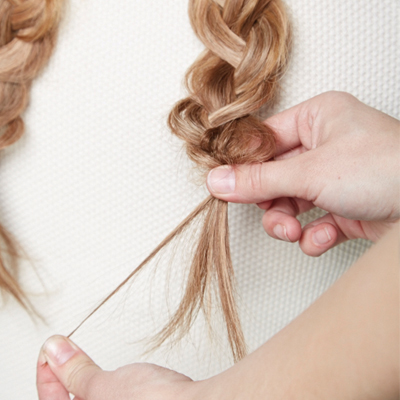
Loosen the braid by pulling a small piece on the bottom as you push the rest of the braid upward with your fingers.
- 7Step 7 of 18

- 8Step 8 of 18
You can also pull gently at the sides of the braid to further loosen the shape.
- 9Step 9 of 18
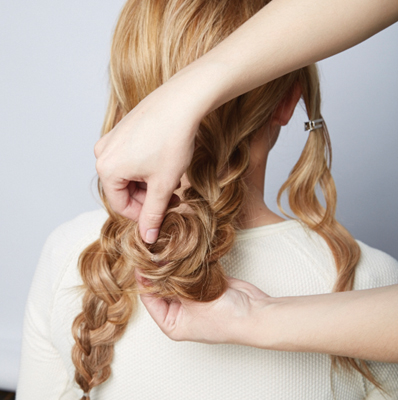
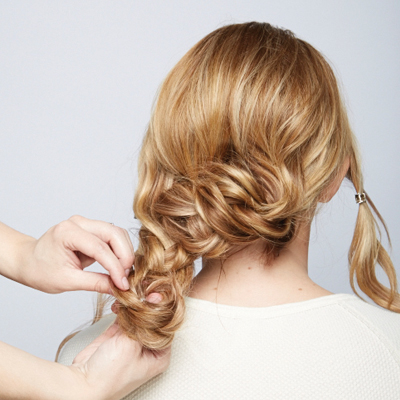
Tuck the end of one of the braids and roll it up until it reaches the nape.
- 10Step 10 of 18
- 11Step 11 of 18
Secure the rolled braid with bobby pins.
- 12Step 12 of 18
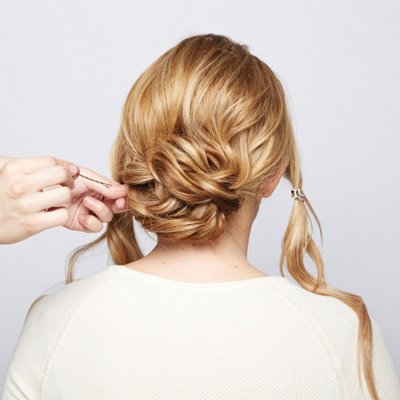
Repeat on the other side, rolling and pinning the second braid.
- 13Step 13 of 18

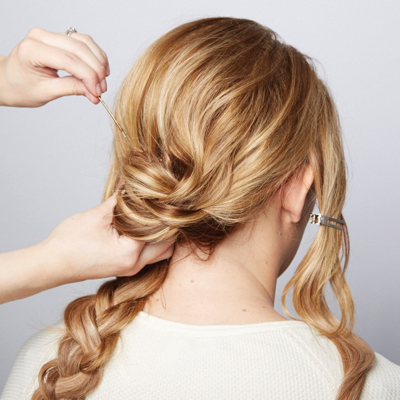
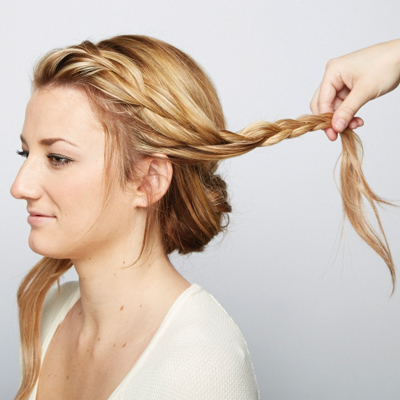
Release one of the side secctions. Create a loose French braid that incorporates the fringe.
- 14Step 14 of 18
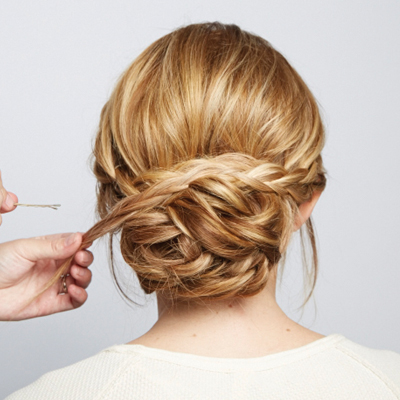
Direct this braid across the top of the previously secured braids. Tuck in the ends and seccure with bobby pins.
- 15Step 15 of 18
- 16Step 16 of 18

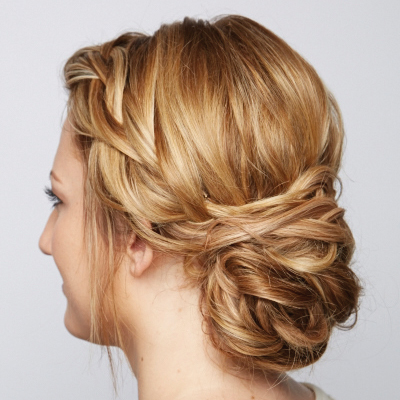
Finished look.
- 17Step 17 of 18
Finished look.
- 18Step 18 of 18

Finished look.
Styling
Braided Chignon by Stephanie Brinkerhoff
March 31, 2014·1 min read
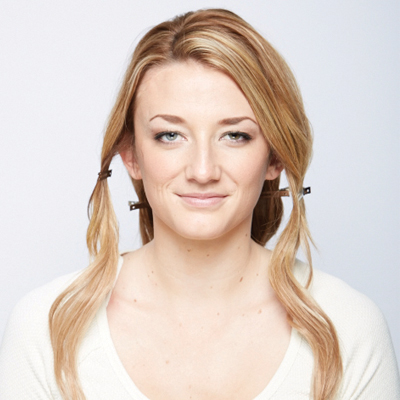
Here’s one of Stephanie Brinkerhoff’s favorite looks from her new BTC book Elegant Upstyles for Today’s Bride—a romantic, braided chignon that’s feminine, fashionable and inspired by the red carpet. Get Stephanie’s Elegant Upstyles book FREE with the ghd Styler HERE! (more…)
More to Read


