- 1Step 1 of 11
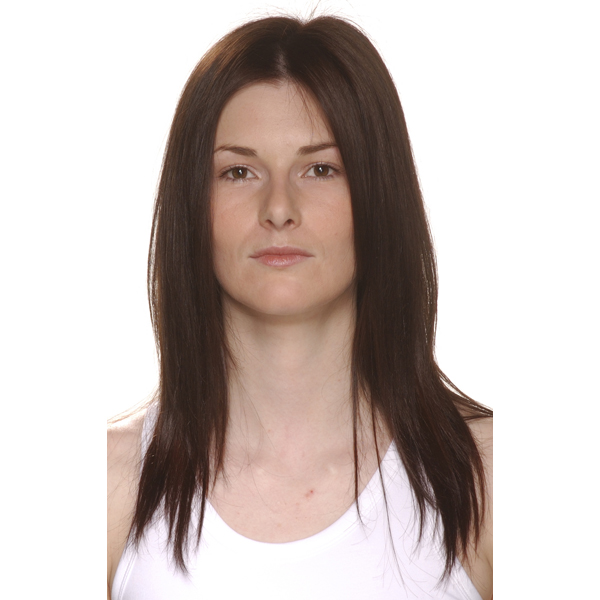
Before
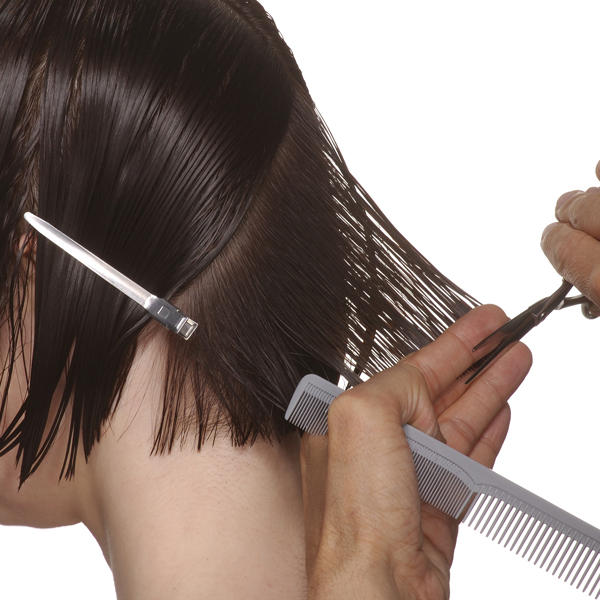
- 2Step 2 of 11
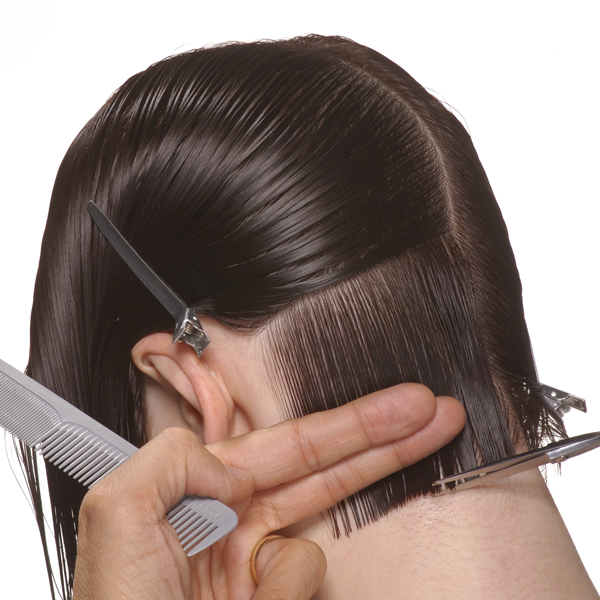
Divide the hair at the center back, then take a horizontal section that is slightly inverted. Keep the head titled forward, comb the hair down into the neck and cut a line that mirrors the angle of the section. Extend the line into the corner of the section without rounding the shape.
- 3Step 3 of 11
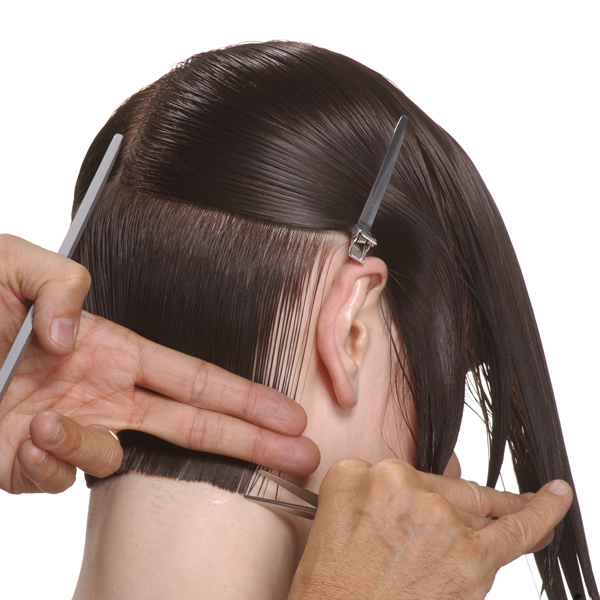
Next, take parallel sections until a line is reached that connects the top of the ear and meets at a point above the occipital bone. At this stage, incorporate the hairline behind the ears. This will form the guideline for the sides.
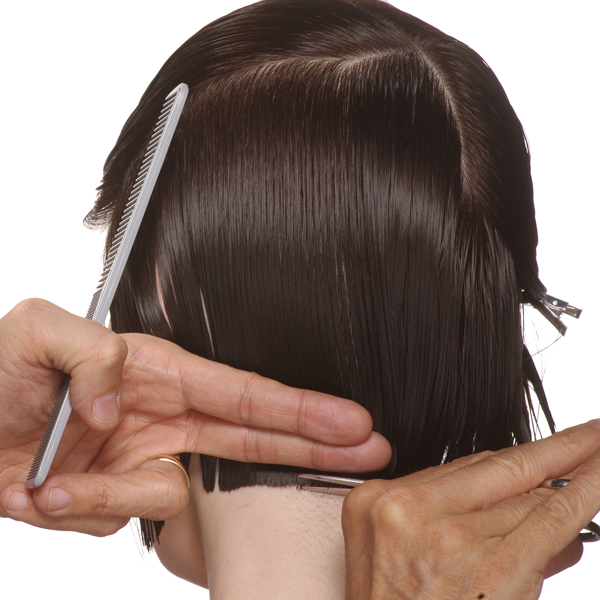
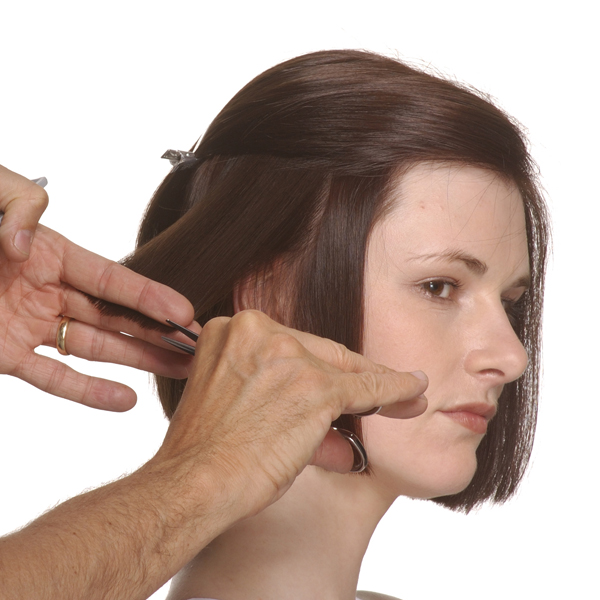
- 4Step 4 of 11
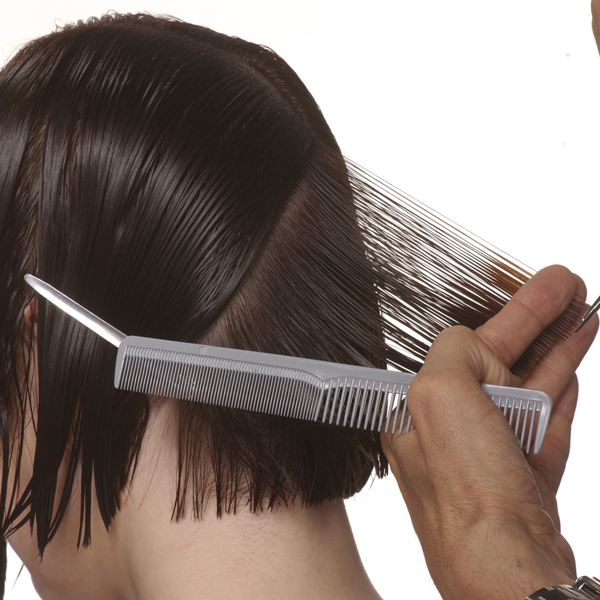
Take a diagonal section and cut a line using the underneath hair as a guide. Lift this section slightly higher in the center, becoming lower through the corner. Continue taking parallel sections, lifting each one progressively higher.
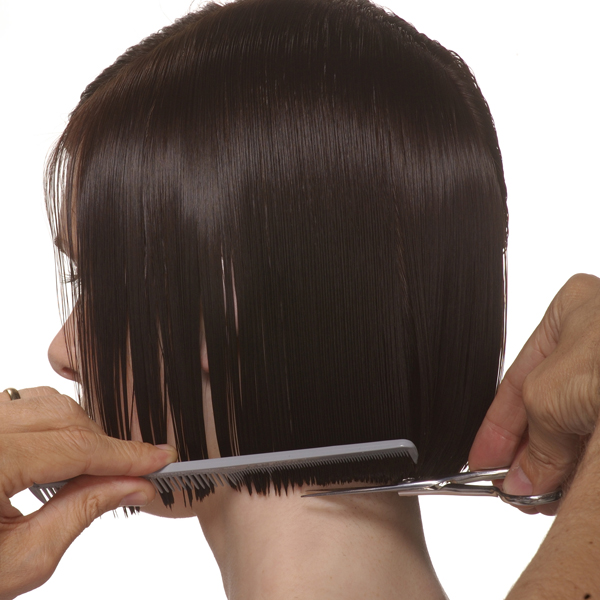
- 5Step 5 of 11
The degree at which the hair is lifted will determine the amount of graduation, so continue checking the balance of the shape as it develops.
- 6Step 6 of 11
Then, move to the side and with the head in a natural position, use the hair behind the ears as a guide and take a section that extends the line from the back to the front.
- 7Step 7 of 11
Compensate for the protrusion of the ears by either holding the hair in the comb, holding the hair in the comb and overdirecting backwards or holding the hair onto the skin with the fingers, back of the hand or comb.
- 8Step 8 of 11
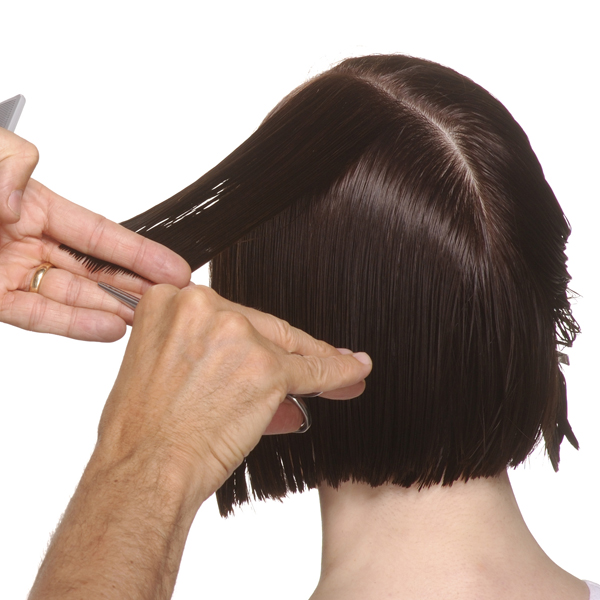
Take a curved section from the front to the back, lift the hair out and cross-check from the front to the back, removing any excess weight. This will also increase the amount of graduation. Repeat on the other side.
- 9Step 9 of 11
To style, use tension to control the midlengths and ends to accentuate a natural root lift.
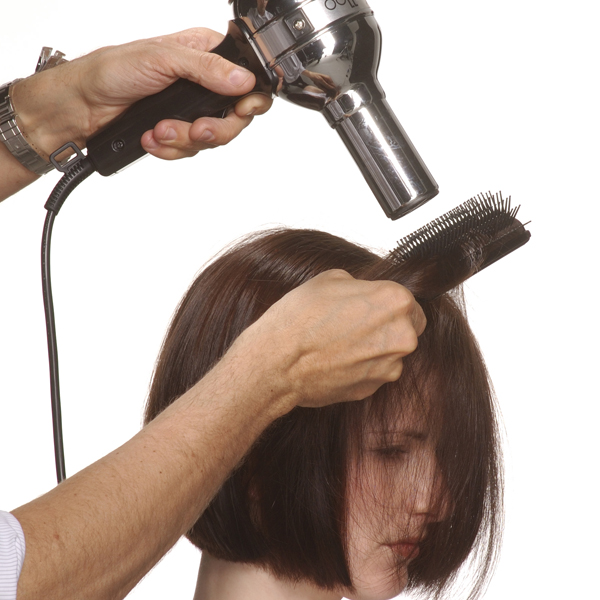
- 10Step 10 of 11
Then, refine the shape after blow drying by taking horizontally curved sections and checking for any irregularities in the line.
- 11Step 11 of 11
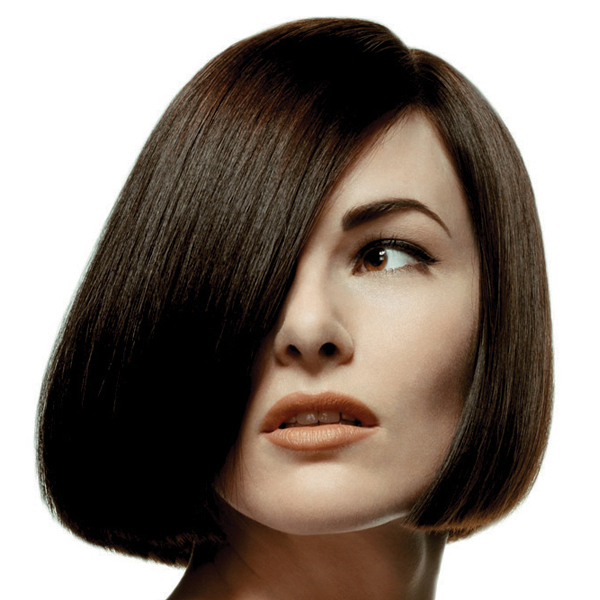
Finished look
Bobs & Lobs
Blunt, Graduated Bob
February 1, 2021·1 min read
There’s a reason why blunt bobs are considered a classic, mainly because they look super chic and are suited for an array of face shapes. A must-know, below, we’re breaking down how to approach this classic cut the Sassoon way with a mix of fundamental lines, graduation and layering techniques in their purest forms. Keep scrolling to get the how-to steps for this graduated bob with a square line! (more…)
More to Read


