- 1Step 1 of 9

Before
- 2Step 2 of 9
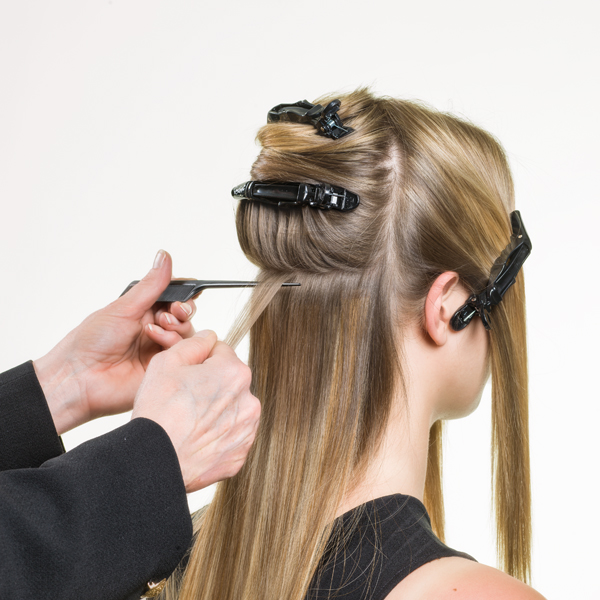
To start the application, create a subsection at the nape, then part a thin section within the working subsection to apply the tape-in. Work from the center outward.
- 3Step 3 of 9

- 4Step 4 of 9
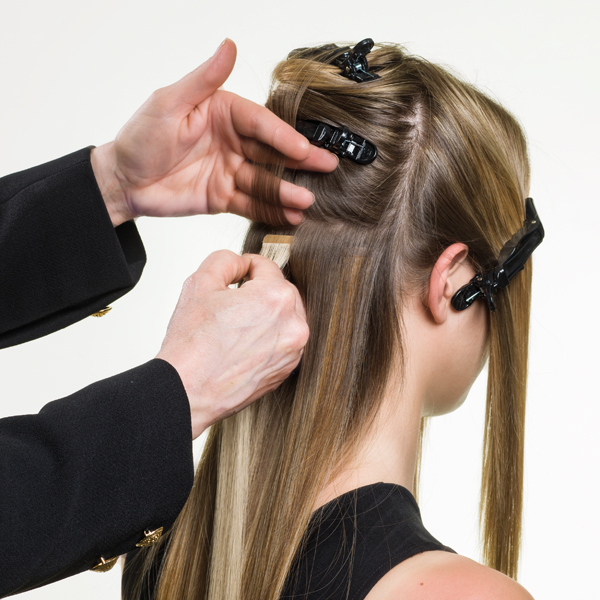
Place the GL Tape, adhesive side up, ¼ inch down from the part.
- 5Step 5 of 9
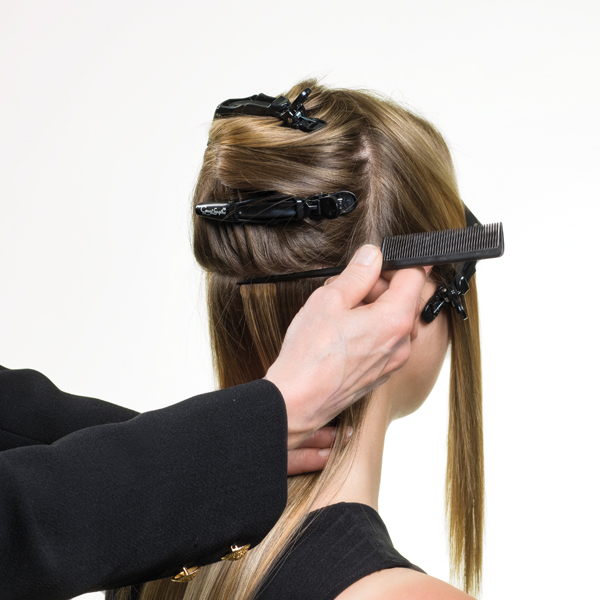
Lay the thin section of the client’s natural hair down onto the adhesive area and press firmly. Use the back of a tail comb to press the hair into the GL Tapes adhesive. Then, sandwich on the top tape-in.
- 6Step 6 of 9
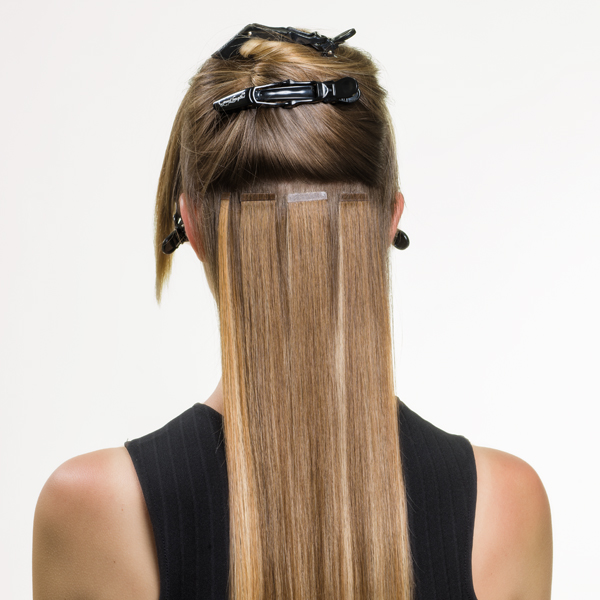
Continue up the back of the head, working in a bricklay pattern.
- 7Step 7 of 9
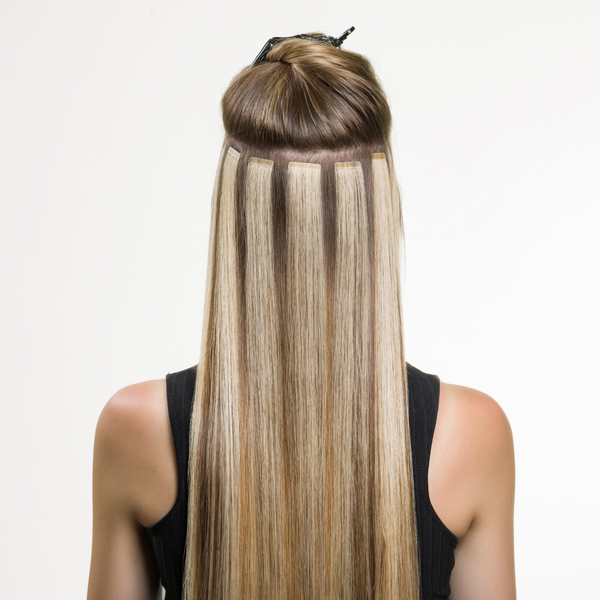
To create a dimensional end result, apply a lighter shade of GL Tapes when working in the crown area.
- 8Step 8 of 9

Continue the tape-in application on the sides of the head, always keeping a 1- to 1½-inch perimeter along the hairline.
- 9Step 9 of 9

Once the application is complete, style as desired.
Hair Extensions
Blonde Dimension Extension Application
July 9, 2018·1 min read
Got 99 problems? Tape-in extensions can answer probably 98 of them. Seriously, do your clients want length and added volume? Your answer—tape-ins! Do you want to up your service ticket? Again, tape-ins! Now that we’ve convinced you, the next step is mastering the application process. Scroll down for the step-by-step technique using the luxurious GL Tapes from Great Lengths. How much do hair extensions cost? And how much should you charge? Click here! (more…)
More to Read


