- 1Step 1 of 16
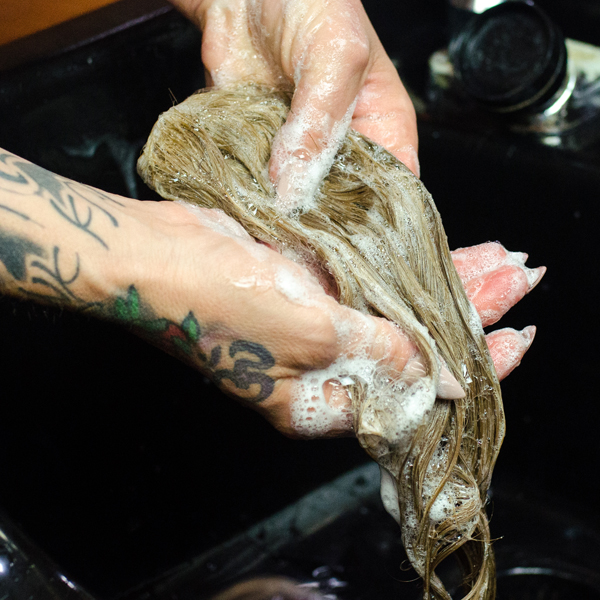
To start, wash, cleanse and condition the Bang In.
- 2Step 2 of 16
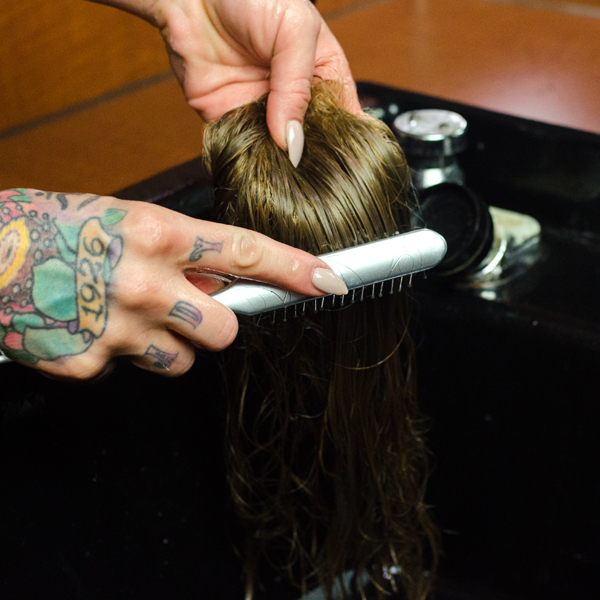
Then rinse thoroughly and brush to remove any tangles.
- 3Step 3 of 16

- 4Step 4 of 16
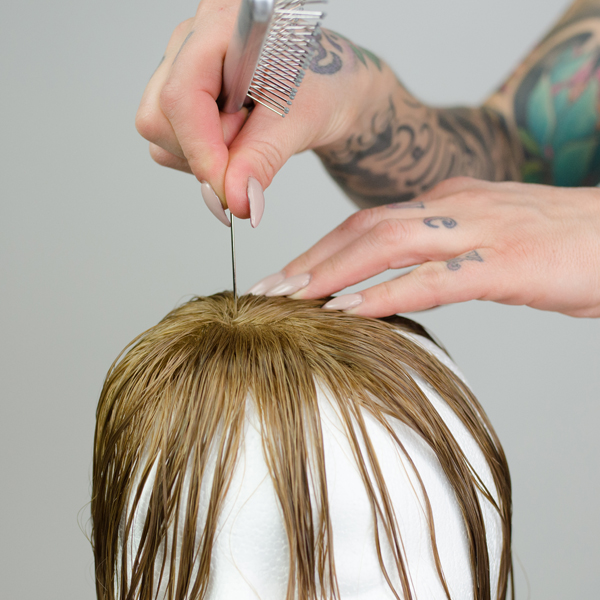
Secure the Bang In onto a mannequin head to prep for the cut.
- 5Step 5 of 16
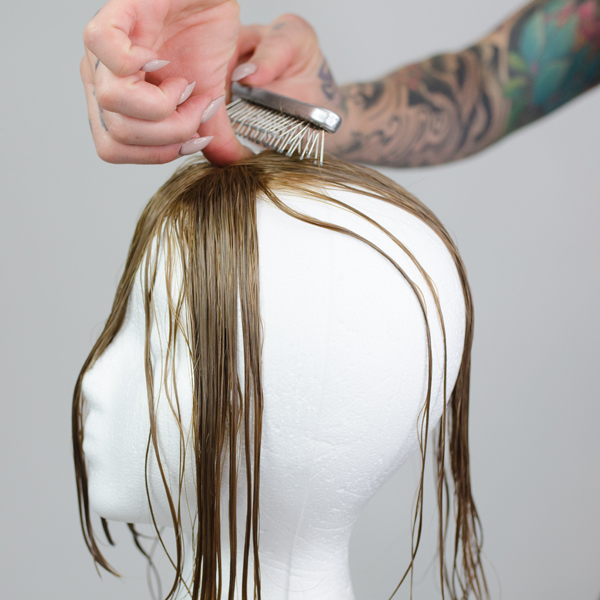
Once secure, direct the hair about a ½ inch from the back of the bang toward the apex. (This is super important as it will ensure proper blending into the client’s natural hair!) Then, direct the rest forward.
- 6Step 6 of 16
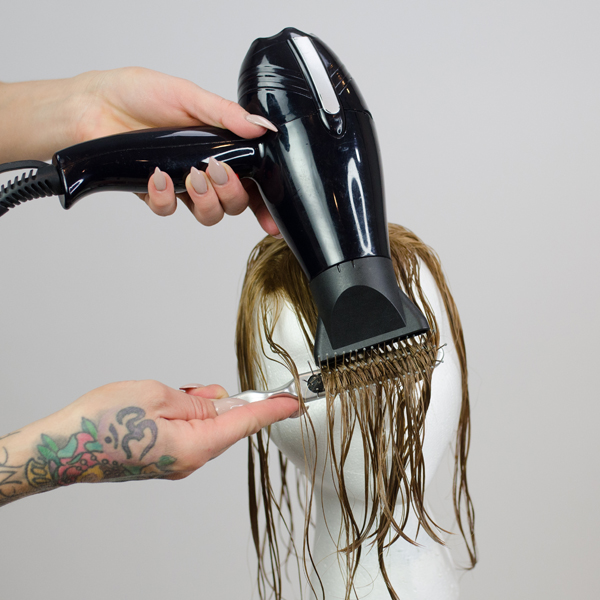
Blow-dry the piece smooth.
- 7Step 7 of 16
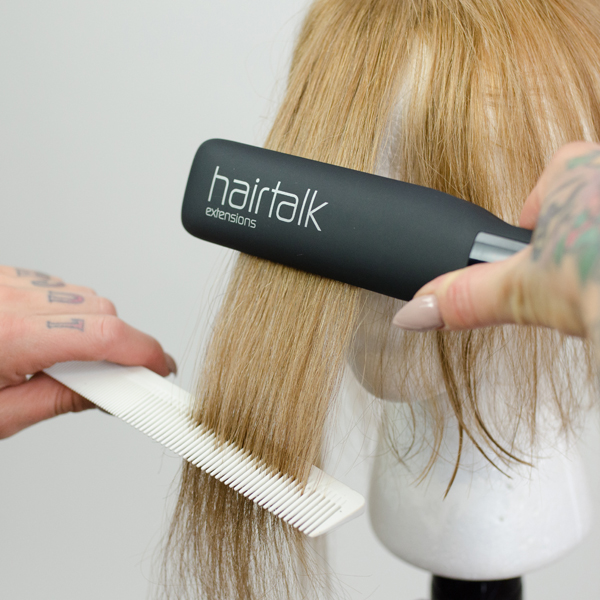
Then run a flat iron over the hair on low heat.
- 8Step 8 of 16
- 9Step 9 of 16
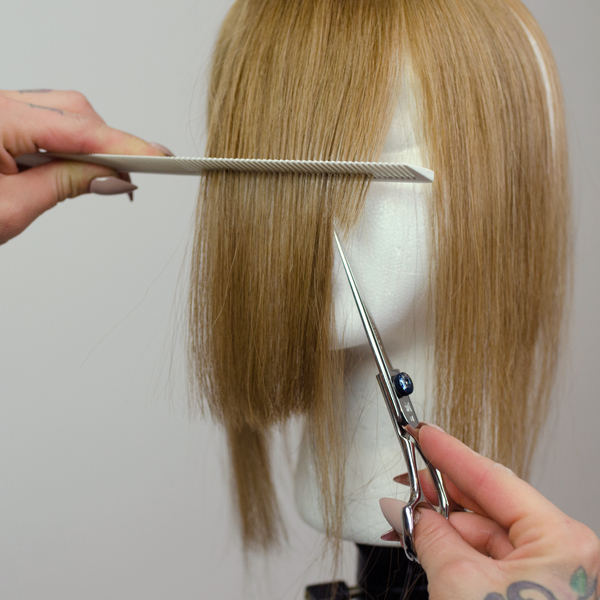
Begin point-cutting the fringe area, keeping the length slightly longer than the client’s desired end length. This allows for customization once the piece is placed on the client's head.
- 10Step 10 of 16
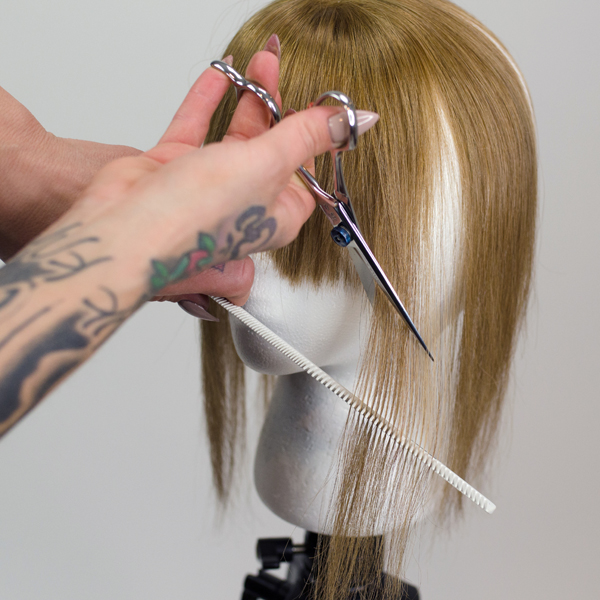
Slide-cut the sides to ensure the Bang In properly blends into client’s hair.
- 11Step 11 of 16

Next, remove the piece from the mannequin.
- 12Step 12 of 16
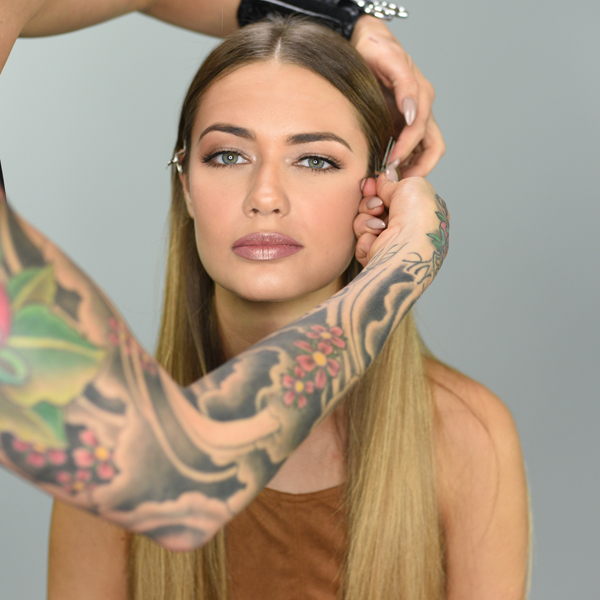
Secure pin-curl clips onto both sides of the client’s hair. This keeps their natural hair out of the way.
- 13Step 13 of 16
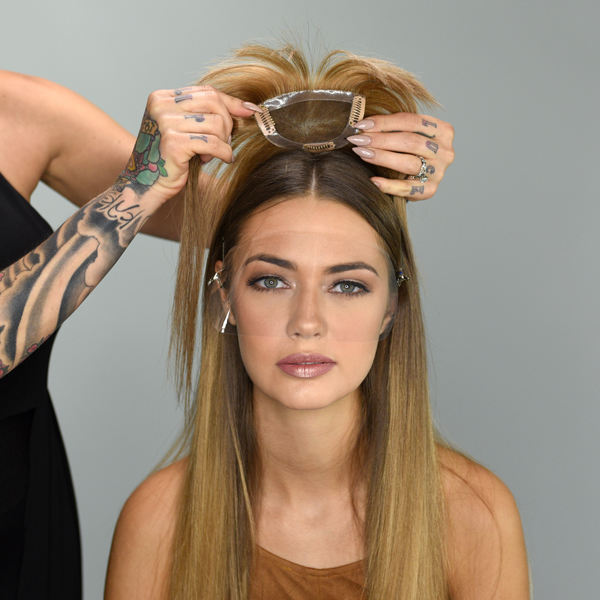
Then place the Bang In on the top of the client’s head, securing the back clip first and the side clips second.
- 14Step 14 of 16
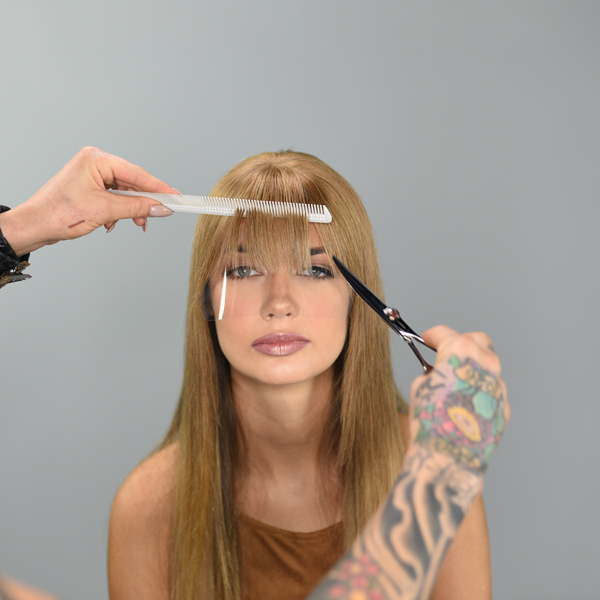
Complete the application by lightly point-cutting to remove additional length.
- 15Step 15 of 16
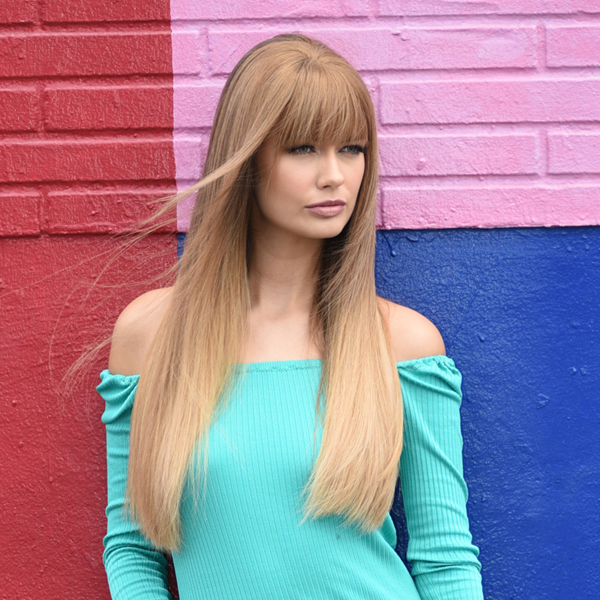
Finished Look.
- 16Step 16 of 16Watch the video ↗
Fringe
Bangs With Zero Commitment
December 20, 2017·1 min read
Bangs: They instantly make cuts look cooler and add edge to any client—but are they worth the commitment? It’s a common question when clients are considering making the chop, but thanks to the new Bang In (a clip-on extension piece) from hairtalk® extensions, it doesn’t have to be. Now stylists can add fullness and a fringe to update their client’s look in just minutes (and without any commitment!). Plus, it’s a great retail opportunity. Watch hairtalk® Artistic Director Vicki Casciola add the Bang In and share some tips on perfecting this service. (more…)
More to Read


