- 1Step 1 of 24
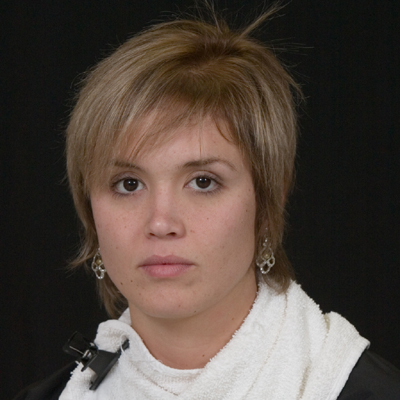
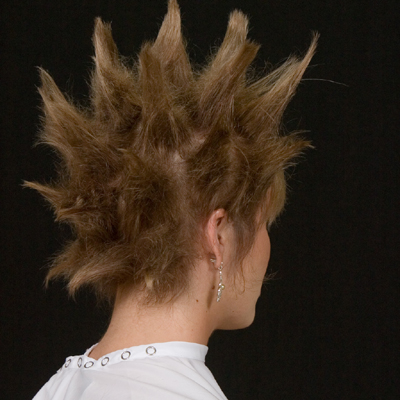
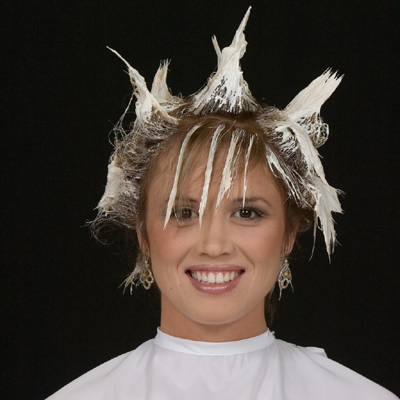
Before
- 2Step 2 of 24
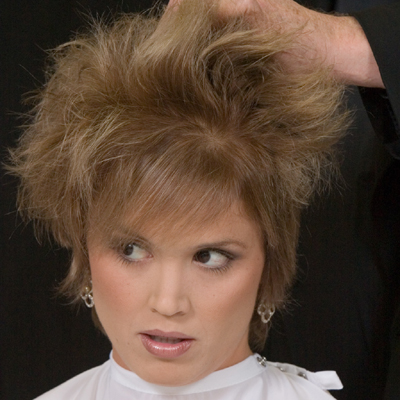
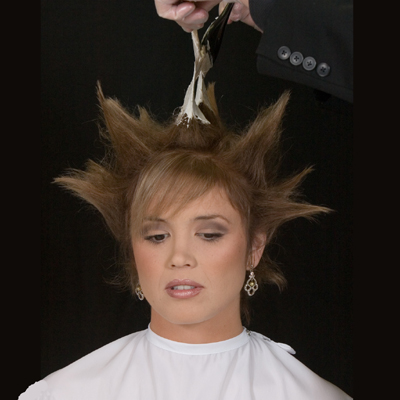
Use a medium hairspray to make the hair dirty. Then start teasing the hair using the hairspray and comb.
- 3Step 3 of 24
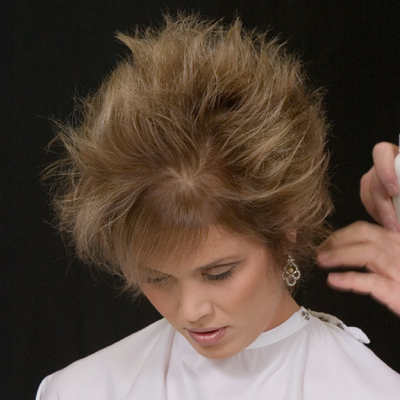
The hair has to be teased strong enough so the product doesn't weigh it down.
- 4Step 4 of 24
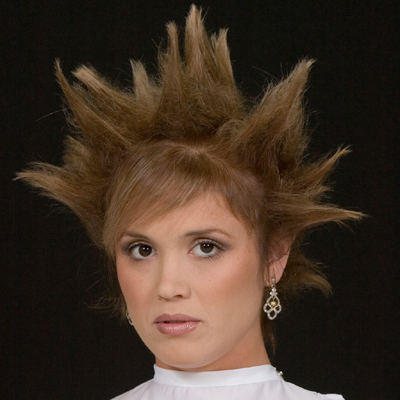
Section the hair into 5 rows of tubes, teased up and reinforced with hairspray, leaving out the hairline.
- 5Step 5 of 24
After finishing rows, mix your product a little thinner than in normal Balayage, using Balayage Bleach.
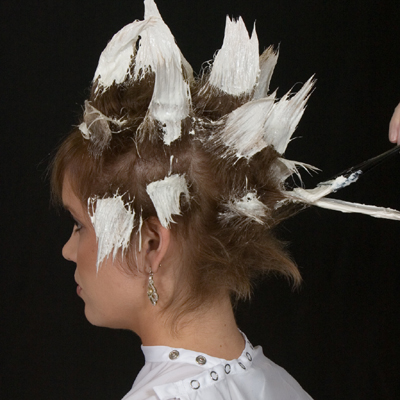
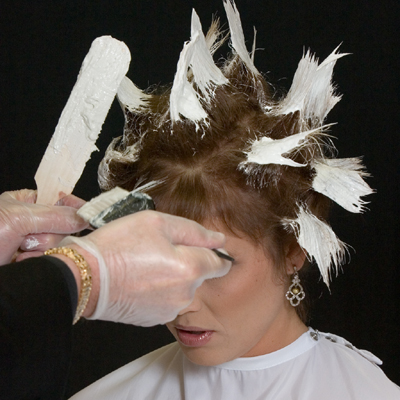
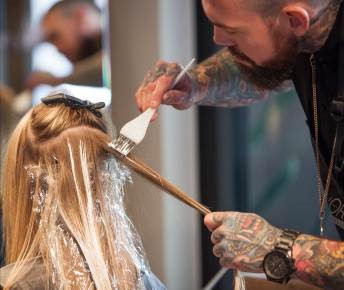
- 6Step 6 of 24
Apply lightener to both sides of the paddle. Paint the lightener on, holding one side with the paddle and the other with the brush.
- 7Step 7 of 24
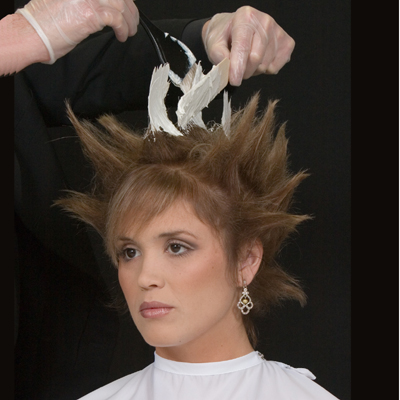
Paint tubes 1 inch from scalp, staring in the front and working towards the nape.
- 8Step 8 of 24
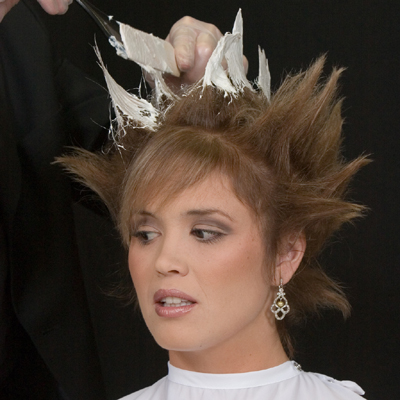
Continue the same process moving down on the next row of hair.
- 9Step 9 of 24
Continue this step until one side is finished and all tubes are painted.
- 10Step 10 of 24
Starting on the other side of your first row, continue to paint those tubes from front to back.
- 11Step 11 of 24
Make sure you keep enough product on your paddle, keeping it close to your brush.
- 12Step 12 of 24
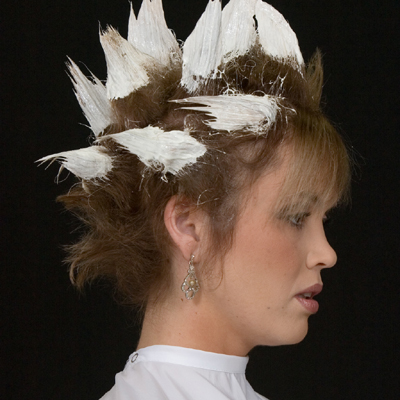
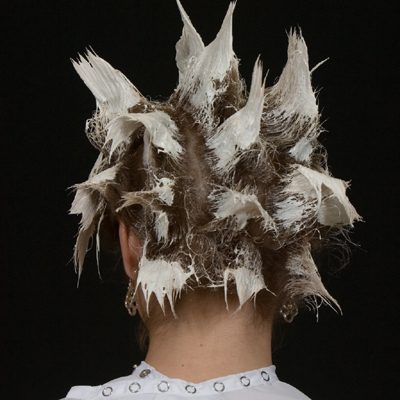
After finishing the other side, start working down into the nape area.
- 13Step 13 of 24
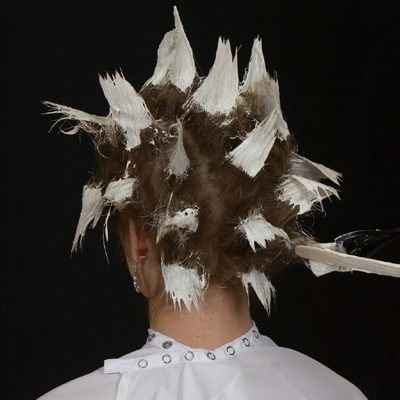
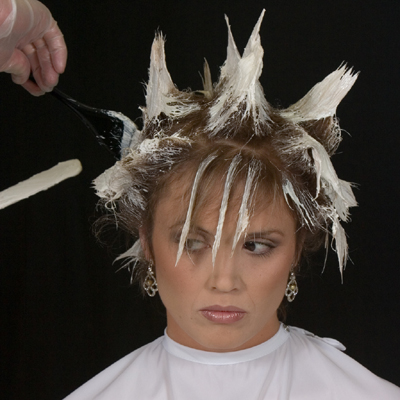
After finishing, it should look similar to the picture. Then you should move in front of the client to start working on the hairline.
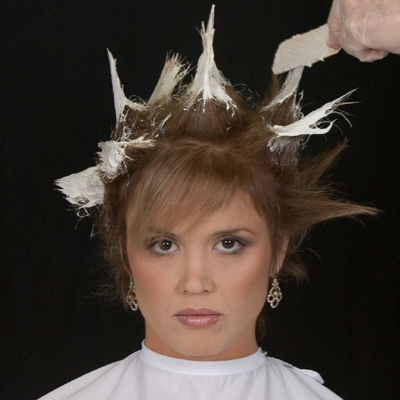
- 14Step 14 of 24
Paint singles on the front of the hairline, directing them in the direction the hair flows.
- 15Step 15 of 24
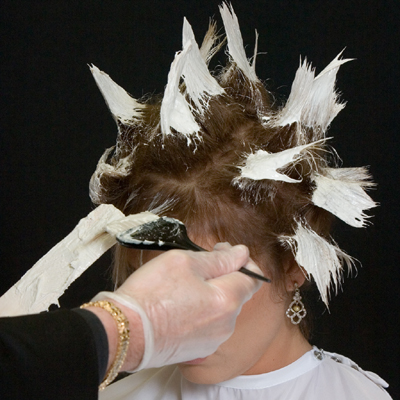
Keep brush flat and diagonal with the paddle.
- 16Step 16 of 24
They should be about ½ inch apart.
- 17Step 17 of 24
Once you have painted all over, go back and paint the 1 inch sections closest to the roots, blending it in using less product.
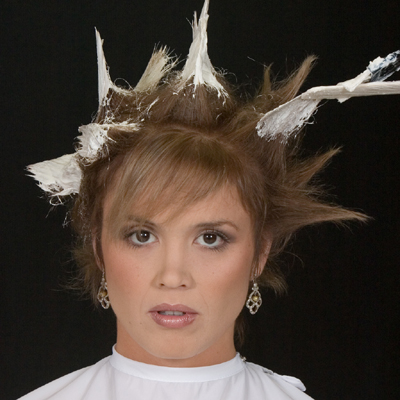
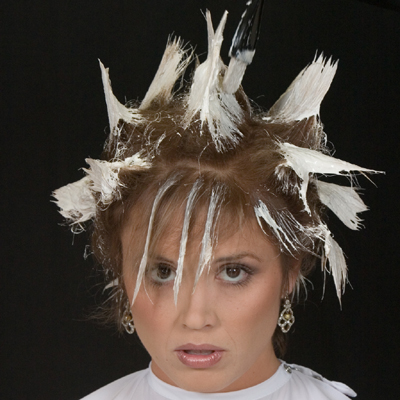
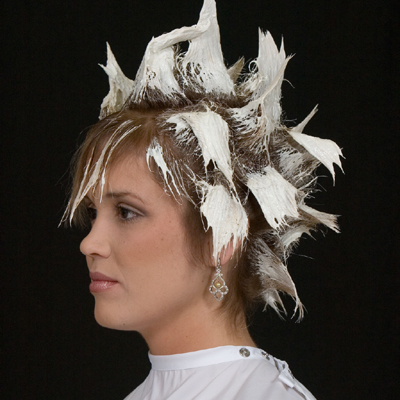
- 18Step 18 of 24

After checking every piece of hair, it should resemble the picture.
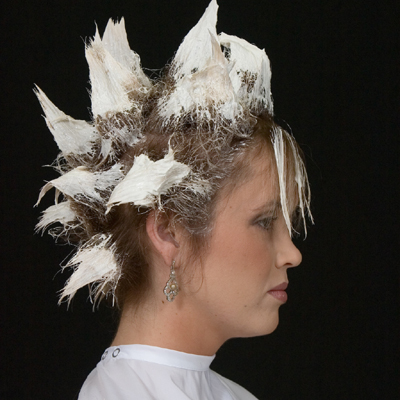
- 19Step 19 of 24
Let Balayage sit on the hair for 20-30 minutes.
- 20Step 20 of 24
- 21Step 21 of 24
- 22Step 22 of 24
- 23Step 23 of 24
Credits
Balayage: John Siggers
Photography: Robert Galbaugh
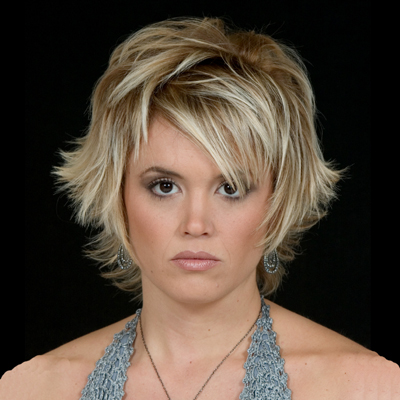
Makeup: Suni - 24Step 24 of 24
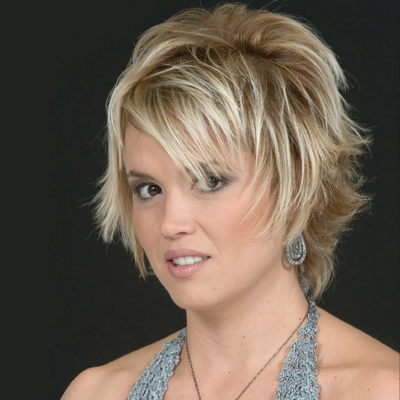
Finished look.
Hair Color
Balayage "Teased" Mohawk
September 27, 2007·1 min read
Balayage, the French method of highlighting, gives your client that European look she’s always dreamed of! The foil-free application of Bayalage provides the ultimate freedom for you color pros. It allows you to apply fewer highlights near the roots and more highlights on the ends of the hair. Try this Balayge “Mohawk” Step-by-Step from John Siggers Balayage DVD in the BTC Bookstore. We’re sure your client will be saying “merci beaucoup” on her way out the door! (more…)
More to Read


