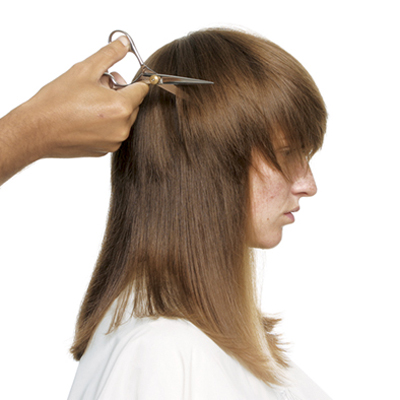
- 1Step 1 of 30
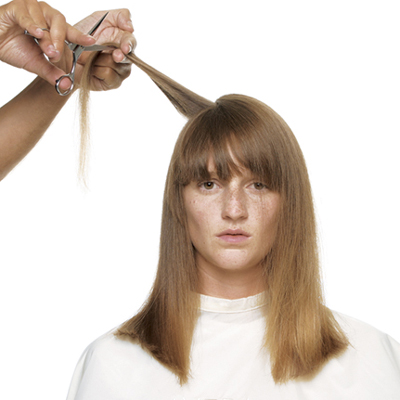
- 2Step 2 of 30
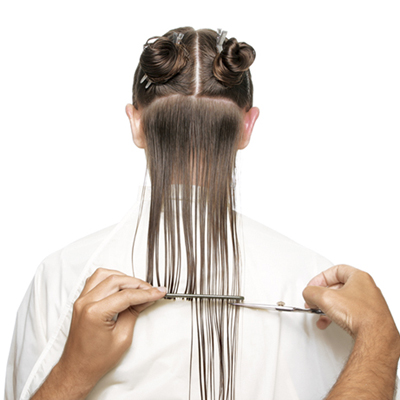
Create a center part from crown to nape and sub-divide from ear to ear. Cut a blunt perimeter line.
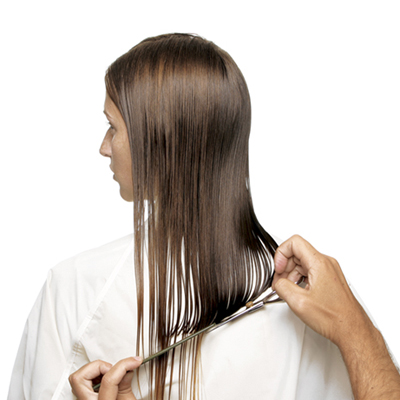
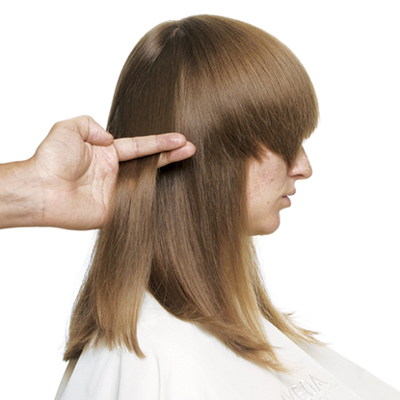
- 3Step 3 of 30
Drop successive subsections and use guide to complete perimeter shape.
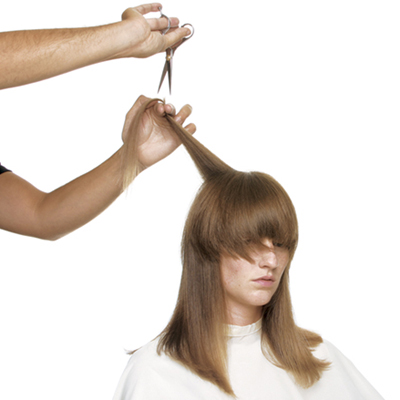
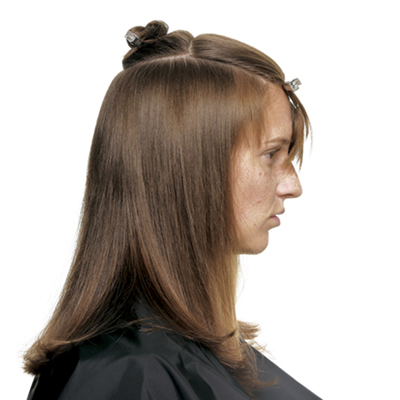
- 4Step 4 of 30
Release front left panel and connect to the back with model's head turned. Angle cut slightly downward to ensure longer length. Repeat on front right panel.
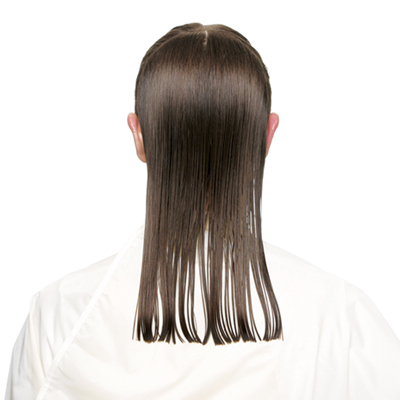
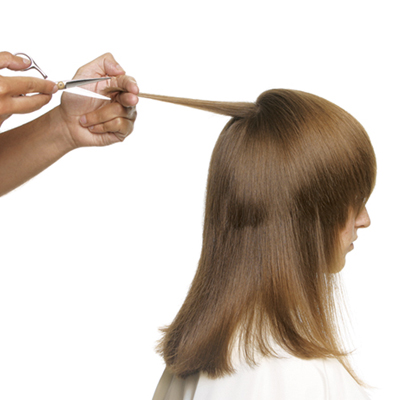
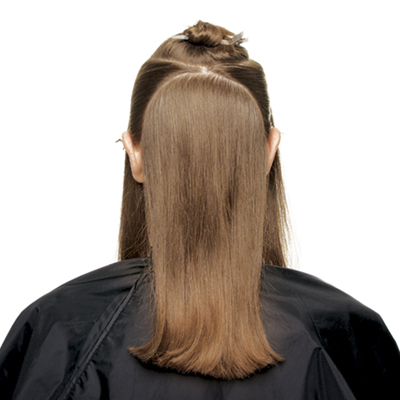
- 5Step 5 of 30
Finished perimeter shape. Blow dry using a flat wrap method.
- 6Step 6 of 30
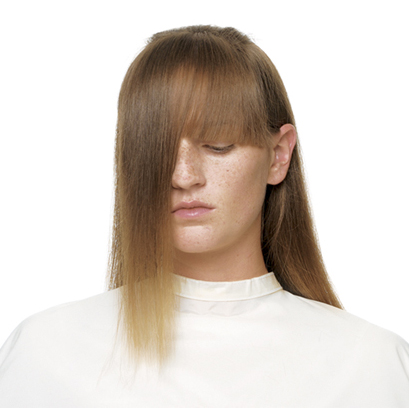
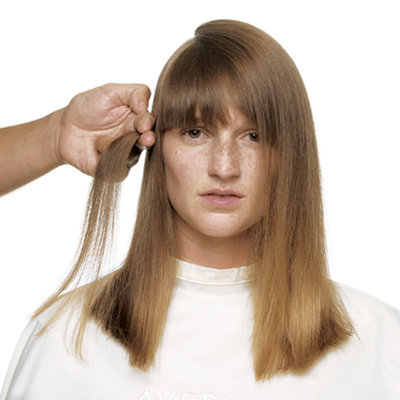
Establish a fringe appropriate for guest. Here, the line sits at the model's eye level.
- 7Step 7 of 30
Completed fringe.
- 8Step 8 of 30
Begin to create short, disconnected layers through the top of the head. Start guideline just below the fringe.
- 9Step 9 of 30

Elevate section and point-cut.
- 10Step 10 of 30
Increase elevation with each subsection.
- 11Step 11 of 30
Continue layering into the back panel of the hair cut.
- 12Step 12 of 30
Continue this technique through the back panel of hair. Take diagonal sections that follow the natural curvature of the head. Repeat on the other side.
- 13Step 13 of 30
Connect both sides through the top by point-cutting the point that is created.
- 14Step 14 of 30
Slice and point-cut to personalize the shape.
- 15Step 15 of 30
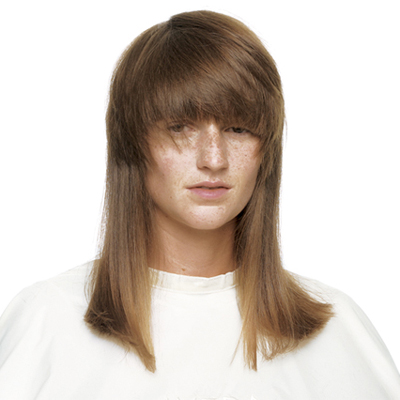
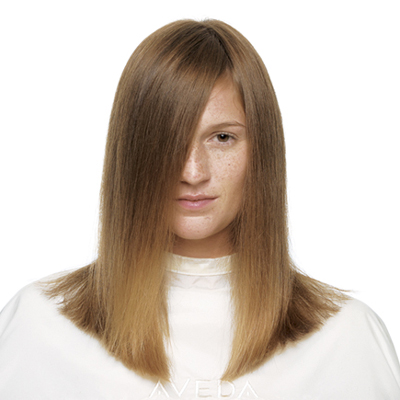
Completed cut. Ready for color.
Natural Starting Level: 6
Color Formulas:
Teak
Full Spectrum™ Protective Permanent Creme Hair Color 40g 6N Dark Blonde + 2g Dark Yellow/Orange Pure Tone + 2g Dark Red/Violet Pure Tone + 40ml 20-Volume Color Catalyst™ Creme DeveloperRosewood
Full Spectrum™ Protective Permanent Creme Hair Color 40g 7N Medium Blonde + 2g Dark Red/Violet Pure Tone + 40ml 30-Volume Color Catalyst™ Creme DeveloperBeechwood
Shades of Enlightenment™ Advanced Lifting Creme Hair Color 20g Dusk Extra Light Ash Blonde + 20g Sunrise Extra Light Beige Blonde + 40ml 40-Volume Color Catalyst™ Creme Developer - 16Step 16 of 30
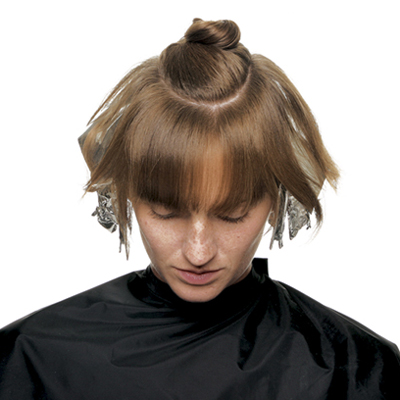
Take a horseshoe section separating the layered top of the hair cut and clip hair away. (Photo shows section divided for control.)
- 17Step 17 of 30
Take another inverted horseshoe section from behind each ear and include the point of distribution.
- 18Step 18 of 30
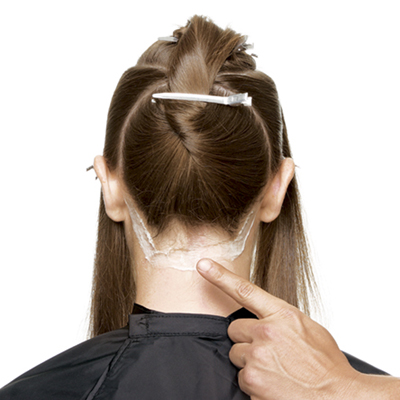
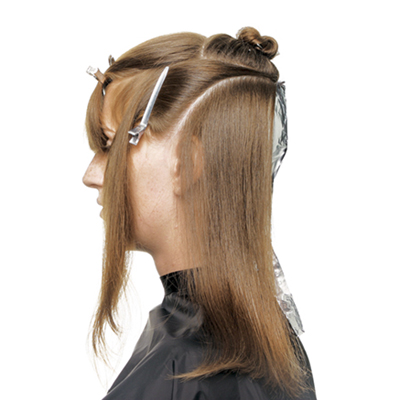
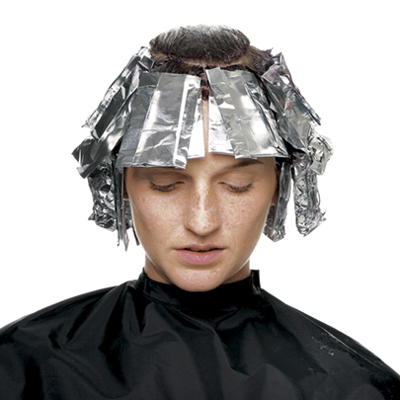
Apply barrier cream to protect client's skin from color.
- 19Step 19 of 30
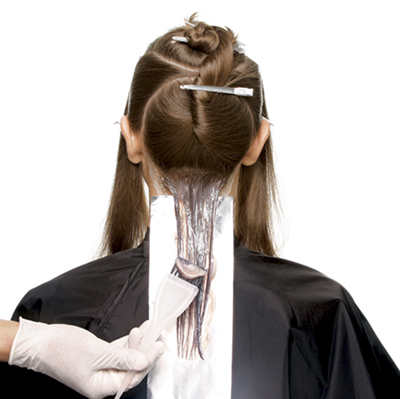
Apply Teak to entire back panel.
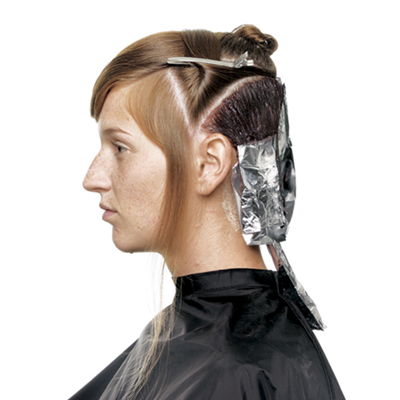
- 20Step 20 of 30
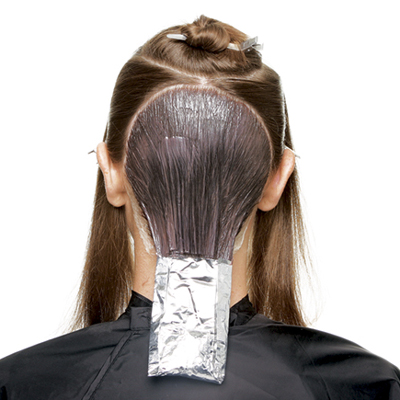
After apply Teak to the entire back panel, isolate entire section with foil.
- 21Step 21 of 30
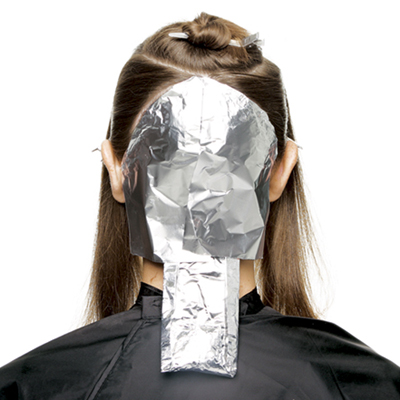
Completed back panel.
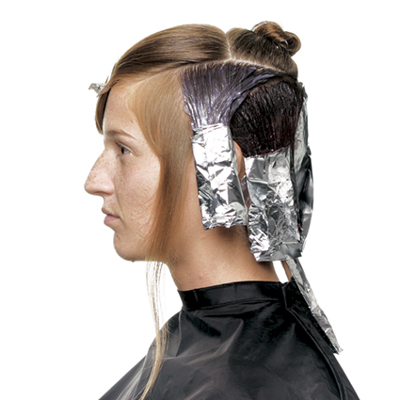
- 22Step 22 of 30
Create a crescent section mirroring the side of the horseshoe section from the point of distribution to the top of the ear. Repeat on the other side.
- 23Step 23 of 30

Apply Rosewood to these panels.
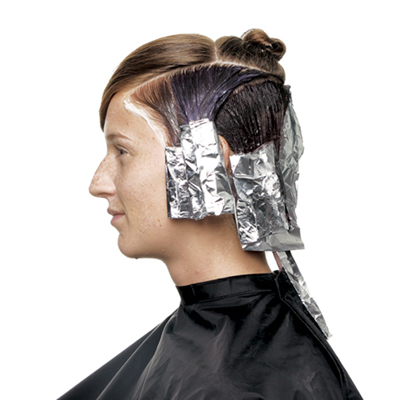
- 24Step 24 of 30
Create a parting that parallels the front hairline from the top of the ear to the top section. Create an offset triangular-shaped section. Repeat on the oposite side of of the head.
- 25Step 25 of 30
Apply Beachwood to these panels. Isolate with foil.
- 26Step 26 of 30
Apply Teak to the remaining front hairline panels. Isolate with foiil.
- 27Step 27 of 30
Re-section the top panel, taking out a U-shaped fringe of hair.
- 28Step 28 of 30

Apply Teak to the entire panel.
- 29Step 29 of 30
Apply Rosewood to the remaining U-shaped subsection. Isolate with foil. Process according to directions. Shampoo and condition with Color Conserve products.
- 30Step 30 of 30
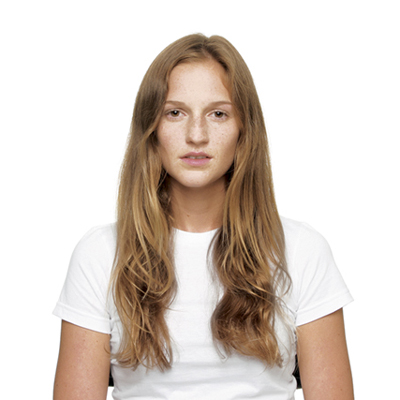
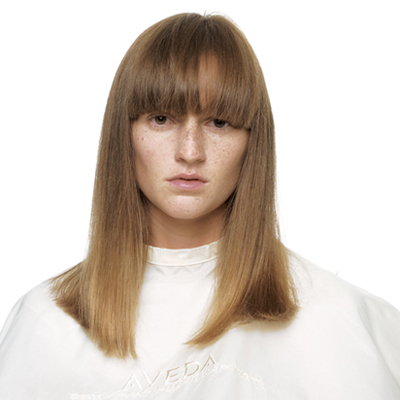
Editorial
Aveda Prism Collection "Liz" Step-By-Step
July 28, 2009·1 min read
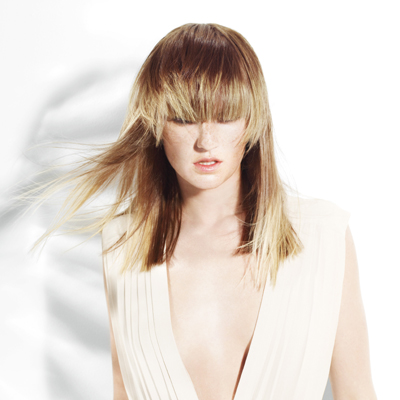
This look from Aveda’s “Prism” Collection is the perfect style to transition your client from summer into fall. A deep fringe and graduated, horizontal layers that frame the face, complemented with an all-over, layered color technique creates a look that’s full of dimension and surprise. Here’s the full cut and color how-to from Aveda’s Ricardo Dinis and Michael Black. To learn more, go to www.aveda.com Subscribe to behindthechair.com “On Paper” Magazine–4 Issues Only $29.95! Next Issue: COLOR with Beth Minardi! On Paper Keyword: celebrityaveda coloraveda (more…)
More to Read


