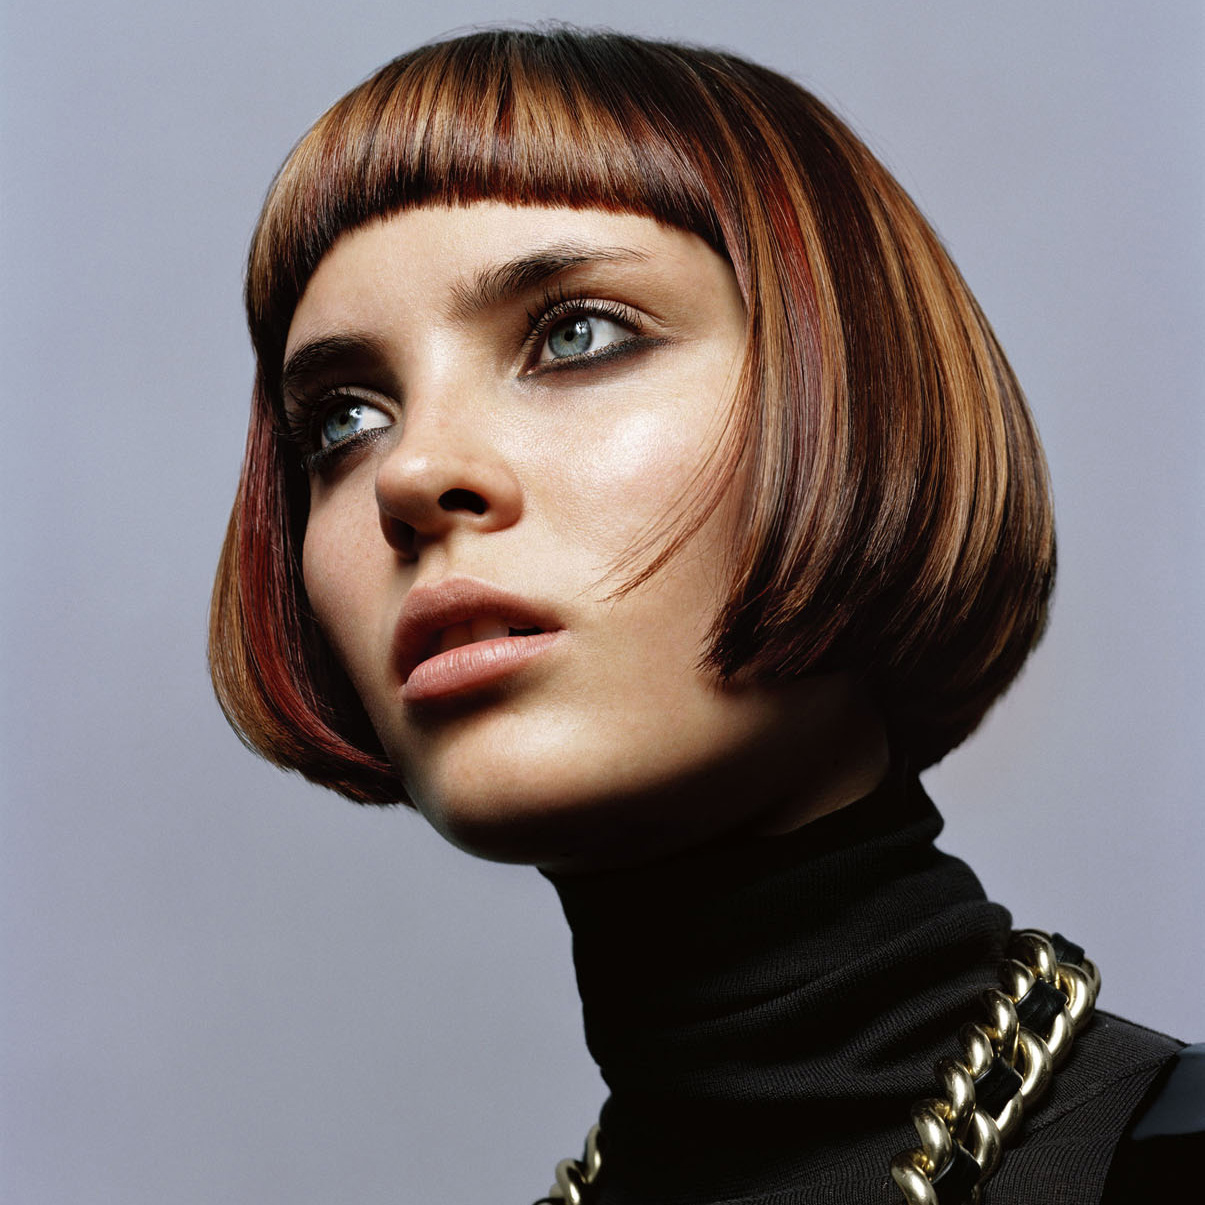
Try your hand at this urban, exciting cut from Aveda’s Retro Active Collection. Then try the Corresponding Color Step-by-Step to complete the look! For this cut, Antionette Beenders looked to the runway for inspiration. What did she find, you ask? That layers ruled and that dark androgyny set a restrained tone for the season. Now let her inspiration become yours and give this look a try. For more information go to www.aveda.com On Paper Keyword: celebrityaveda coloraveda (more…)
- 1Step 1 of 17

- 2Step 2 of 17
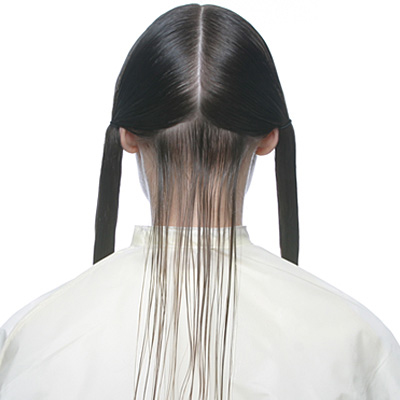
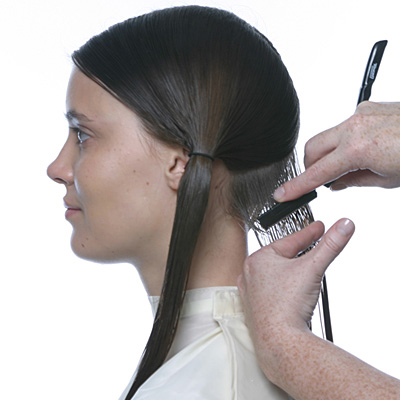
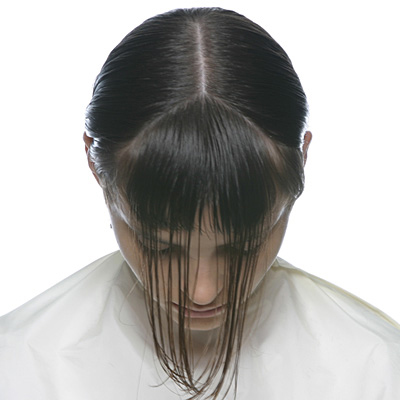
Beginning at center of forehead, section hair in straight center part. Create a diagonal section from center part to bottom of ear.
- 3Step 3 of 17
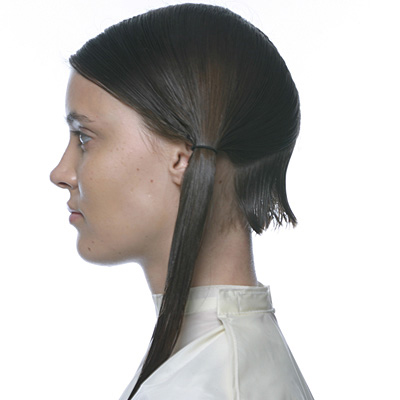
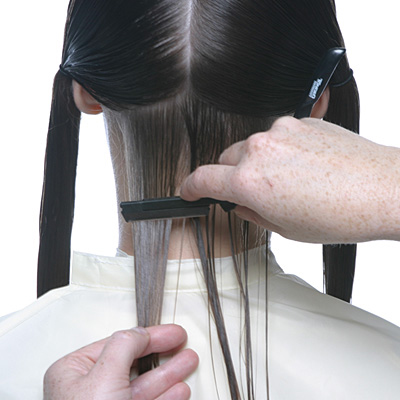 Hold razor horizontally. Cut straight across, close to nape, beginning with the left side.
 - 4Step 4 of 17
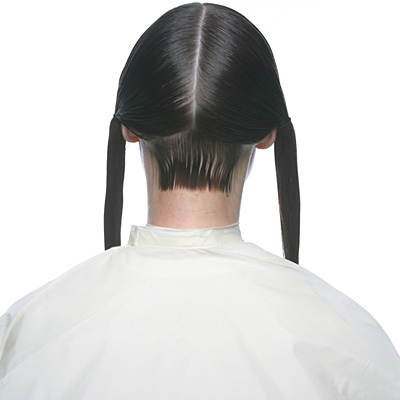
 Completed left side. Repeat on right side.
 - 5Step 5 of 17
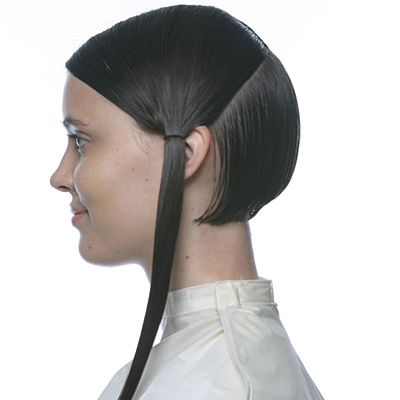
 Completed section.
 - 6Step 6 of 17
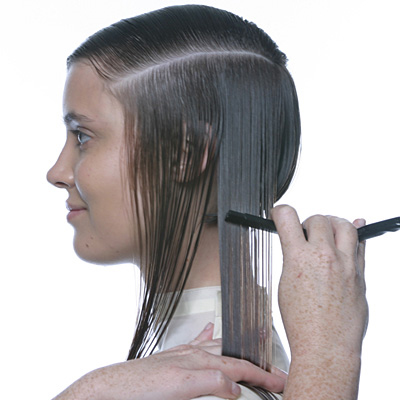
 Take next diagonal section from center part to ear. Beginning at left side, cut using underneath section as a guide.
 - 7Step 7 of 17
 Completed section.
 - 8Step 8 of 17
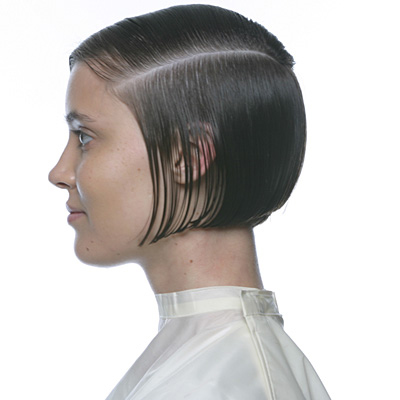
 Continue taking diagonal sections at increasing angles until you reach top of ear.
 - 9Step 9 of 17
 Create horizontal section from parietal ridge to front hairline. Using guide from the back, connect side to back.
 - 10Step 10 of 17
 Completed section.
 - 11Step 11 of 17
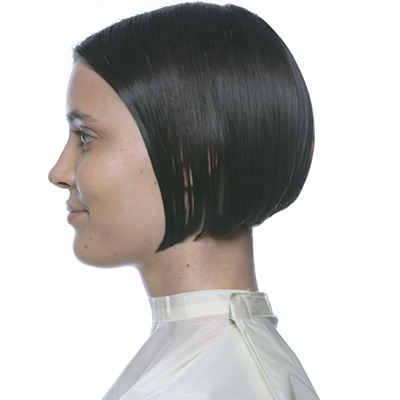 Continue taking horizontal sections up to center part. Repeat on right side.
 - 12Step 12 of 17
 Create curved section from ear to ear, behind hairline. Using razor at horizontal angle, create curved fringe. Repeat on left side.
 - 13Step 13 of 17
 Create section parallel to previous section and overdirect forward. Cut using underneath fringe as a guide.
 - 14Step 14 of 17
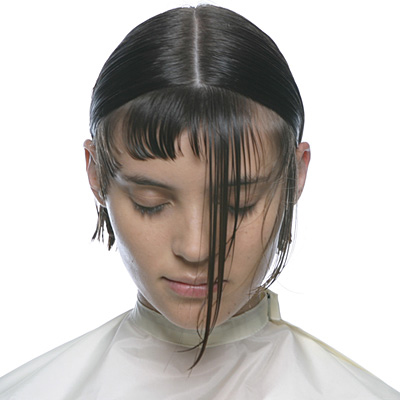
 Completed section. Note fringe length is same throughout section.
 - 15Step 15 of 17
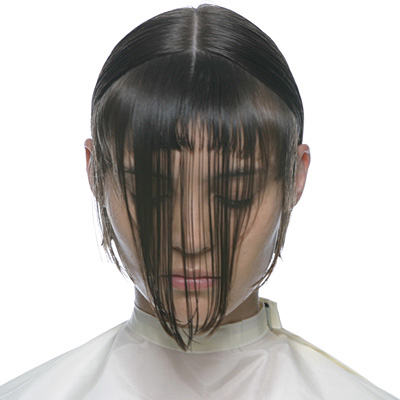
 Create a diagonal section from center part to low point of recession. Overdirect forward and cut curved fringe, using previously cut section as a guide.
 - 16Step 16 of 17

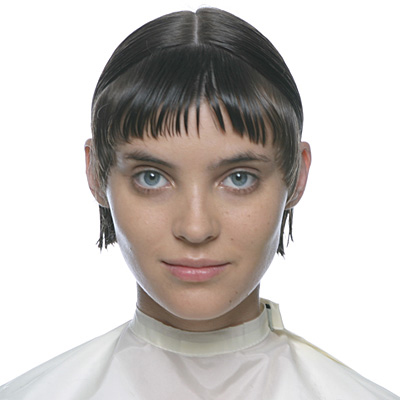
- 17Step 17 of 17