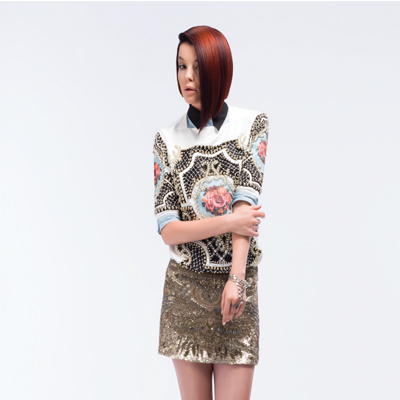
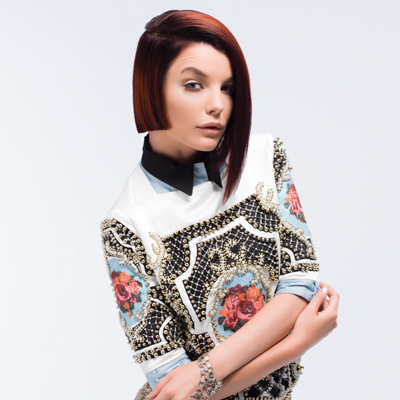
Creative, wearable cuts you can create every day in your salon—that’s what the TONI&GUY Divert Collection is all about. This asymmetrical lob is fun, fresh, youthful and super trendy. Zak Mascolo and the TONI&GUY Artistic Team infuse anti-directional movement into this cut, giving it a ready-to-wear feel with an emphasis on modern versatility. But wait, there’s more! Zak is super excited to share with you some of TONI&GUY’s new franchising information for those who would like to own a TONI&GUY Salon! Who did itCut: Zak Mascolo, Austin Finley, Joseph MarzioliHaircolor: Jared Smith, Laura Pease, Samantha FinleyStyling: Caroline MascoloMakeup: Tommy GomezPhotography: Alex (more…)
- 1Step 1 of 22Horizontal graduation will be utilized to build weight throughout the perimeter while the internal layering pattern is independently disconnected in order to create an anti-directional feel.
- 2Step 2 of 22Take a profile parting from the center forehead to the center nape. From the top of the crown, take a diagonal forward parting to the mid-recession on both sides.
- 3Step 3 of 22From the top of the parietal ridge, take a curved diagonal back horseshoe from below the crown.
- 4Step 4 of 22
Below the horseshoe, take a central vertical parting. Take a horizontal section from below the occipital to the base of the ear. Comb the hair at the natural fall, elevate to one finger's depth and blunt-cut parallel to the part.
- 5Step 5 of 22Take a second horizontal section from the occipital to the middle of the ear, combing the hair at the natural fall. Elevate at two fingers' depth and blunt-cut parallel to the part.
- 6Step 6 of 22Take a horseshoe section from above the occipital to mid-recession. From behind the ear, comb at the natural fall, elevate to three fingers' depth, and cut parallel to the part.
- 7Step 7 of 22In the front of the ear, transition your elevation to one fingers' depth. Repeat on the opposite side.
- 8Step 8 of 22Release the remaining hair, working with the same distribution and elevation. Blunt-cut the hair onto the underneath guideline.
- 9Step 9 of 22Cross check the line for balance.
- 10Step 10 of 22From the top of the crown, take a vertical section using the guide created by the graduation underneath. Elevate the hair 90° from the round of the head and slice parallel to the head shape.
- 11Step 11 of 22Sub-divide the guide and continue by taking pivoting diagonal backs from the top of the crown, combing the hair into a T-part and overdirecting the hair to the stationary guideline.
- 12Step 12 of 22Release the top triangular section and take a central vertical section from the top of the crown to the center forehead. Elevate the hair to 90° from the section and cut an independent guide square, disconnected from the previous layering.
- 13Step 13 of 22Sub-divide the guide and comb the remainder of the hair into a T-part, overdirecting up to the central stationary guide in order to create a square inversion.
- 14Step 14 of 22Utilizing a wrap technique, blow-dry with a small cushion brush.
- 15Step 15 of 22Detail the base line by cleaning up any unwanted graduation with a wide-tooth comb.
- 16Step 16 of 22Elevate the side panels at a low 45 degree angle from the face and point-cut a deep parallel line to create a visual balance.
- 17Step 17 of 22Continue with soft surface channel cutting towards the face for separation.
- 18Step 18 of 22
- 19Step 19 of 22
- 20Step 20 of 22
- 21Step 21 of 22
- 22Step 22 of 22