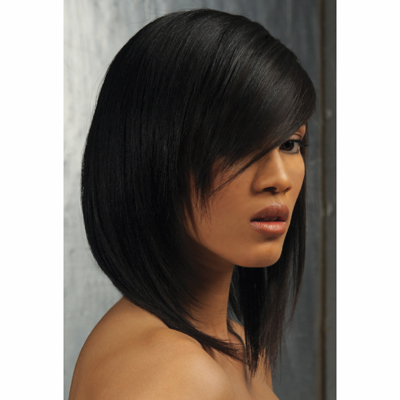
Alterna’s latest Step-by-Step, High Contrast, is perfect for the client who enjoys having an edge to suit her mischievous personality. Check out the Alterna Retro Rosettes Step-by-Step! Featuring dramatic sculpted angles, this technique combines various textures to create a bold yet playful style. So break out your shears, grab your favorite Alterna products like Caviar, Hemp and Ten, and have some fun! For more information please visit www.alternahaircare.com (more…)
- 1Step 1 of 10
Start: Cleanse and condition the hair with CAVIAR Anti-Aging Moisture Shampoo and Conditioner. Work HEMP with Organics Straightening Balm into the hair and blowdry straight.
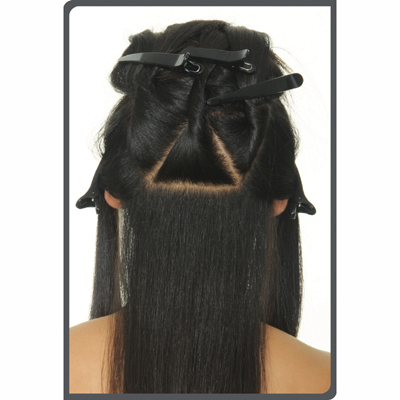
Step 1: Create a high crown section from recession to recession.
In the back panel, divide the nape section at occipital.
Starting at the ear base, create a “W” section in the upper back panel to create three equal focal points. - 2Step 2 of 10
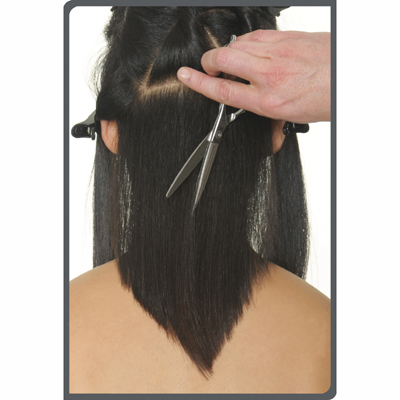
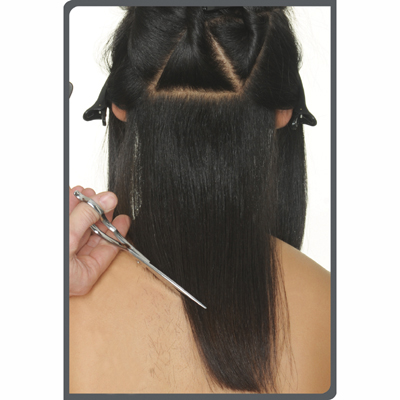 Cut a “V” shape in the nape to desired length.
Lower the center point to allow for cowlicks.
Follow this shape using shears until the entire back panel, excluding the focal points, is finished. - 3Step 3 of 10
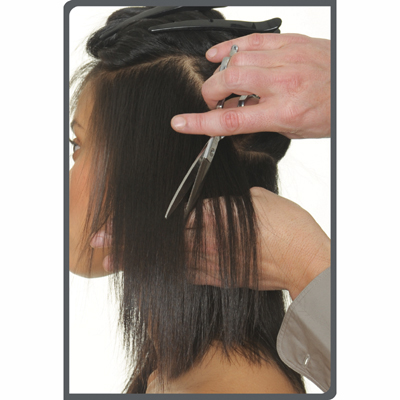
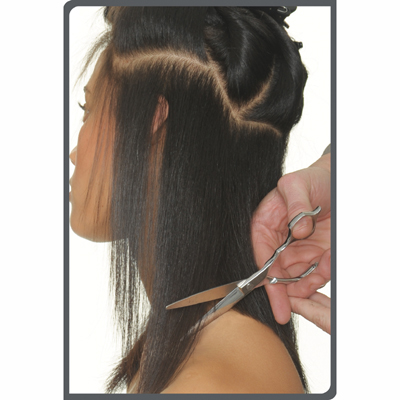 Divide the side panels into two horizontal sub-sections.
Using your nape section as a starting point, cut the hair, leaving length towards the front. - 4Step 4 of 10
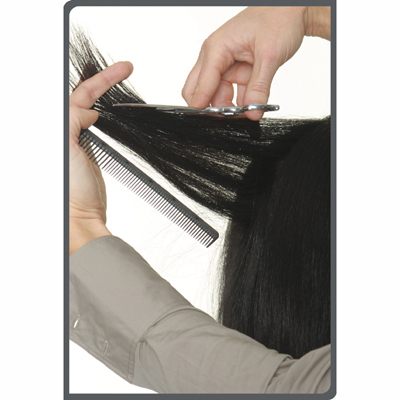
 With your shear, raike the back panel until it collapses into the nape.
 - 5Step 5 of 10
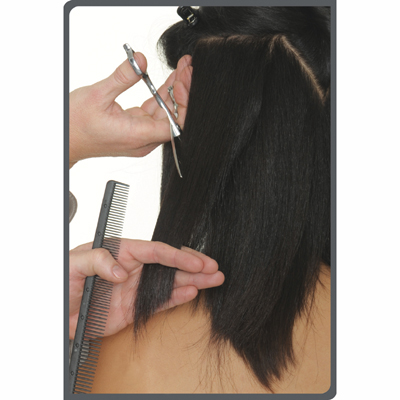
 Place your hand underneath the side panels. This will protect the ears and help to create a beveled look.
 - 6Step 6 of 10
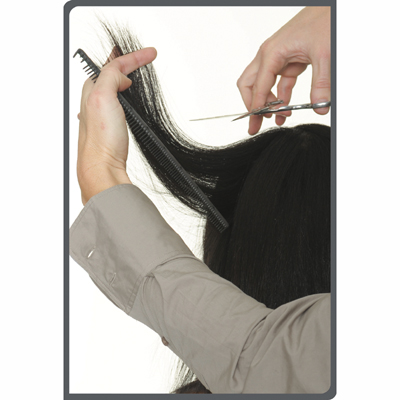
 Valley cut the radius sections with your razor or shear from high point toward the hairline to desired length. Continue through the front working short to long.
 - 7Step 7 of 10
 Holding the focal point section down and close to the head, razor or shear the edges to create a “V” shape.
 - 8Step 8 of 10
 Valley cut the entire focal point to add disconnection.
 - 9Step 9 of 10
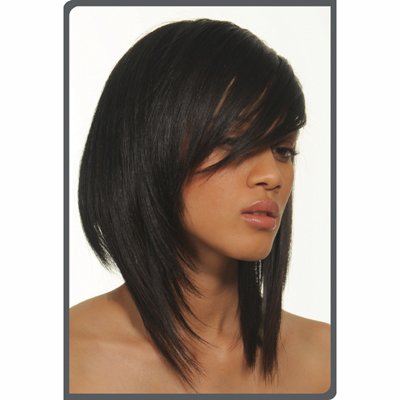
Step 9: Edit the look by using shears to raike from the high point to the ends.
Finishing: Finish by working a cocktail of CAVIAR Anti-Aging Polishing Serum and CAVIAR Anti-Aging Radiant Smoothing Lotion into the hair for a smooth, sleek finish.
Spray the entire head with TEN Hair Spray for extra shine and light control.
- 10Step 10 of 10