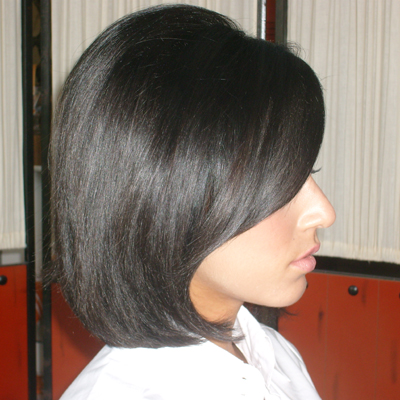
Don’t let a sad blow dry ruin the perfect cut you just gave to a client. Monroe Brush shows you how to take a cut and give it style with this Blow Out Step-by-Step. A perfect blow dry is all in the details, and here they are, one-by-one. If you feel like your styling skills are a little under par, or if you’re looking for a new technique, follow along with these steps from Monroe Brush. To learn more, go to www.monroebrush.com Subscribe to behindthechair.com “On Paper” Magazine–5 Issues Only $29.95! (more…)
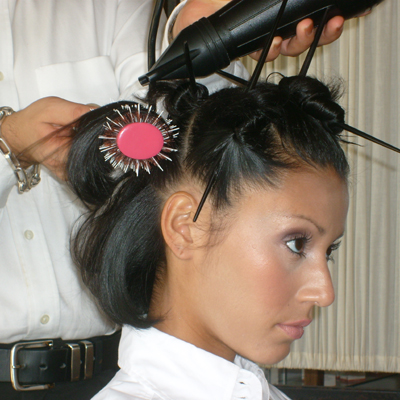
- 1Step 1 of 21

- 2Step 2 of 21
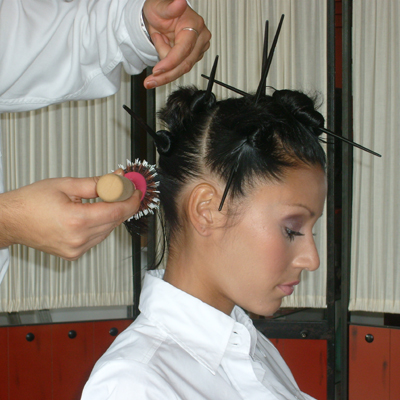
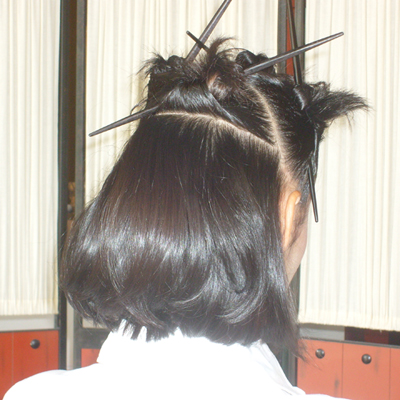
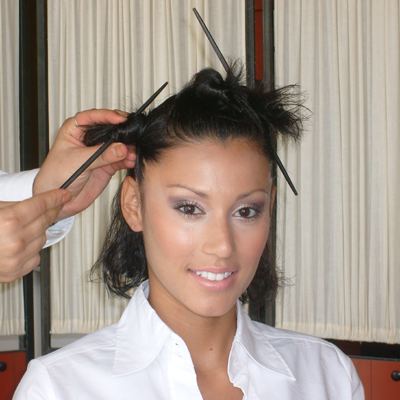 First, section the hair into small, manageable sections.
 - 3Step 3 of 21
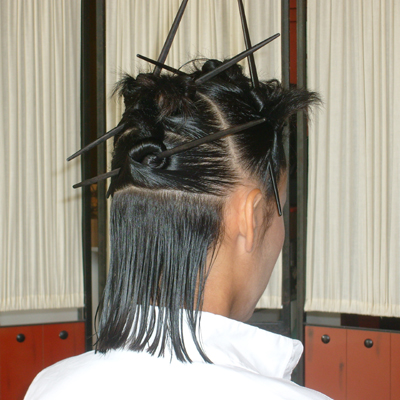
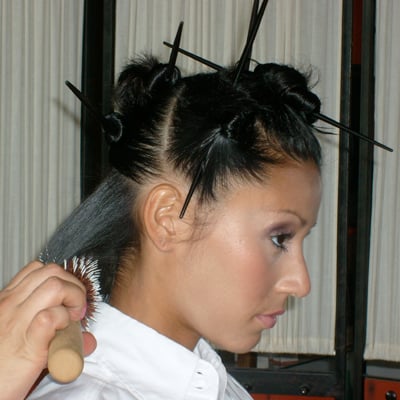
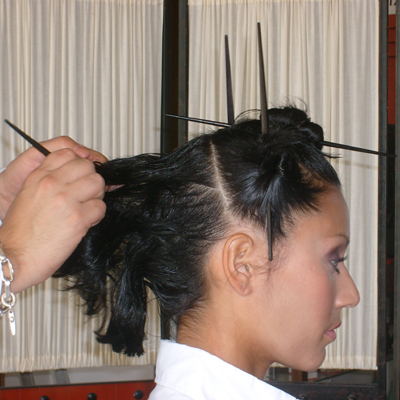 Section the back from the top to the nape area.
 - 4Step 4 of 21
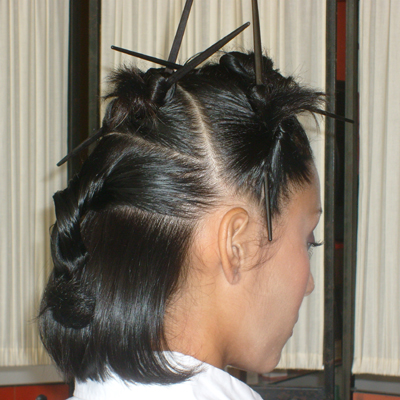
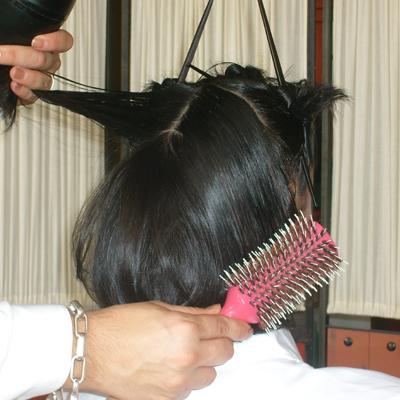
 Start the blow dry with the bottom section.
 - 5Step 5 of 21
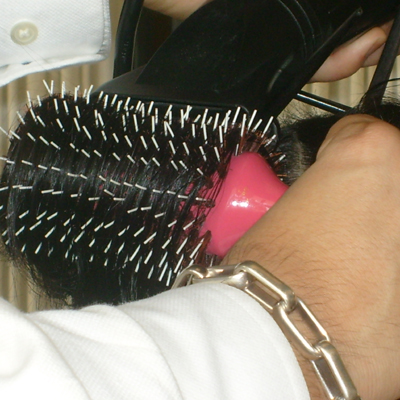
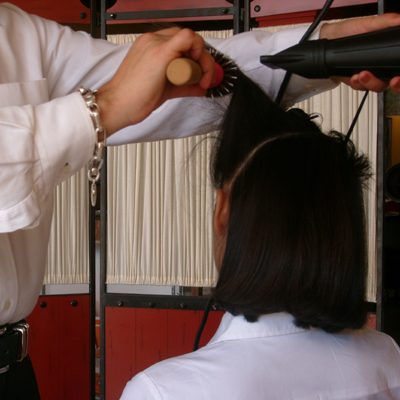
 Make sure to lift the hair when you start the blow dry.
 - 6Step 6 of 21
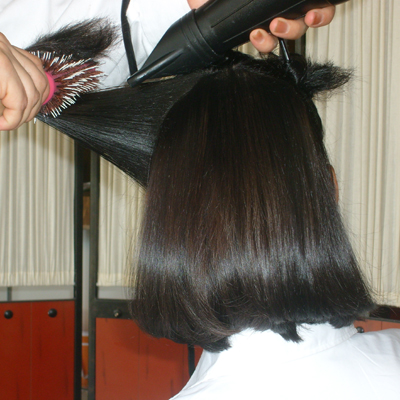
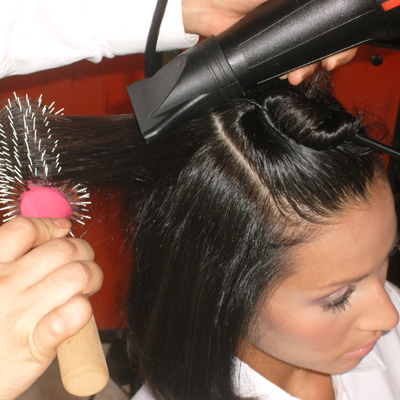
 Position the dryer at an angle and place the nozzle perpendicular to the brush.
 - 7Step 7 of 21
 Make sure when you blow dry the ends of each section you guide them in the direction you want.
 - 8Step 8 of 21
Continue blow drying each section in order.
- 9Step 9 of 21
 Leave at least half an inch between the hair and the blow dryer.
 - 10Step 10 of 21
 Follow the brush from roots to ends with the dryer always facing the ends of the hair.
 - 11Step 11 of 21
 Follow the sections in order.
 - 12Step 12 of 21
 Always work with sections that fit comfortably within the brush.
 - 13Step 13 of 21
 Blow dry following the natural flow of the hair.
 - 14Step 14 of 21
 Make sure you blow dry the ends completely before moving onto the next section.
 - 15Step 15 of 21
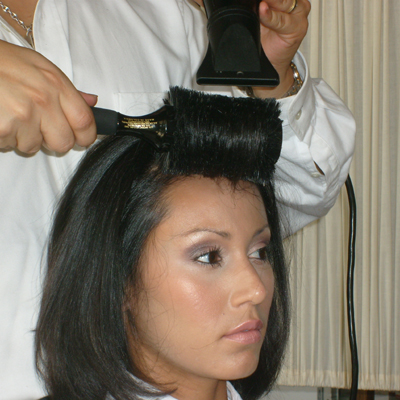
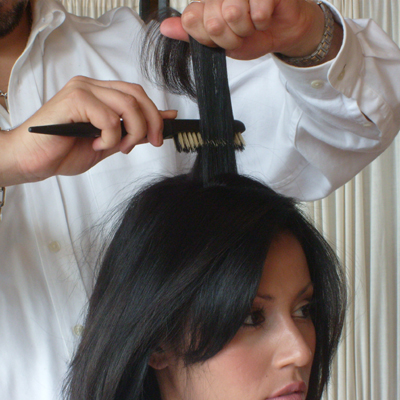
 For more volume, lift the brush as you blow dry.
 - 16Step 16 of 21
 Leave the upper front section for last.
 - 17Step 17 of 21
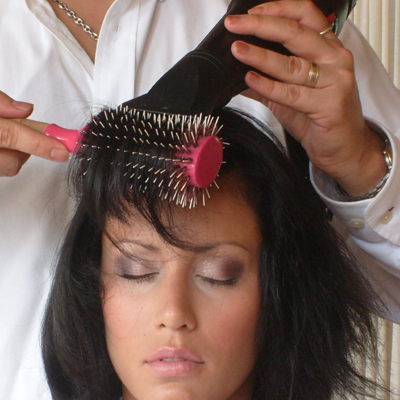 The front is always the last section to blow dry.
 - 18Step 18 of 21
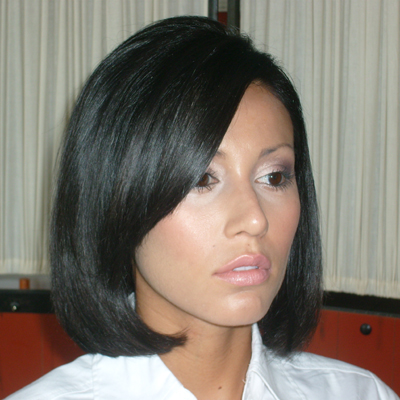
 Always use a finishing brush to mold the desired style.
 - 19Step 19 of 21
 Tease the back of the hair, in small sections, starting close to the roots.
 - 20Step 20 of 21
- 21Step 21 of 21