- 1Step 1 of 13
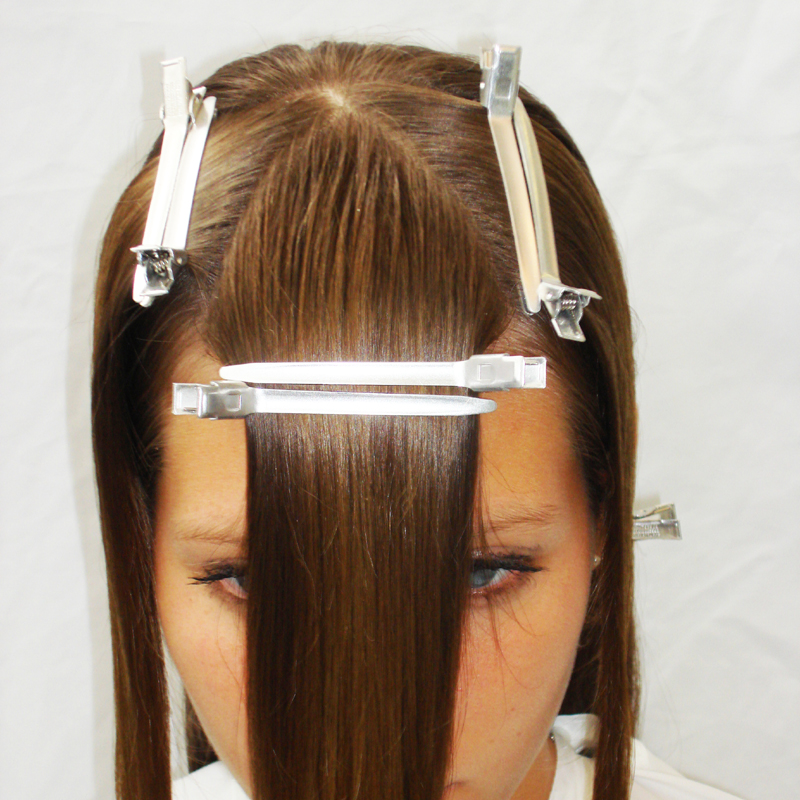
1 x ‘W’ Fringe Section
- 2Step 2 of 13
2 x Top Sections (either side of the 'W' Fringe)
- 3Step 3 of 13
2 x Front Sections (1 each side)
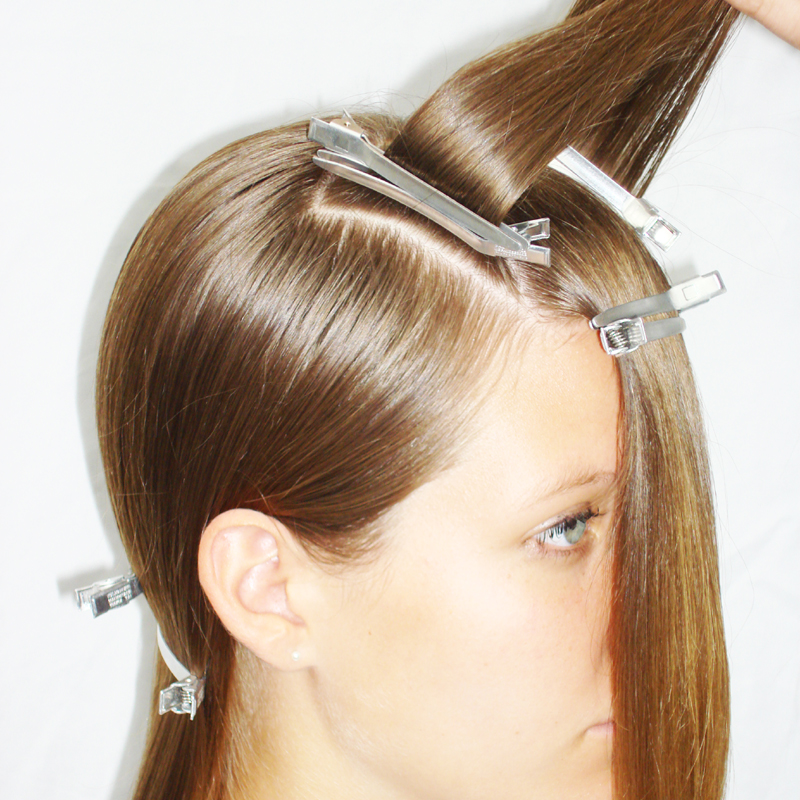
2 x Above Ear Sections (1 each side) - 4Step 4 of 13
2 x Behind Ear Sections (1 each side)
1 x Back Section - 5Step 5 of 13
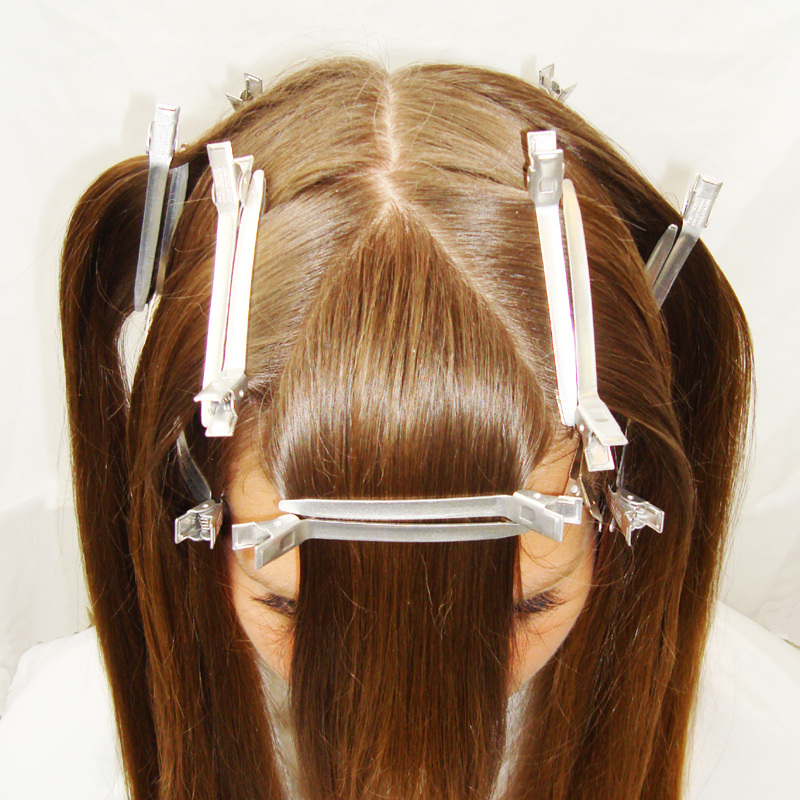
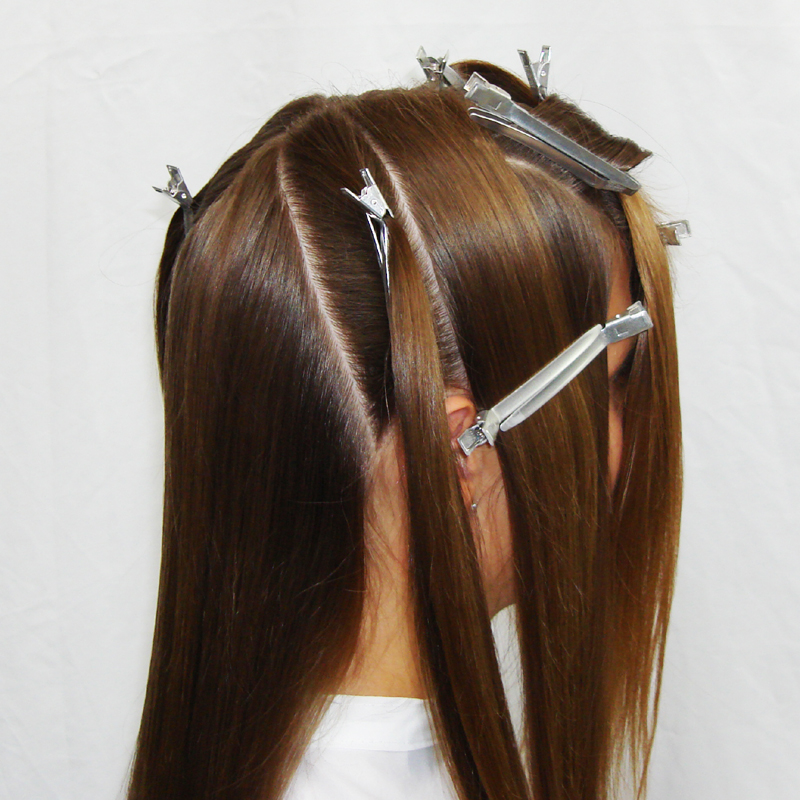
Top Reference
- 6Step 6 of 13
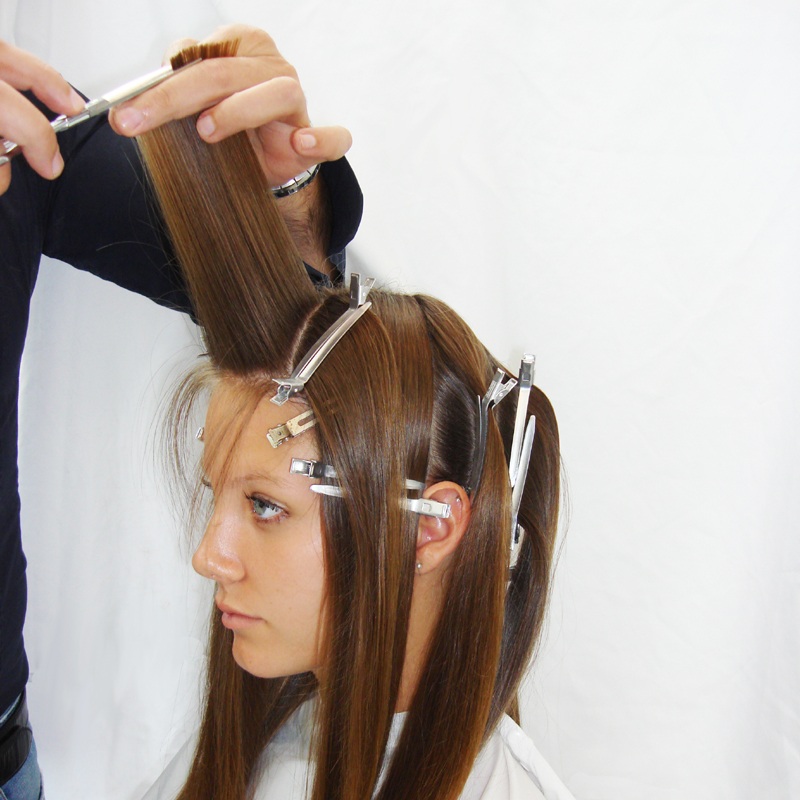
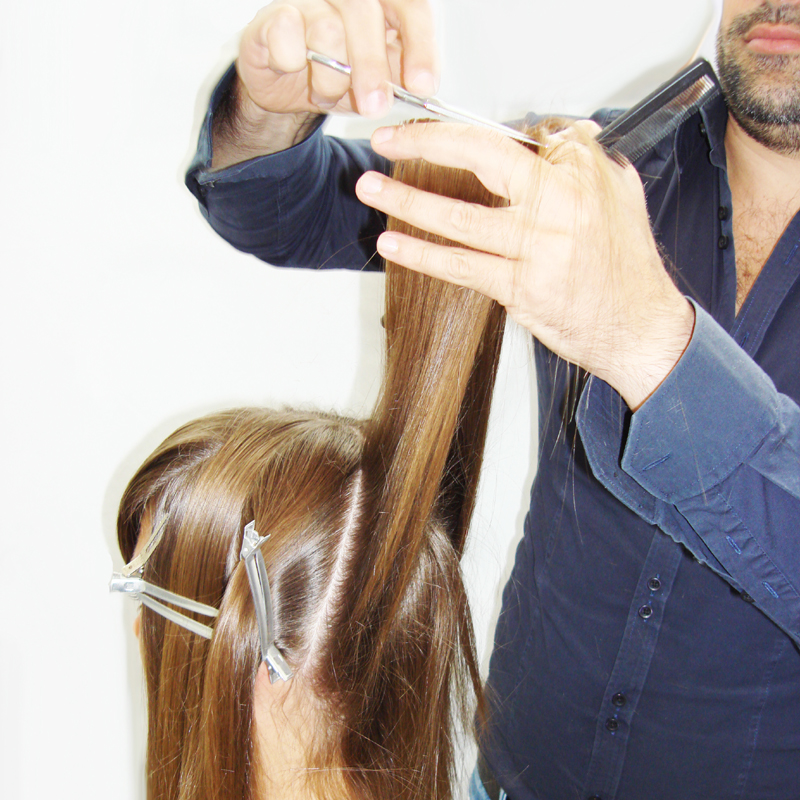
Take 'W' Fringe Section straight up and cut on a curve. After desired length, cut then deep point cut to remove weight.
- 7Step 7 of 13
Cut Top Sections together over Fringe Section on a curve. These sections are disconnected 2-3 cm. longer than the Fringe Section.
- 8Step 8 of 13
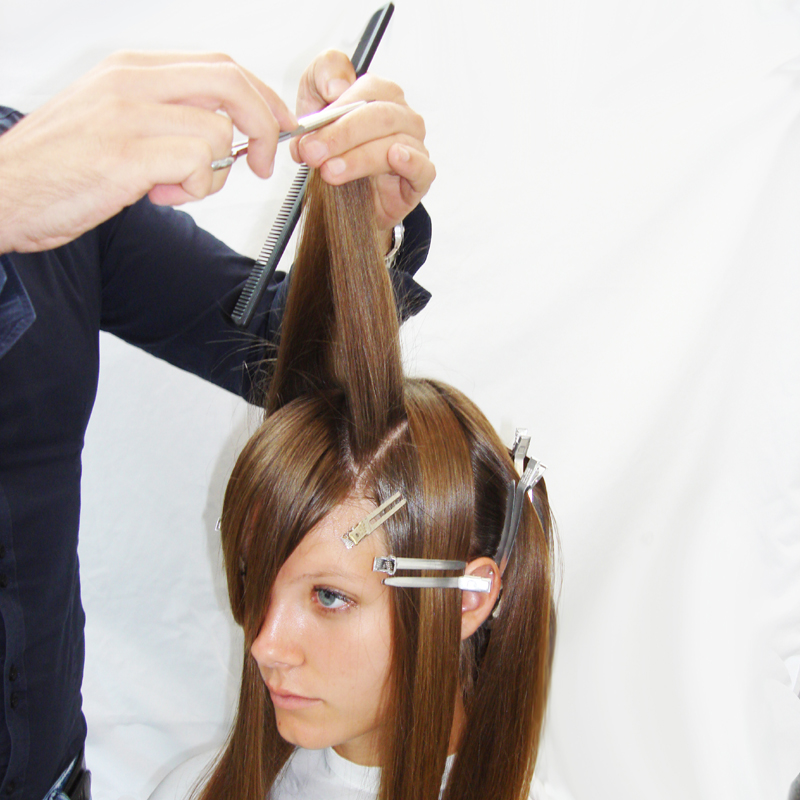
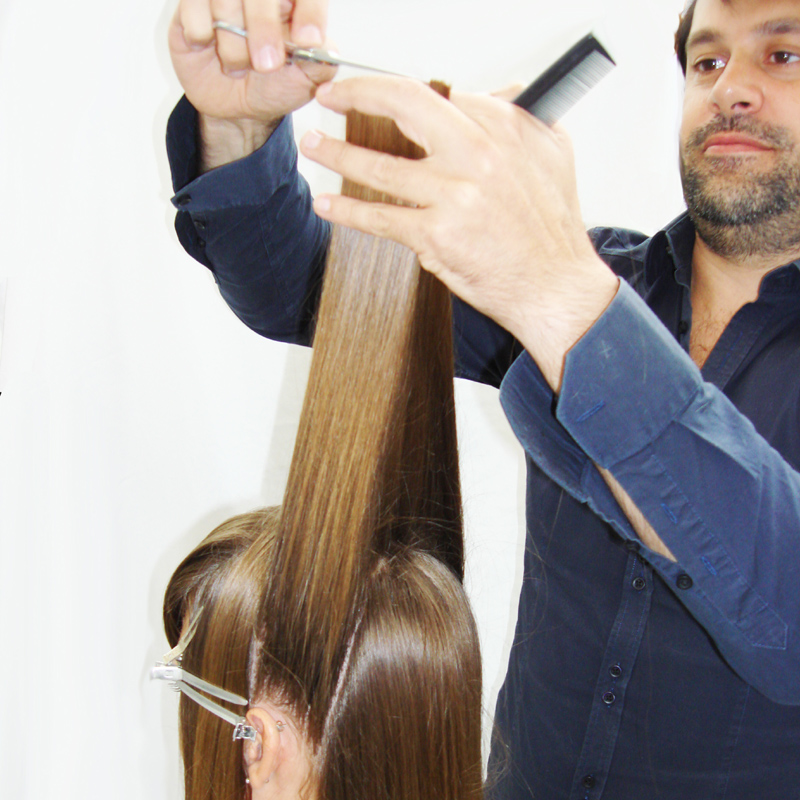
Cut Back Section by taking a horizontal section of hair straight up and cutting above the crown.
- 9Step 9 of 13
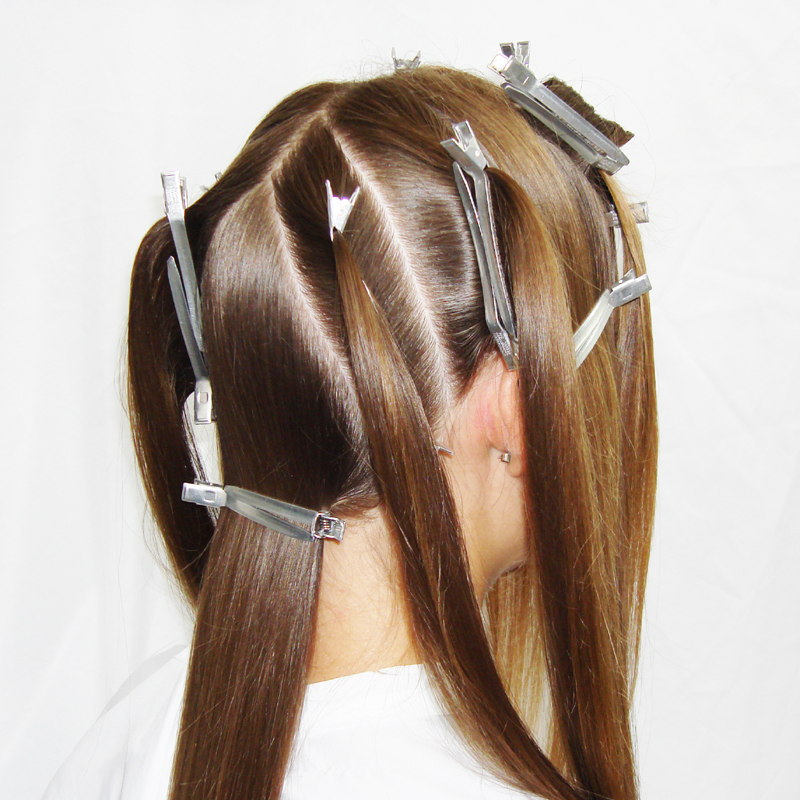
Take the two Behind the Ear Sections and cut together over the Back Section at a disconnect 2-3 cm. longer than the Back Section.
- 10Step 10 of 13
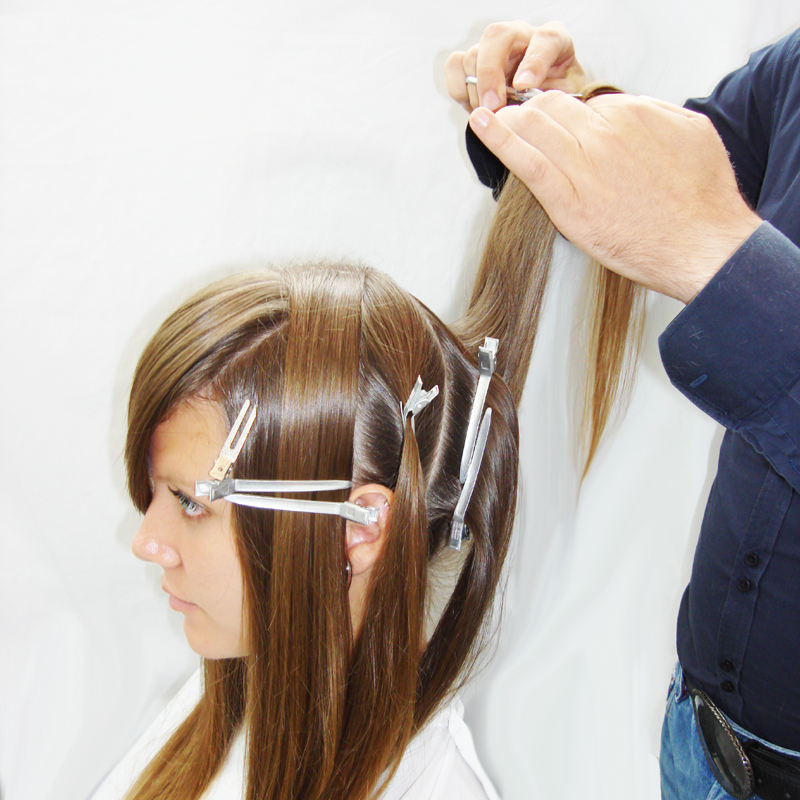
Comb the Above the Ear sections together up and over crown and cut on a curve, disconnected 2-3 cm. longer than the previous section.
- 11Step 11 of 13
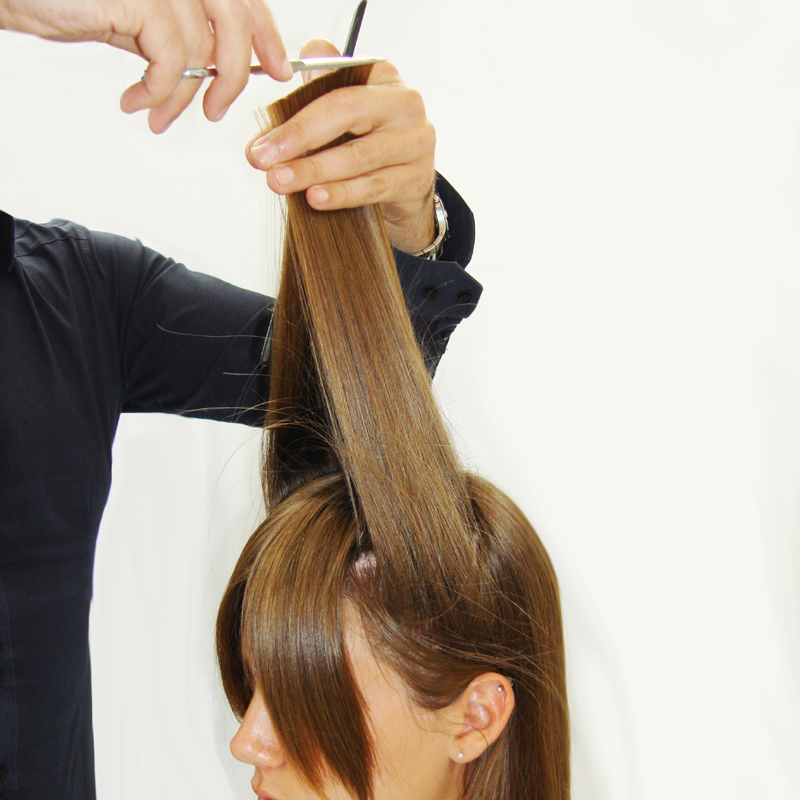
Over-direct Front Sections and cut together (over Fringe Section) on a curve. Again, this is cut disconnected shorter than previous section by 2-3 cm. (project hair halfway between Side and Fringe Sections).
- 12Step 12 of 13
- 13Step 13 of 13
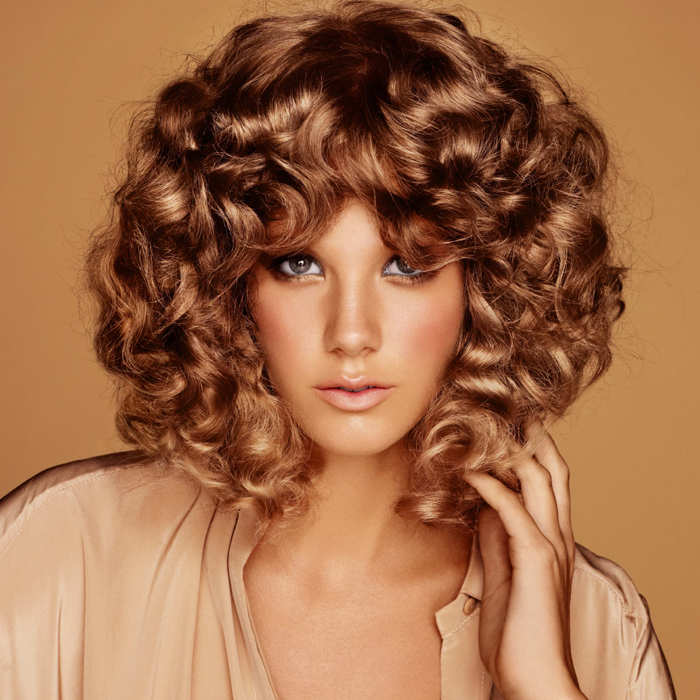
Haircuts
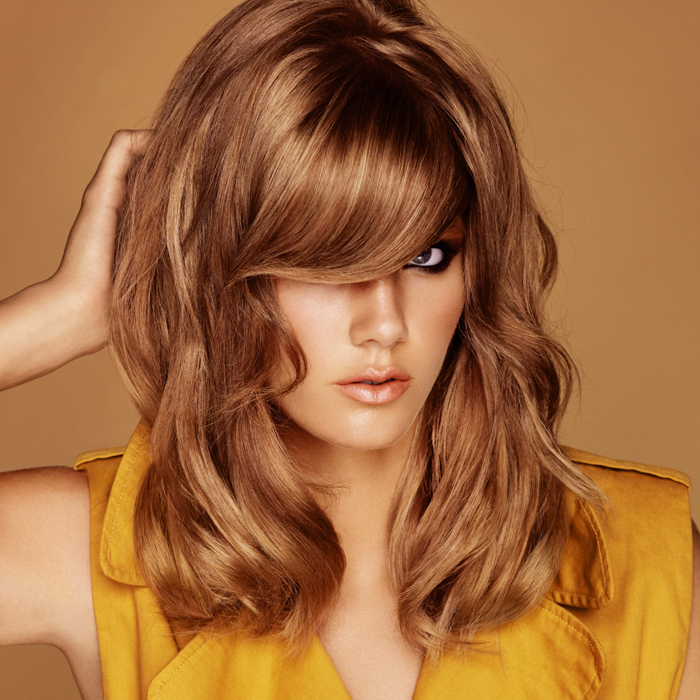
1970s Multi-Layered, Mid-Length Cut
May 7, 2012·1 min read
Here comes the sun! Dario Controneo of DCI Education designed this multi-layered, mid-length cut to have a strong 1970s vibe. The side-swept fringe and natural styling creates the ideal base for a melted balayage technique using sunny gold-toned color. (more…)
More to Read


